
Formlabs Dental seeks to make dentistry easier. This includes bringing the same ease of use and intuitive workflows to print setup as we do to the rest of our innovative 3D printing ecosystems. Each new version of our free PreForm Dental print preparation software upgrades your experience, broadening the tools available to users, speeding up printing, increasing print success, and easing post-processing workflows.
The latest updates include:
- Automatic trim plane detection when using Scan To Model
- Hollowing models to decrease material usage and save time
- Drain holes to eliminate cups
- Labeling for part traceability
- Print Settings Editor to dial in and save specialized profiles
All these updates are a response to user feedback, and streamline workflows and increase efficiency so you can provide the best patient experience.
To ensure you’re using the PreForm Dental Workspace in PreForm, go to the top menu bar and select View. Then, Choose Workspace from the drop down, and click on Dental Workspace.
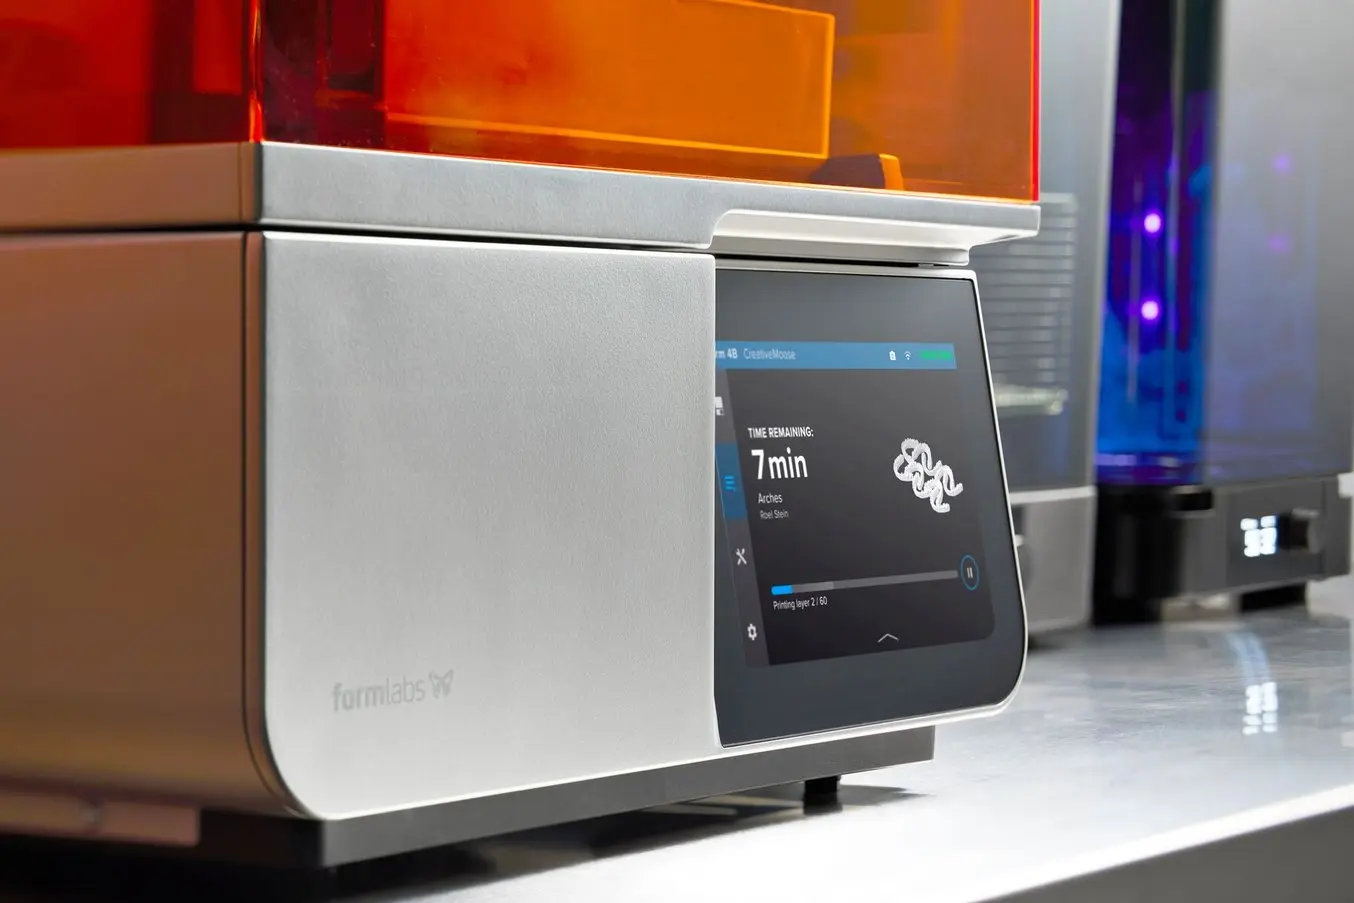
Product Demo: Form 4B+ Dental 3D Printer
Blazing speed meets unmatched accuracy in the next generation of dental 3D printing. Explore the latest innovations in our webinar.
Save Material and Time
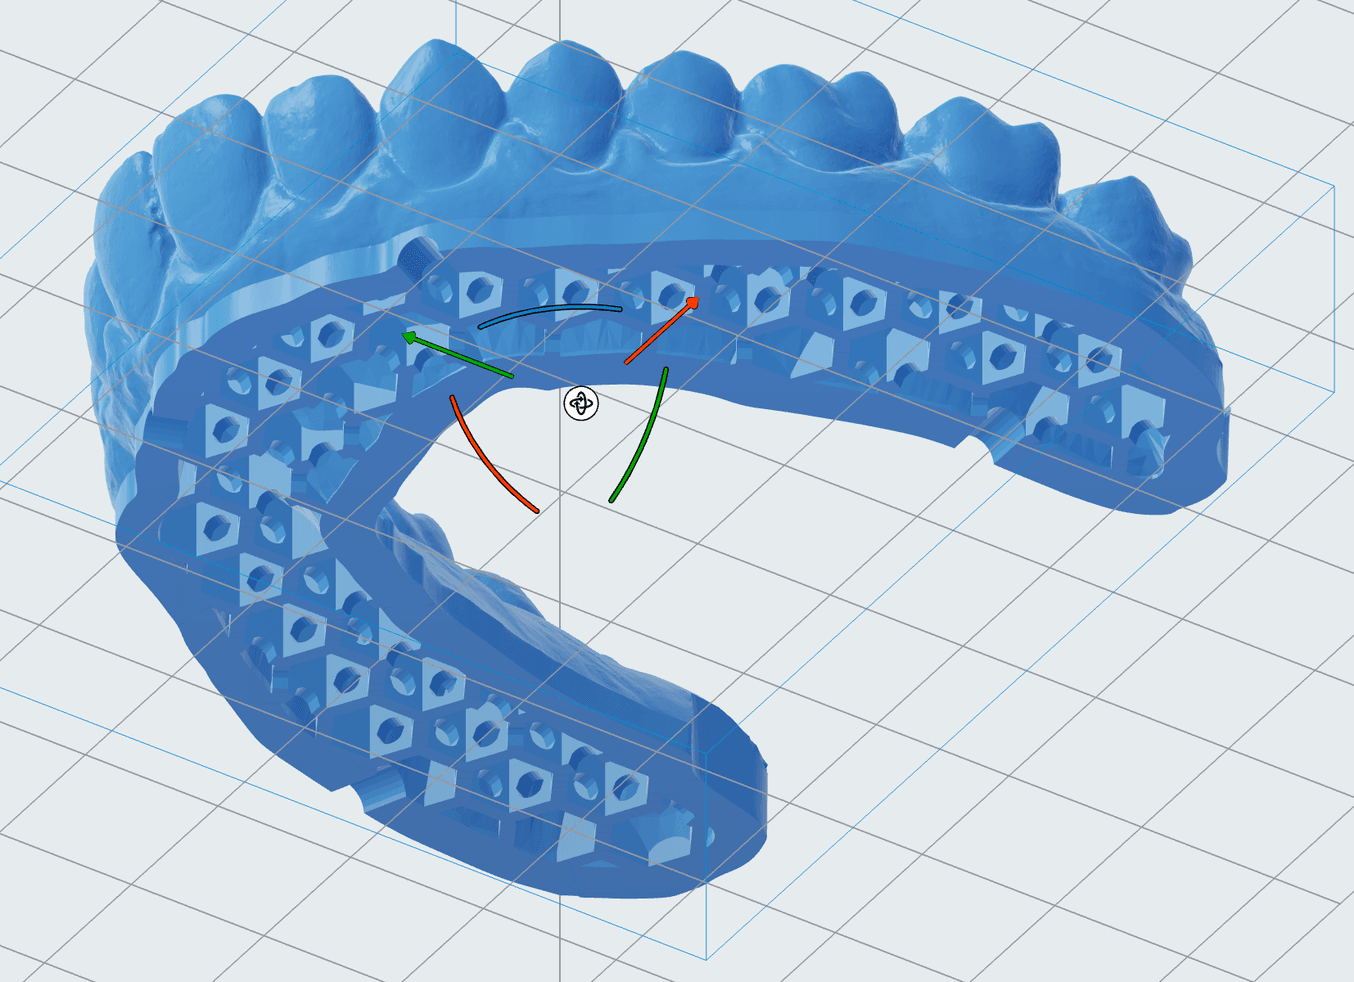
Scan To Model has now been updated with automatic trim plane detection. After importing a scan, click Scan in the left-side menu. PreForm Dental will now automatically create the trim plane. You can then select the height of the model base, followed by whether or not the model should be hollow.
Hollowing models creates an internal cavity that reduces the amount of material used for a print. If the Hollow Model box is selected, PreForm Dental will automatically generate honeycombing and create drain holes so that liquid resin can flow out of the model.
Automatic trim plane detection and hollowing dental models functionalities require the user be logged in to their Dashboard account.
If importing a hollow model, there are a few guidelines to keep in mind to ensure a successful print:
- Adding drain holes is strongly recommended for hollow models.
- When printing hollow parts with SLA, failure to use the Holes feature in hollow parts can cause resin to collect in the hollow cavity and can cause print failures.
- Place the drain holes at the bottom of the model so the resin can flow out with gravity.
- Placing too many drain holes may reduce the structural integrity of the model, potentially leading to print failures.
Add Labels for Part Traceability
Prior to this update, users wishing to add labels to parts for customization or part tracking needed to add this information to a model before bringing it into PreForm Dental for print setup. Now, it’s easy to add labels anywhere on a model within PreForm Dental.
Labels can be embossed or engraved on models. Users can scale the size of the label, place it anywhere on a model, and even control the depth of engraved text or the height of embossed text. The label text will default to the model name; to simplify workflows, name the model with the label you wish to use.
Labels make it simple to track models from design through post-processing to finished model, ensuring customized, patient-matched parts reach their intended recipient, and minimizing communication errors.
Rather than risk mixing up paperwork, relaying messages, or dealing with workflow disruptions, labeling ensures parts move through post-processing as efficiently as possible while reducing the potential for errors.
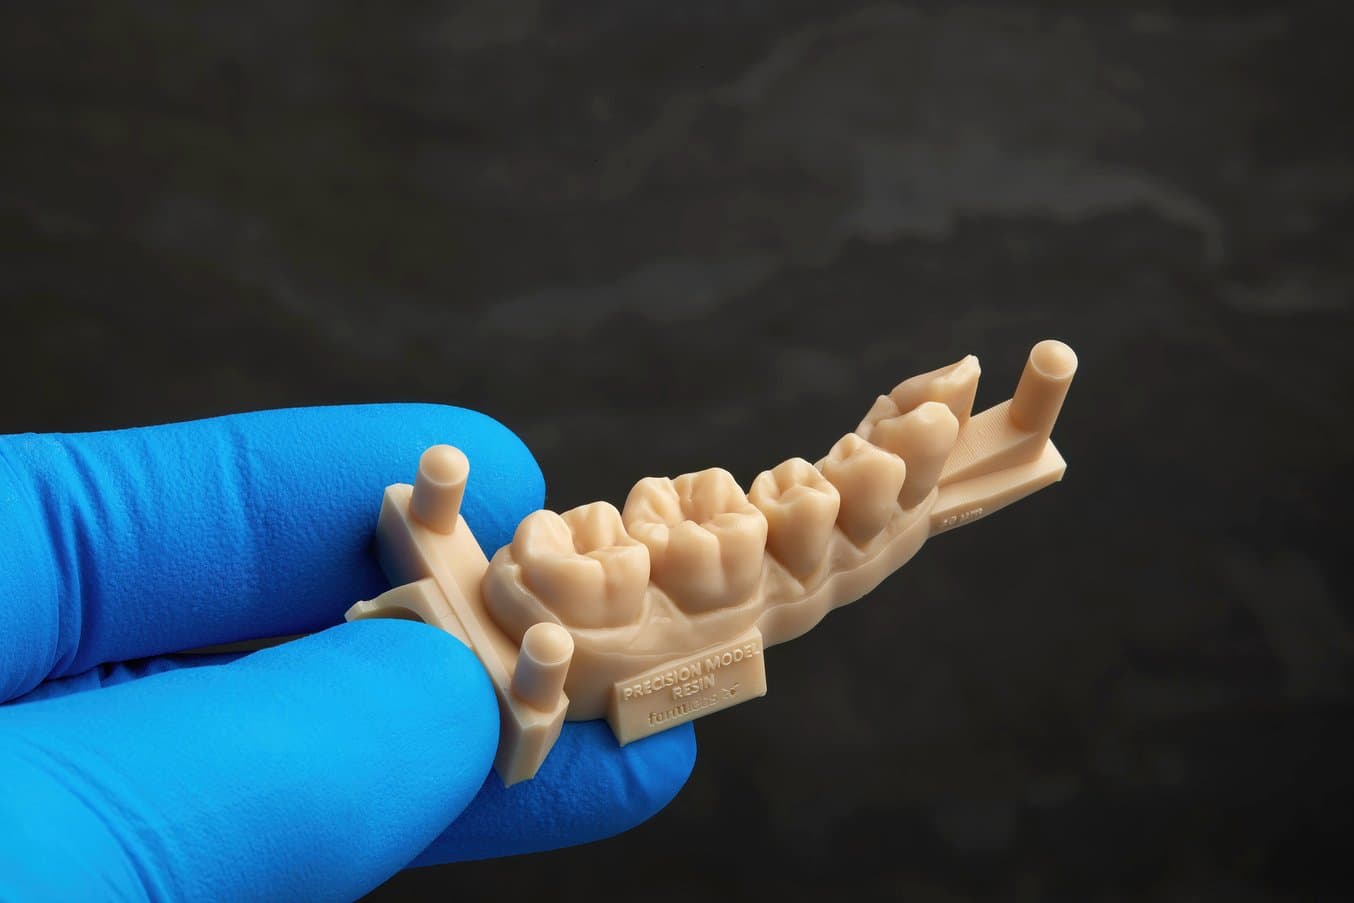
Request a Free Sample Part
See and feel the Formlabs quality firsthand. We’ll ship a free 3D printed sample part printed on Form 4B to your office.
Nuanced Control With Print Settings Editor
PreForm’s Print Settings Editor enables users to dial in precise print parameters. These specialized profiles can then be saved and applied to future prints or shared with other users.
For users printing in Open Material Mode (OMM), Print Settings Editor enables the development of parameters for third-party resins or custom resins. However, it can also be used by those printing with Formlabs Resins who want more control of layer height, exposure time, or other parameters. A complete list of print setting parameters is available here.
Your Feedback Fuels Our Innovations
Our innovations are powered by feedback from our users. It’s easy to send feedback when you have a comment or question – right from within PreForm Dental.

Click the Feedback button in the lower right corner to send your feedback.
PreForm Dental makes it easy to automatically prepare your 3D models for printing in minutes. New features improve your ability to customize models and increase workflow efficiency, so you can produce the parts you want at lower costs.
To start using new features, existing PreForm Dental users can navigate to the Help menu and click Check for Updates. For new users, download our free PreForm software.