CAUTION:
Always use nitrile gloves when handling uncured resin.
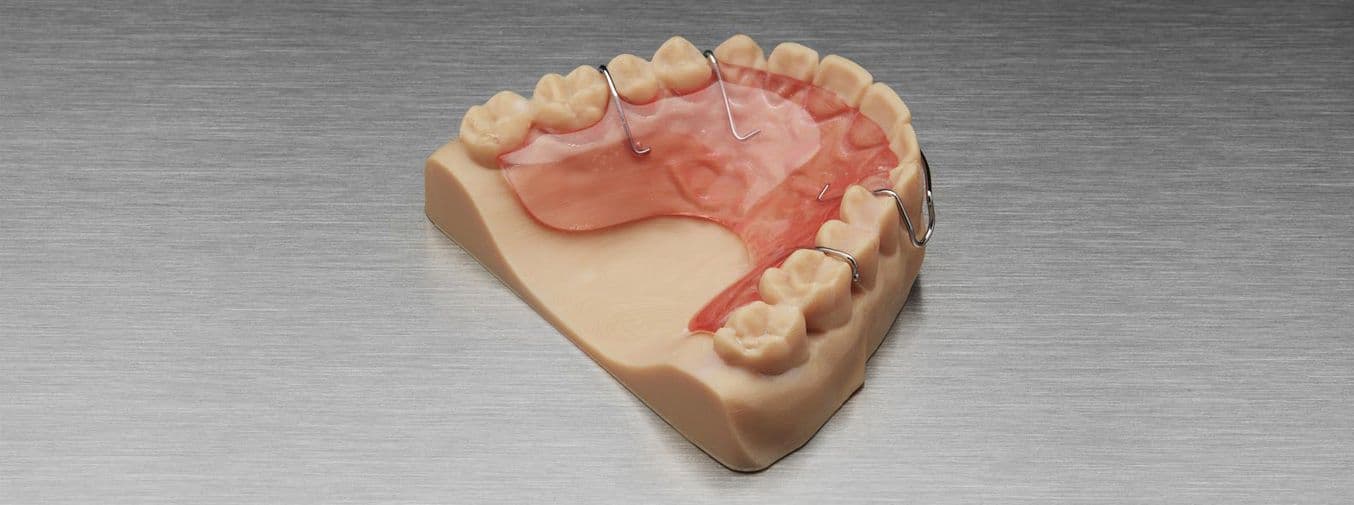
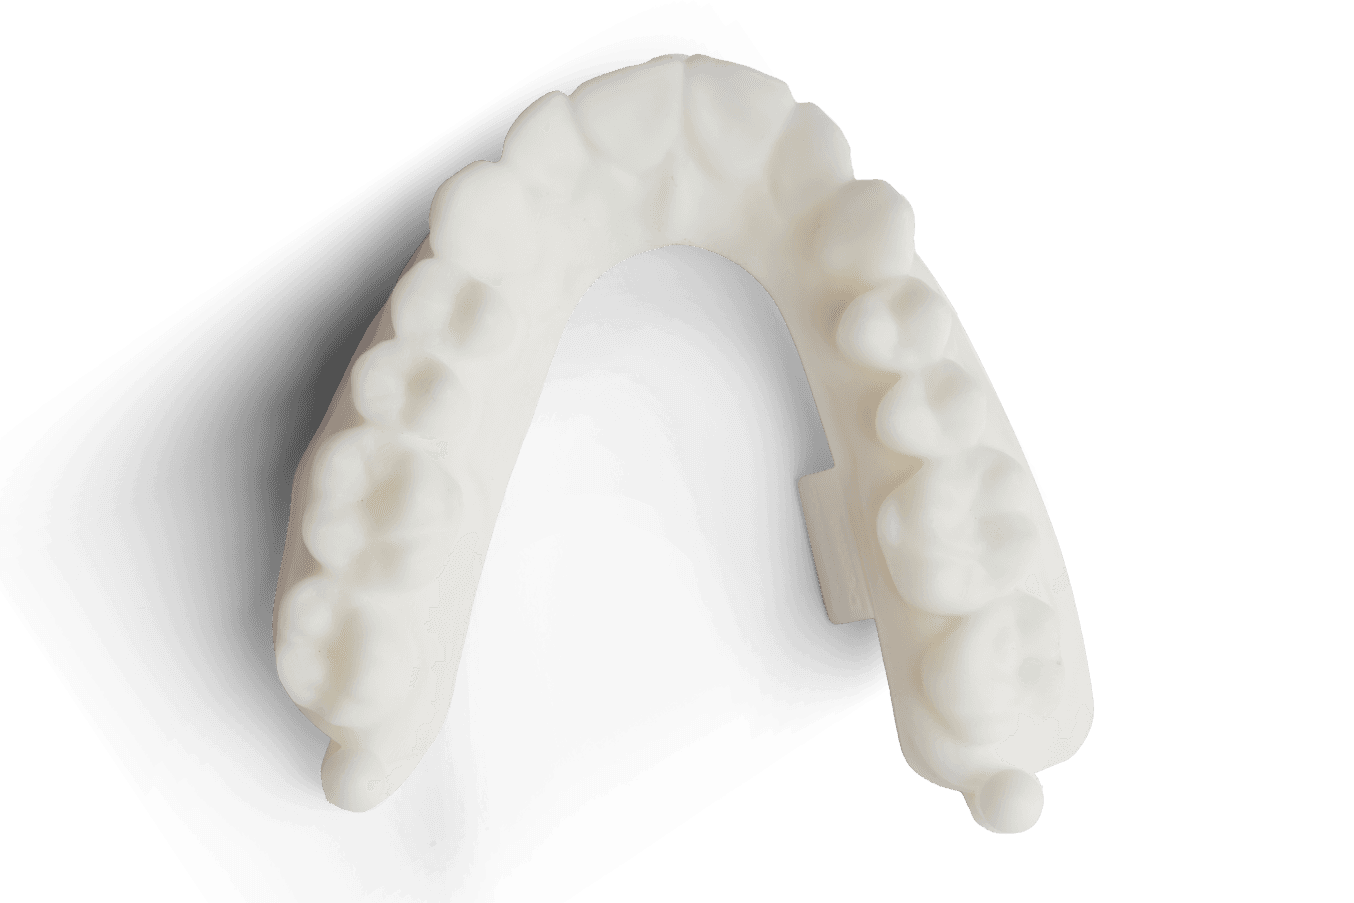
Acrylic orthodontic appliances, such as Hawley retainers, Schwarz, Sagittal, and Finger Spring appliances, are crafted by hand. These appliances rely on a model and are typically built using the "salt & pepper technique." This process involves successively applying acrylic powder and liquid monomer onto the model to create a plate. This plate is contoured to the patient's anatomy and incorporates active or passive wire components or screws. A key challenge in this fabrication method is preventing the acrylic plate from bonding to the 3D printed model.
Acrylic orthodontic appliances, such as Hawley retainers, Schwarz, Sagittal, and Finger Spring appliances, are crafted by hand. These appliances rely on a model and are typically built using the "salt & pepper technique." This process involves successively applying acrylic powder and liquid monomer onto the model to create a plate. This plate is contoured to the patient's anatomy and incorporates active or passive wire components or screws. A key challenge in this fabrication method is preventing the acrylic plate from bonding to the 3D printed model.
1. Essentials
1.1 Required Hardware and Materials
1.1.1 Made by Formlabs:
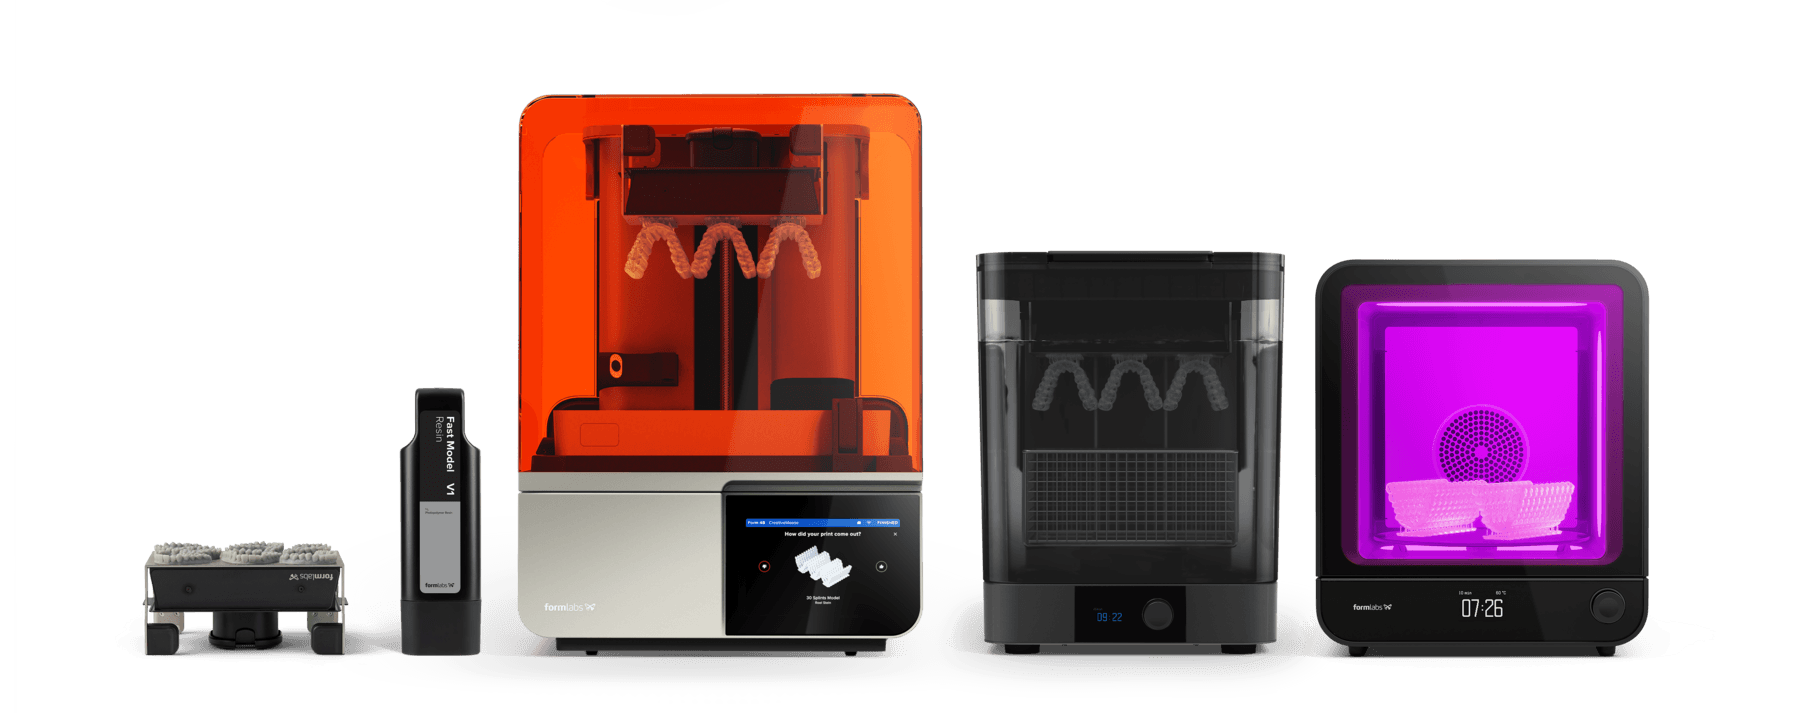
Formlabs SLA 3D printer with a compatible Resin Tank and Build Platform
Fast Model Resin, Precision Model Resin, White Resin, or Grey Resin
PreForm Dental Software (free)
Form Wash, Form Wash L, or Finish Kit
Form Cure or Form Cure L
1.1.2 Made by Third Parties:
Dental separating medium
Orthodontic wires and embedded screws
Acrylic polymer powder and monomer
Tools
Pliers, cutters, grinding and polishing materials for acrylics
Pressure pot for polymerisation
Optional Materials
Wax knife and carvers (used for blocking out parts of the model)
Sticky wax (used for clasp placement)
Soldering or laser equipment (used for metal connections)
1.2 Required Clinical Inputs and Data
A physical or digital impression
Patient data: planned treatment
2. Preparation
To manufacture this type of orthodontic application, a 3D printed model is required. The process to obtain the model varies based on the initial impression:
Physical impression: This requires scanning the impression itself or scanning a resultant plaster model using a desktop 3D scanner.
Digital impression: The model creation process can begin immediately.
Various software solutions, such as 3Shape Model Builder and exocad Model Creator, are available for designing printable dental models. However, since no special design features are needed for a model that will serve as a base for an acrylic plate appliance, the simplest and free option for model creation is utilizing the Scan to Model feature within PreForm Dental.
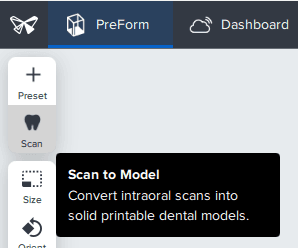
2.1 Scan to Model
Open PreForm to create a model for your appliance.
Note:
If you are new to PreForm software, please refer to this playlist on our YouTube channel.
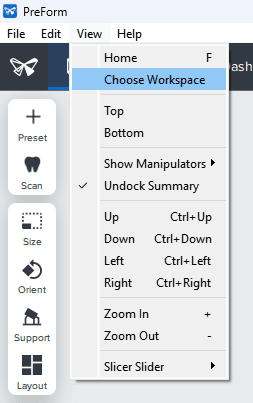
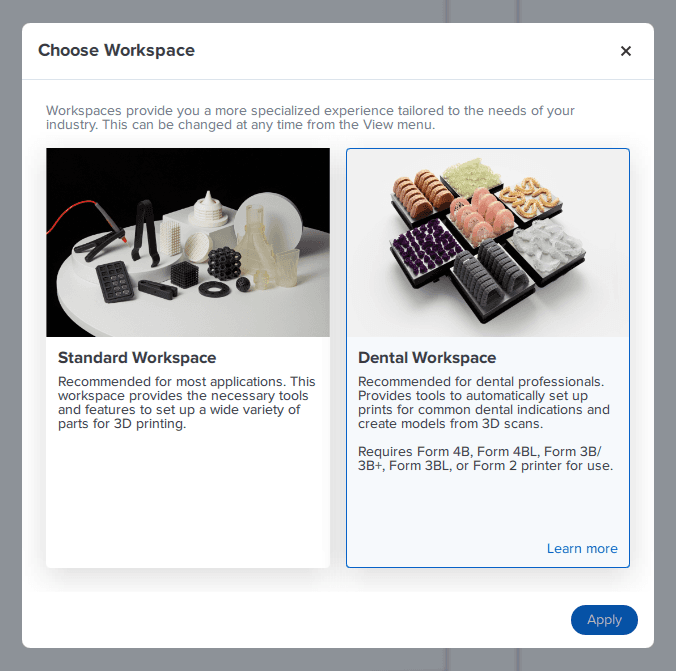
Ensure the Dental Workspace is active in PreForm. If not already selected, go to View > Choose Workspace (1), and then select Dental Workspace (2).
To begin, utilize the Scan to Model feature in PreForm Dental to generate the model directly from a scan. You can access this feature by clicking the small tooth icon located on the left-hand bar of PreForm.
Now, follow the steps in the small wizard for model creation. Watch this video for a demonstration of the process:
Additional models can be included either by importing STL files or by utilizing the Scan to Model feature.
3. Job Setup in PreForm Dental
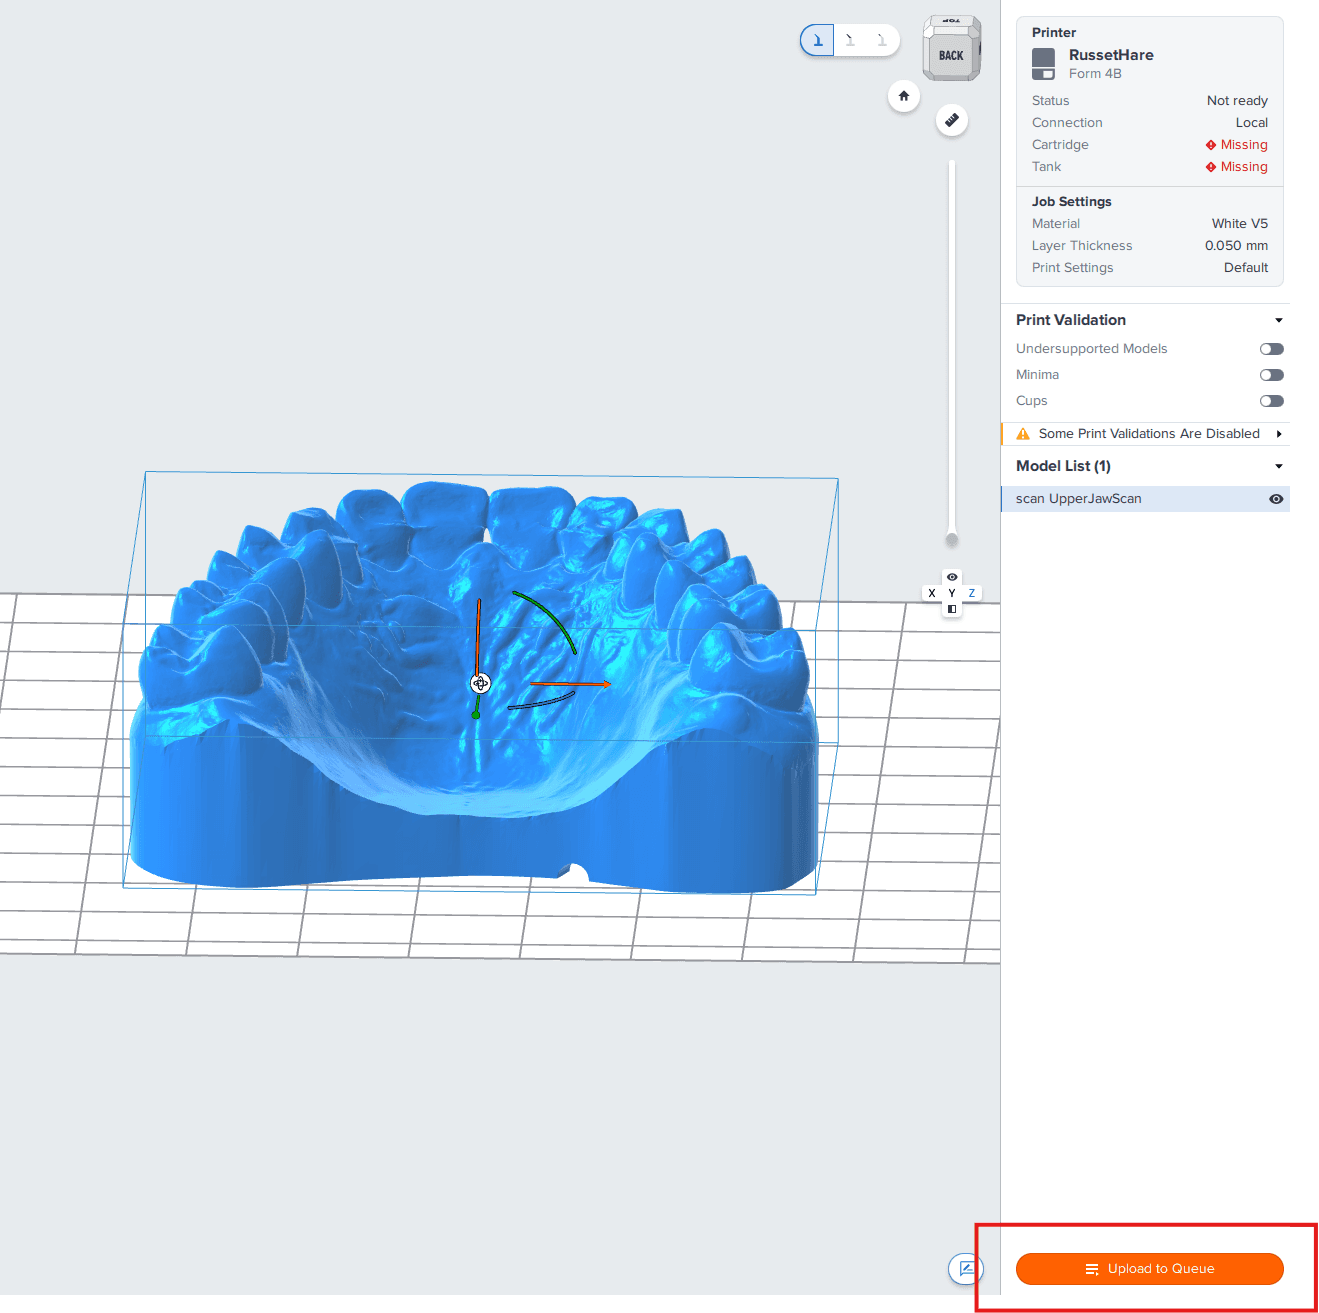
In PreForm Dental, select your
Printer (1)
Material (2)
Layer Thickness (3)
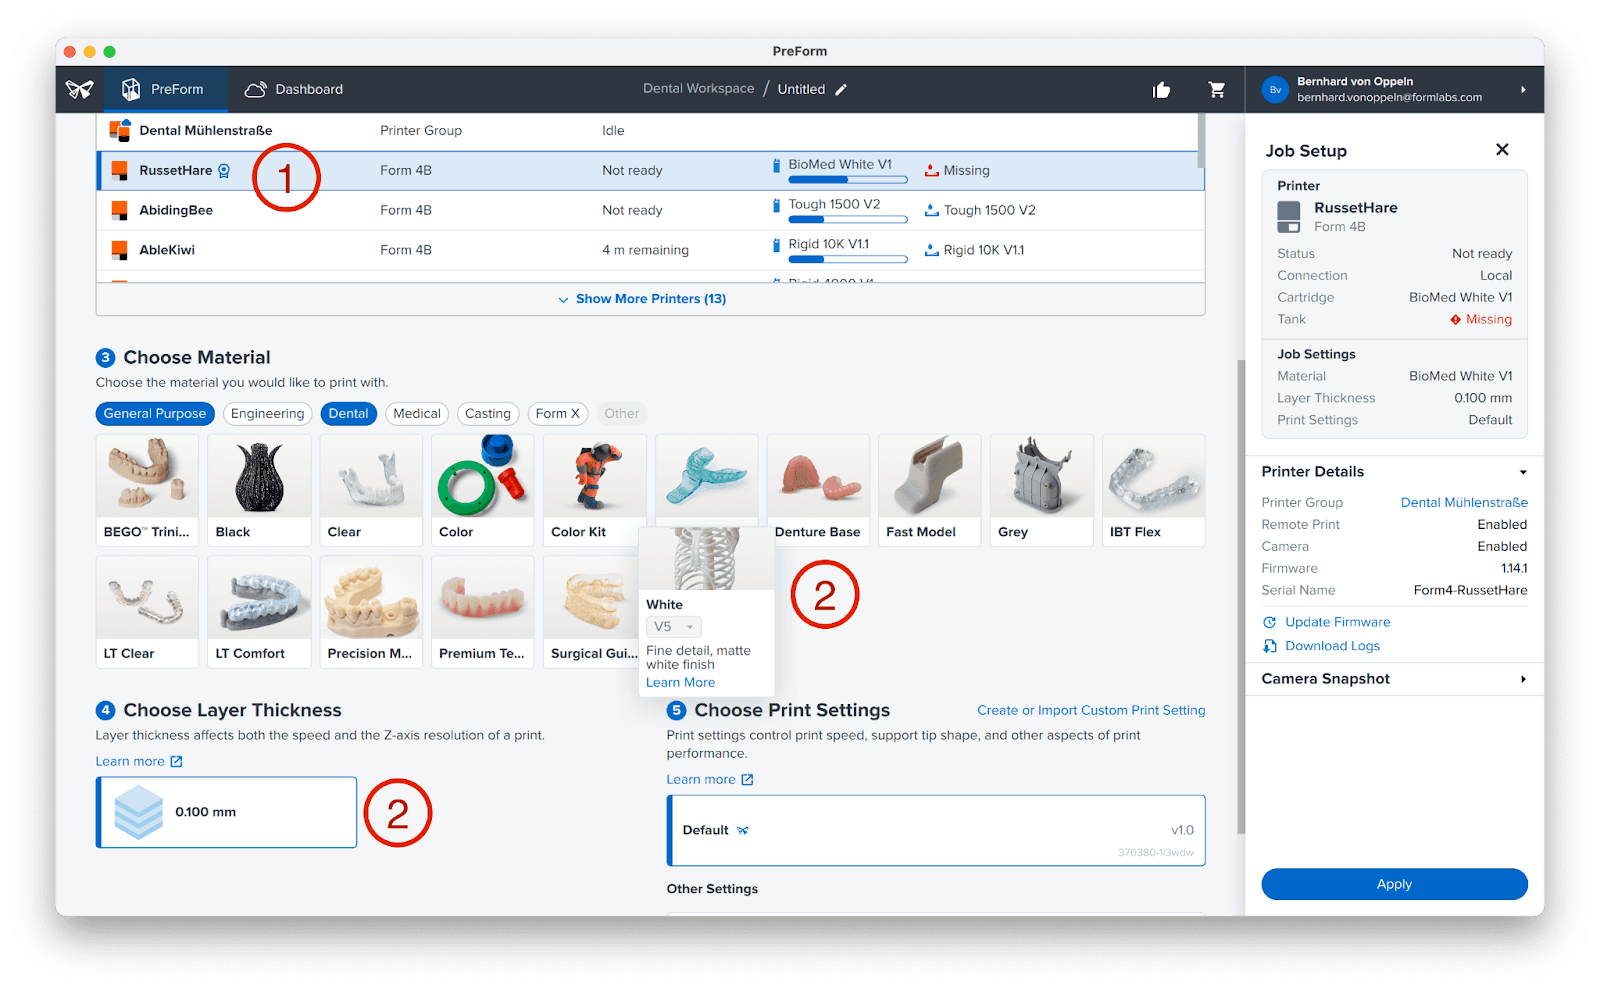
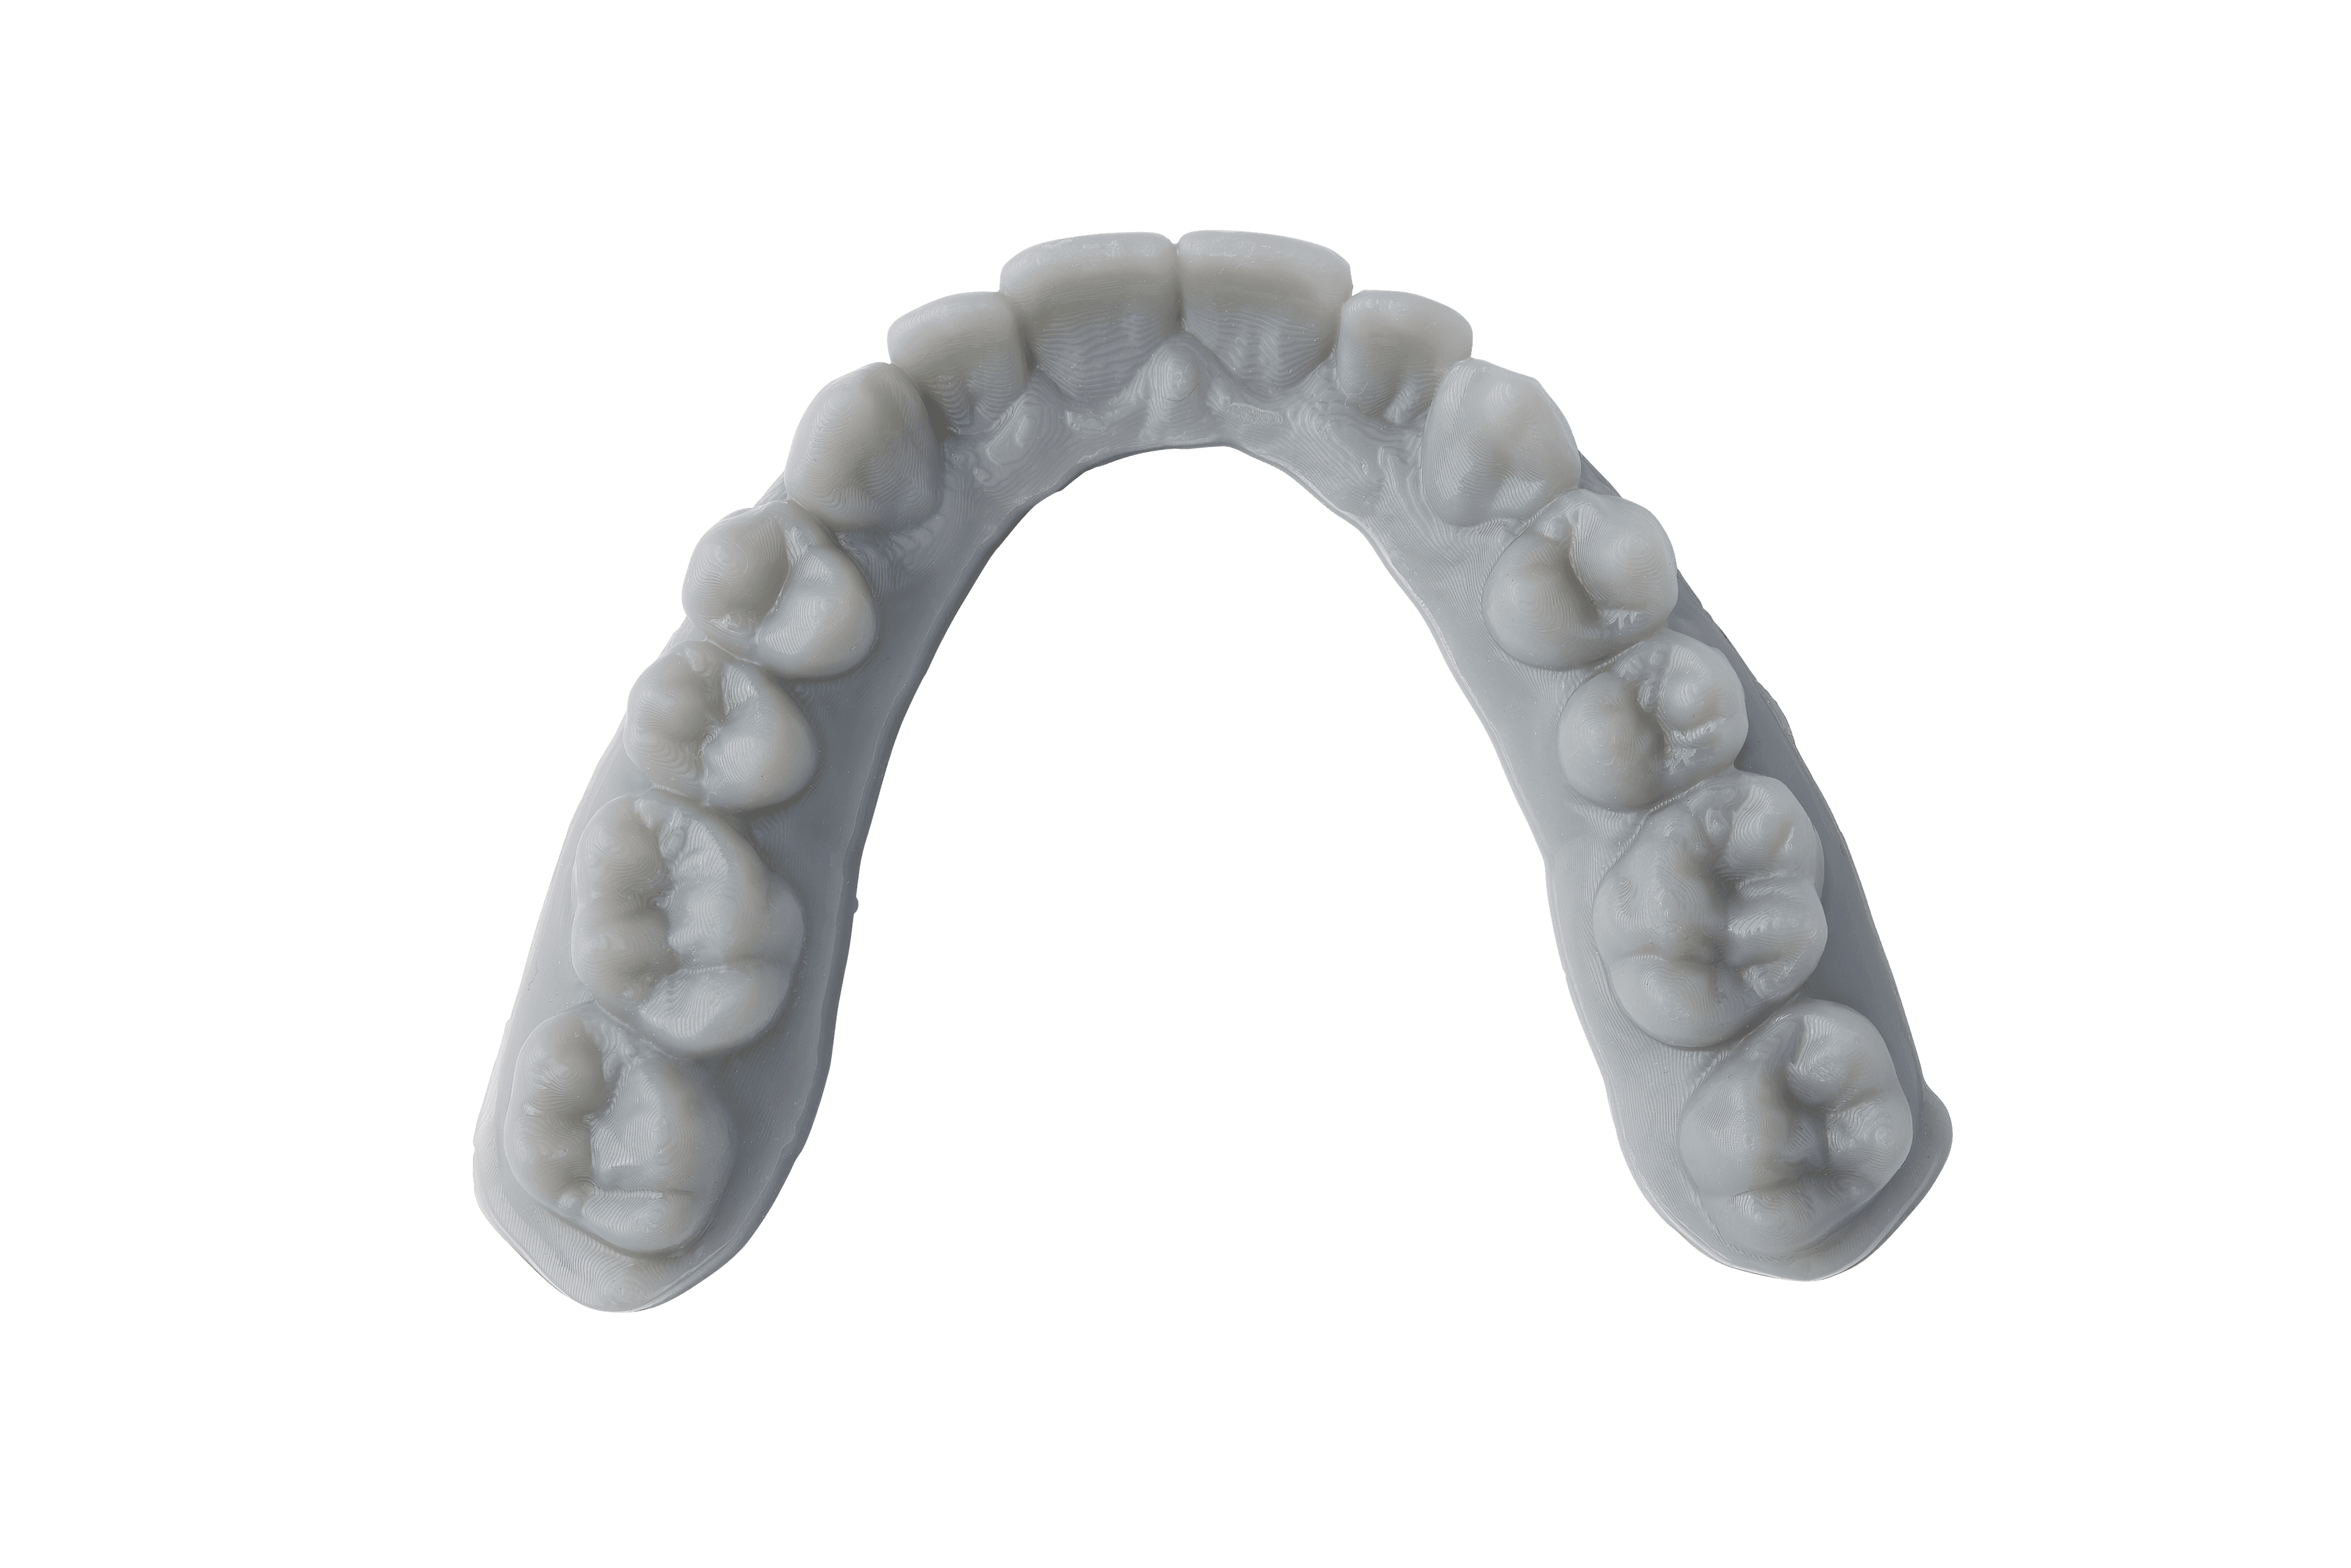
You can use Fast Model Resin, Precision Model Resin, White Resin, or Grey Resin, depending on your needs. In this example, we are going to use White Resin.
Fast Model Resin
Fast and accurate, ideal for orthodontic models
Precision Model Resin
Plaster-like high-accuracy models
White or Grey Resin
Impressive bright white or simple grey models for patient presentations
For orthodontic appliances of this nature, a layer thickness of 0.05 mm is recommended, as it offers the best combination of print time efficiency and surface quality.
We recommend leaving the model flat on the build plate for stability, decreased print time, and reduced resin consumption. Then, click Print Now. If your printer is not ready to print, the button will change to Upload to Queue, and will start printing once you have prepared your printer.
4. Start the Print
Go to your printer, shake the resin cartridge, and then insert the cartridge, a build platform, and a compatible resin tank into your Formlabs 3D printer.
Begin printing by selecting the print job from the printer’s touchscreen.
Follow any prompts or dialogs shown on the printer screen.
The printer will automatically complete the print.
5. Post-Process
5.1 Part Removal
CAUTION:
Always use nitrile gloves when handling uncured resin.
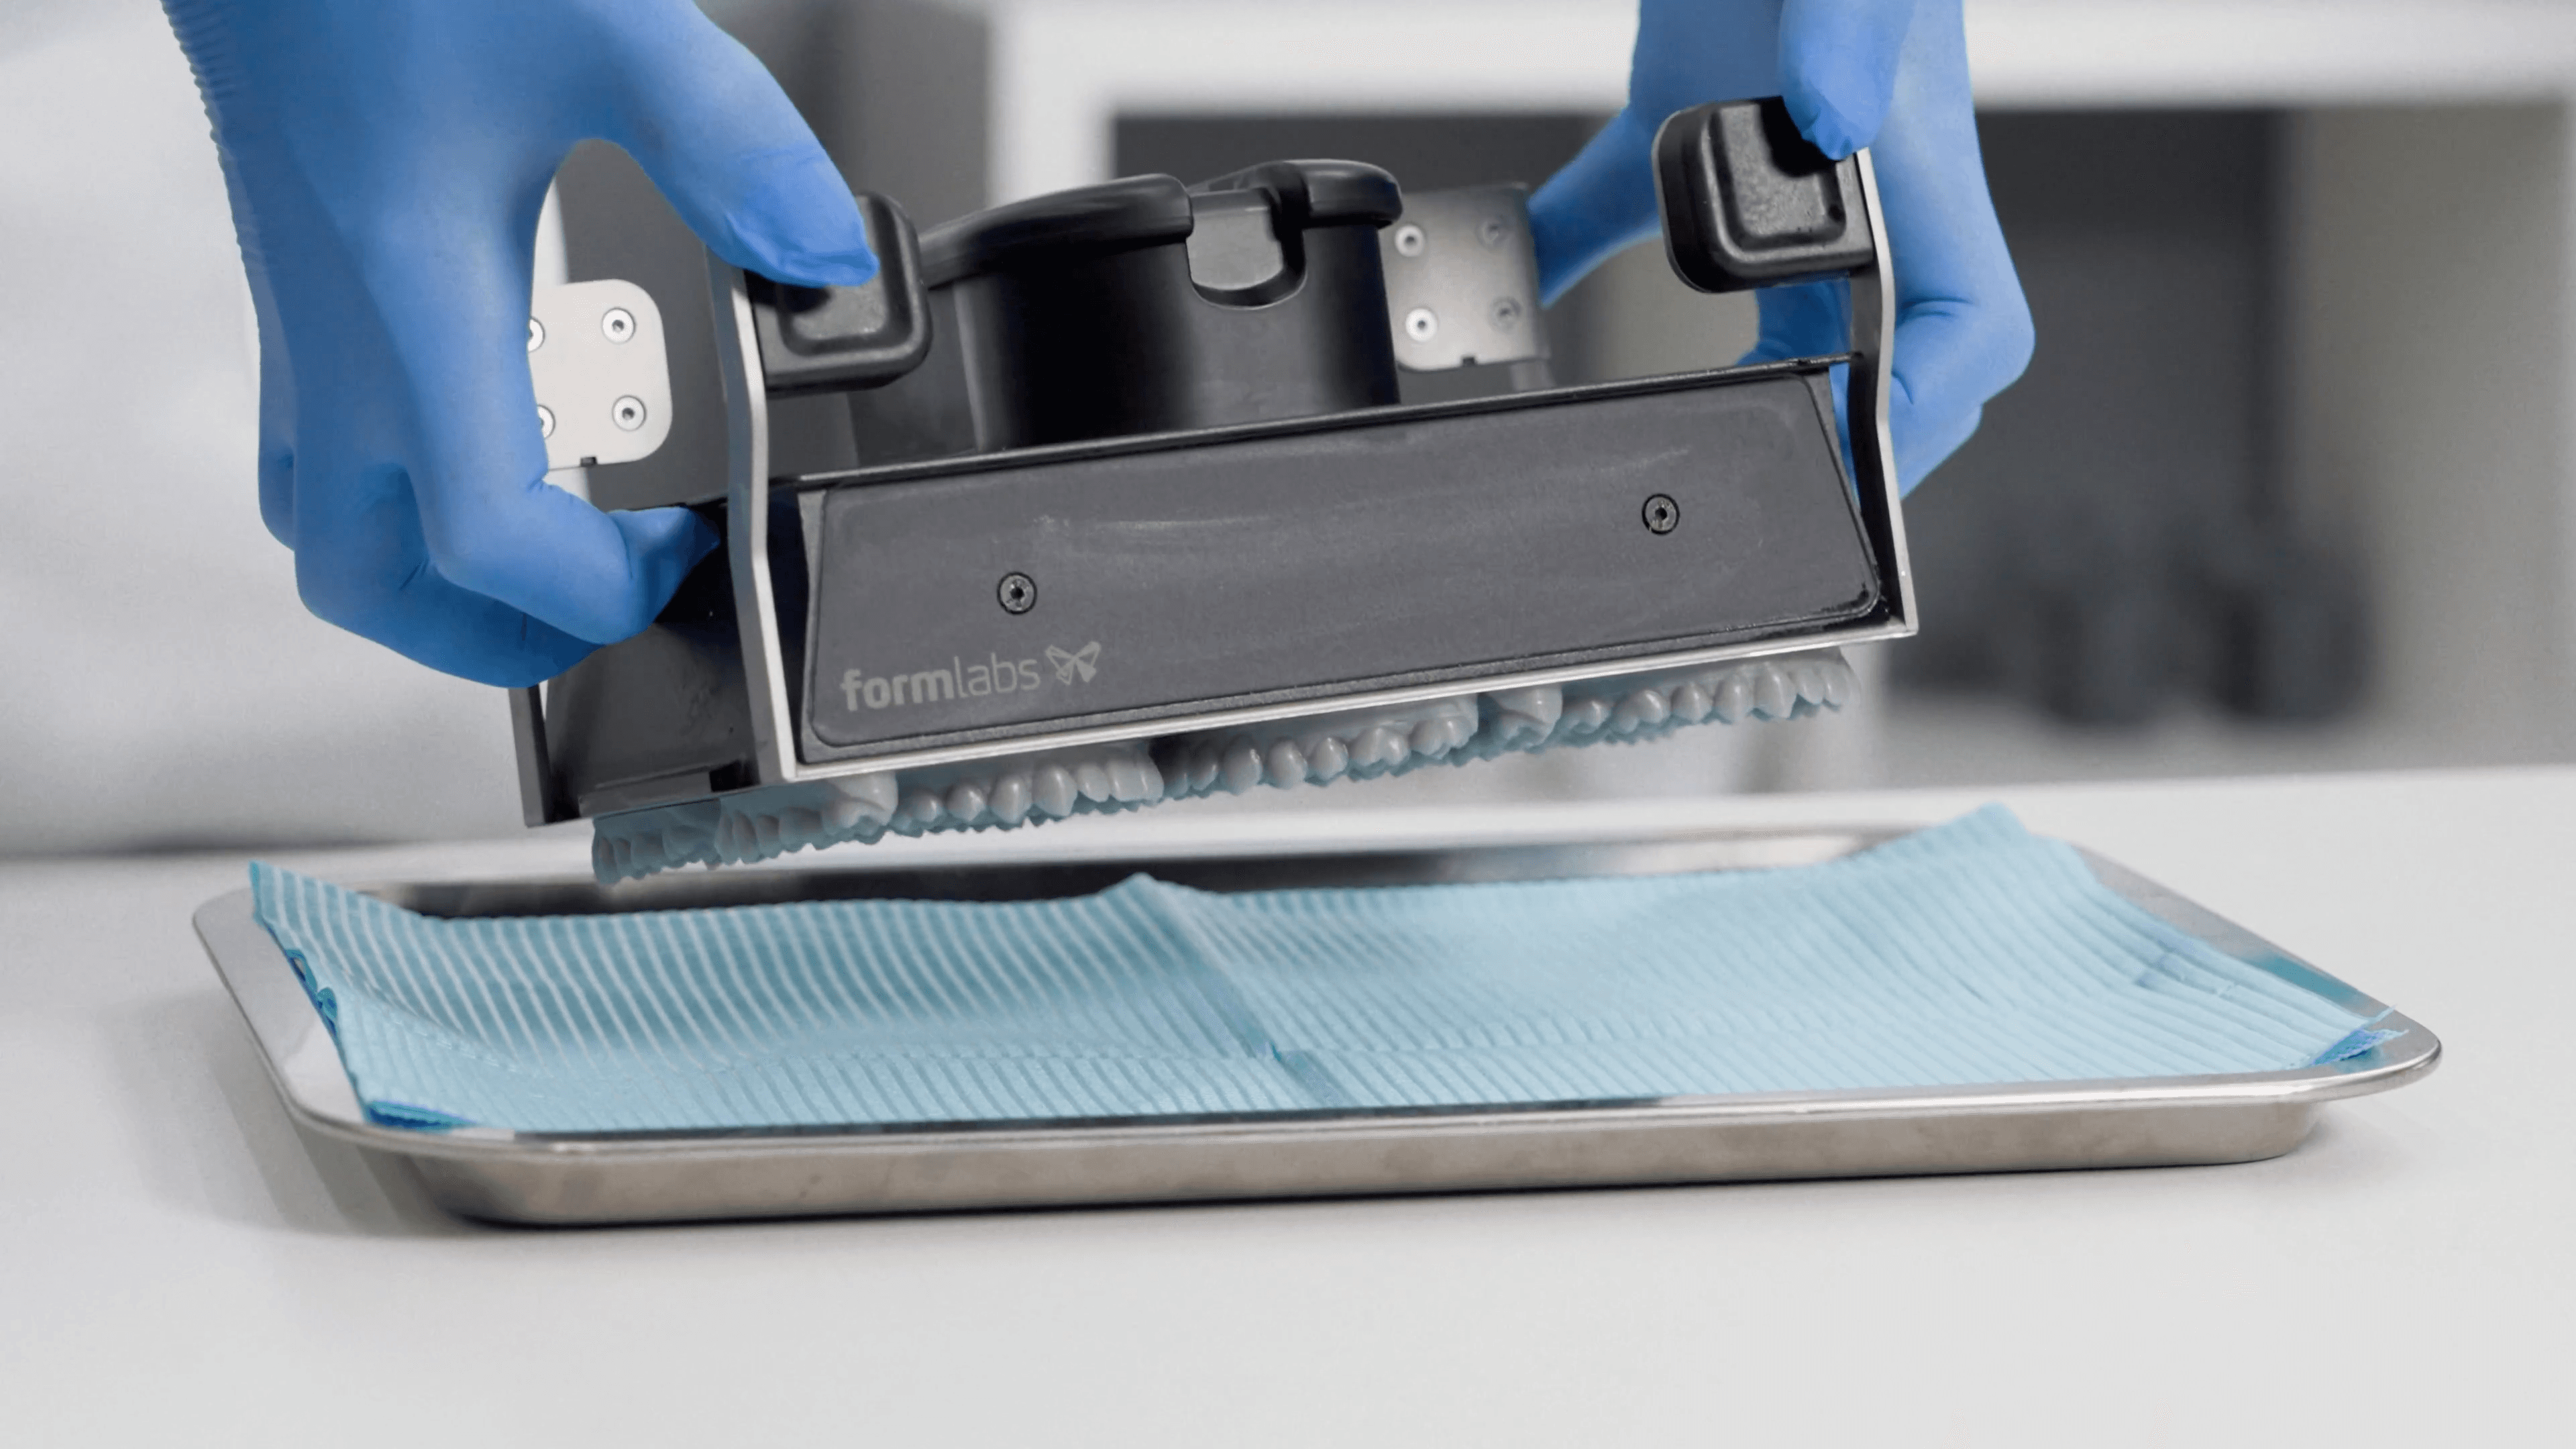
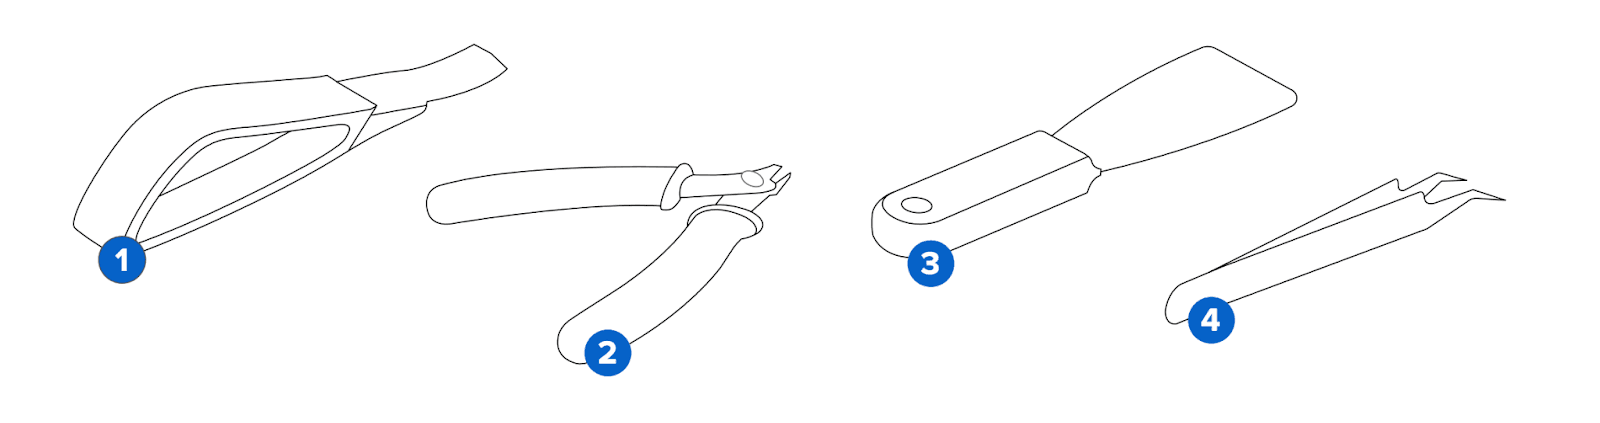
Remove printed parts from the build platform. If you printed on a Flex Build Platform, you just need to push the handles to pop off the model(s).
Otherwise, use a spatula (1) or the Part Removal Tool from the Finish Kit.
CAUTION:
Never apply force to the scraping tool toward your hand or body.
5.2 Wash
CAUTION:
When washing the printed part with solvent, ensure a properly ventilated environment and use protective masks and gloves. Expired or unused resin shall be disposed of in accordance with local regulations.
Wash the parts in a Form Wash or using the Finish Kit buckets. Models can be washed either using IPA or the Formlabs Resin Washing Solution. Learn more about washing models in this article.
5.2.1 Dry and Inspect
After removing parts from the wash, allow them to air dry at room temperature in a well-ventilated area for approximately 30 minutes. The drying process can be expedited using compressed air. Ensure all alcohol has completely evaporated before proceeding.
After printing and washing, thoroughly inspect parts to ensure they are clean and dry. No residual alcohol, excess liquid resin, or residue particles should remain on the surface before proceeding. If wet, uncured resin is still present after drying, submerge the part in clean IPA for approximately one minute, or use a squeeze bottle, then re-dry the parts as previously described.
5.3 Post-Cure
After washing and drying, place the models into the Form Cure. Select the appropriate preset on the Form Cure, and start the curing process.
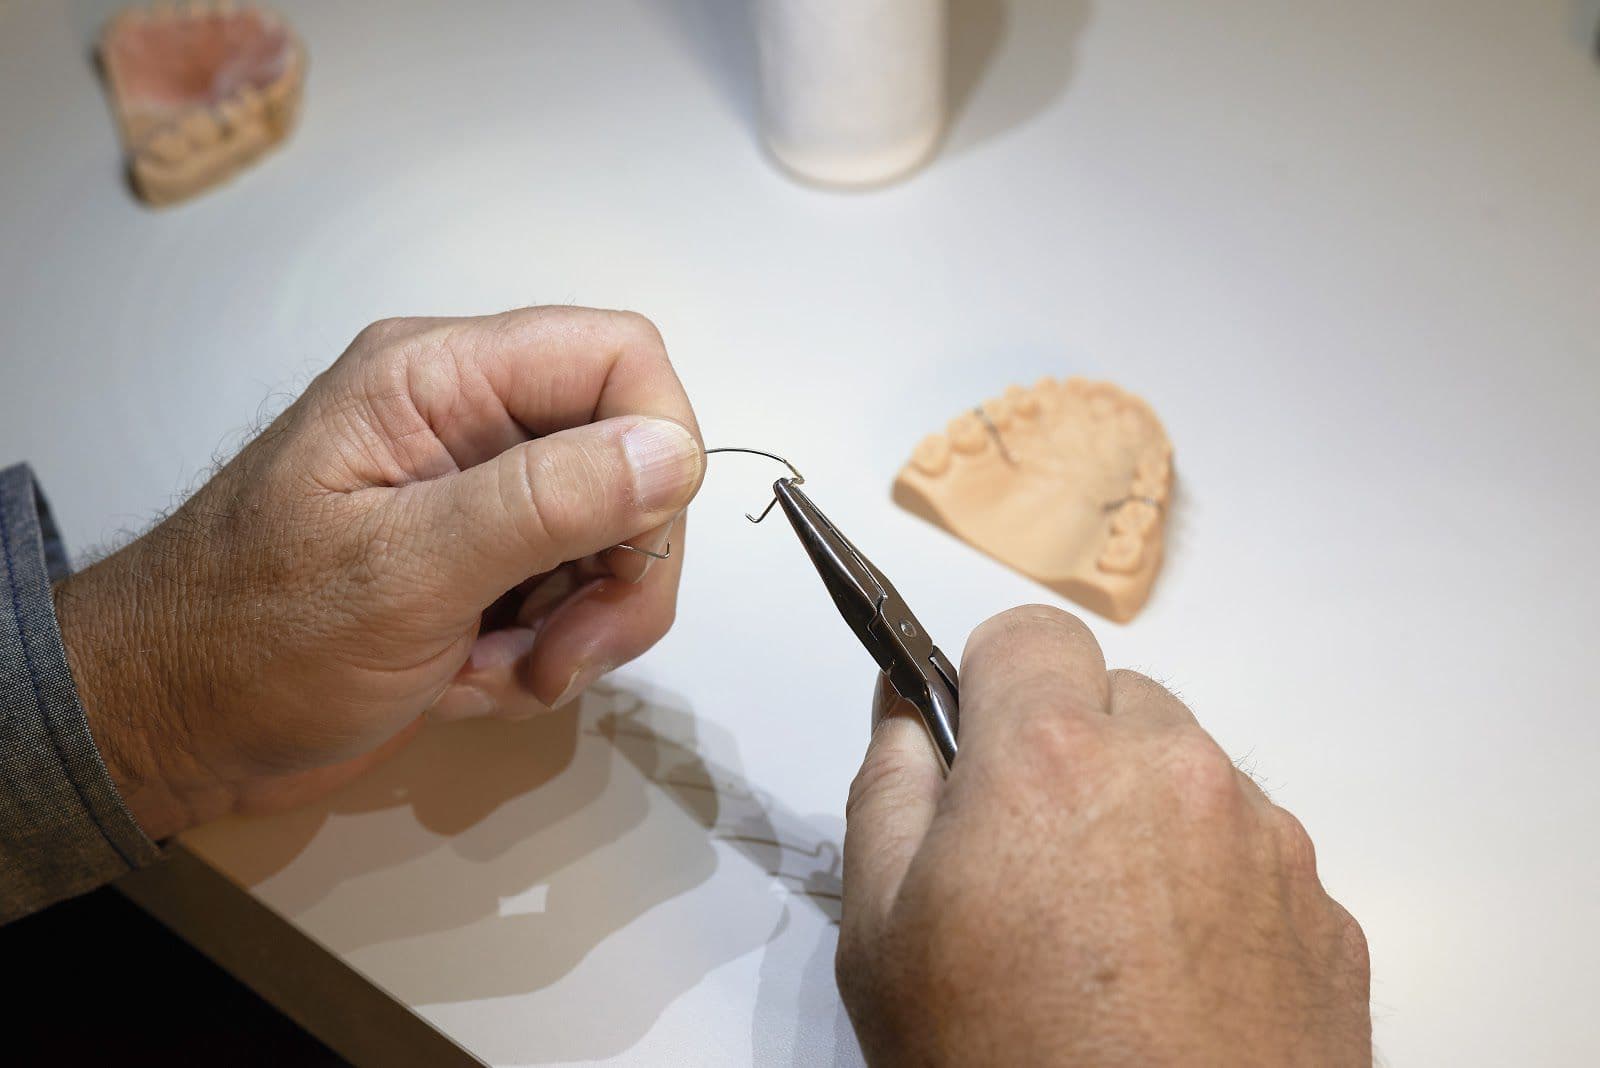
6. Create the Wire Frame
From this step, the workflow is identical to the traditional workflow for creating Hawley retainers.
WARNING:
Welding and Soldering on 3D Printed Models
When an appliance requires welding on a 3D-printed model, laser welding is the recommended technique. This method is preferred because it prevents the heat-related deformation or "heat soaking" that can occur with conventional welding. Crucially, never use open-flame soldering directly on printed models, as they are flammable. If soldering is necessary for the appliance, always use a separate, dedicated soldering model.
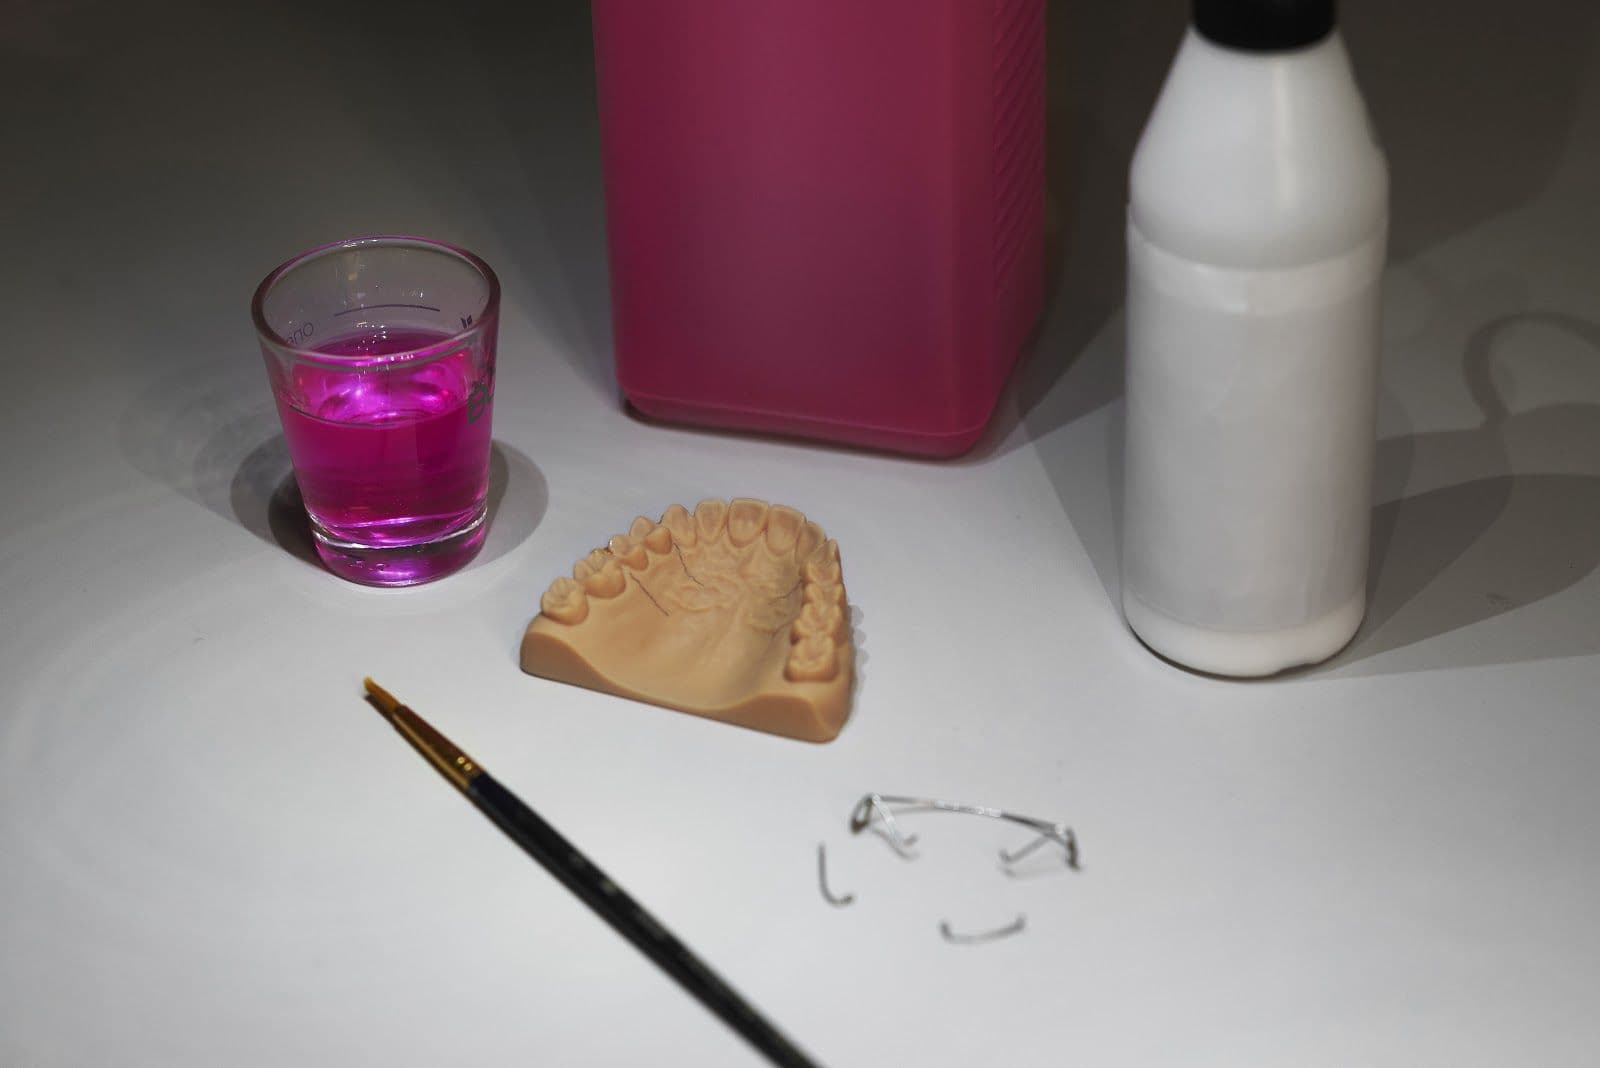
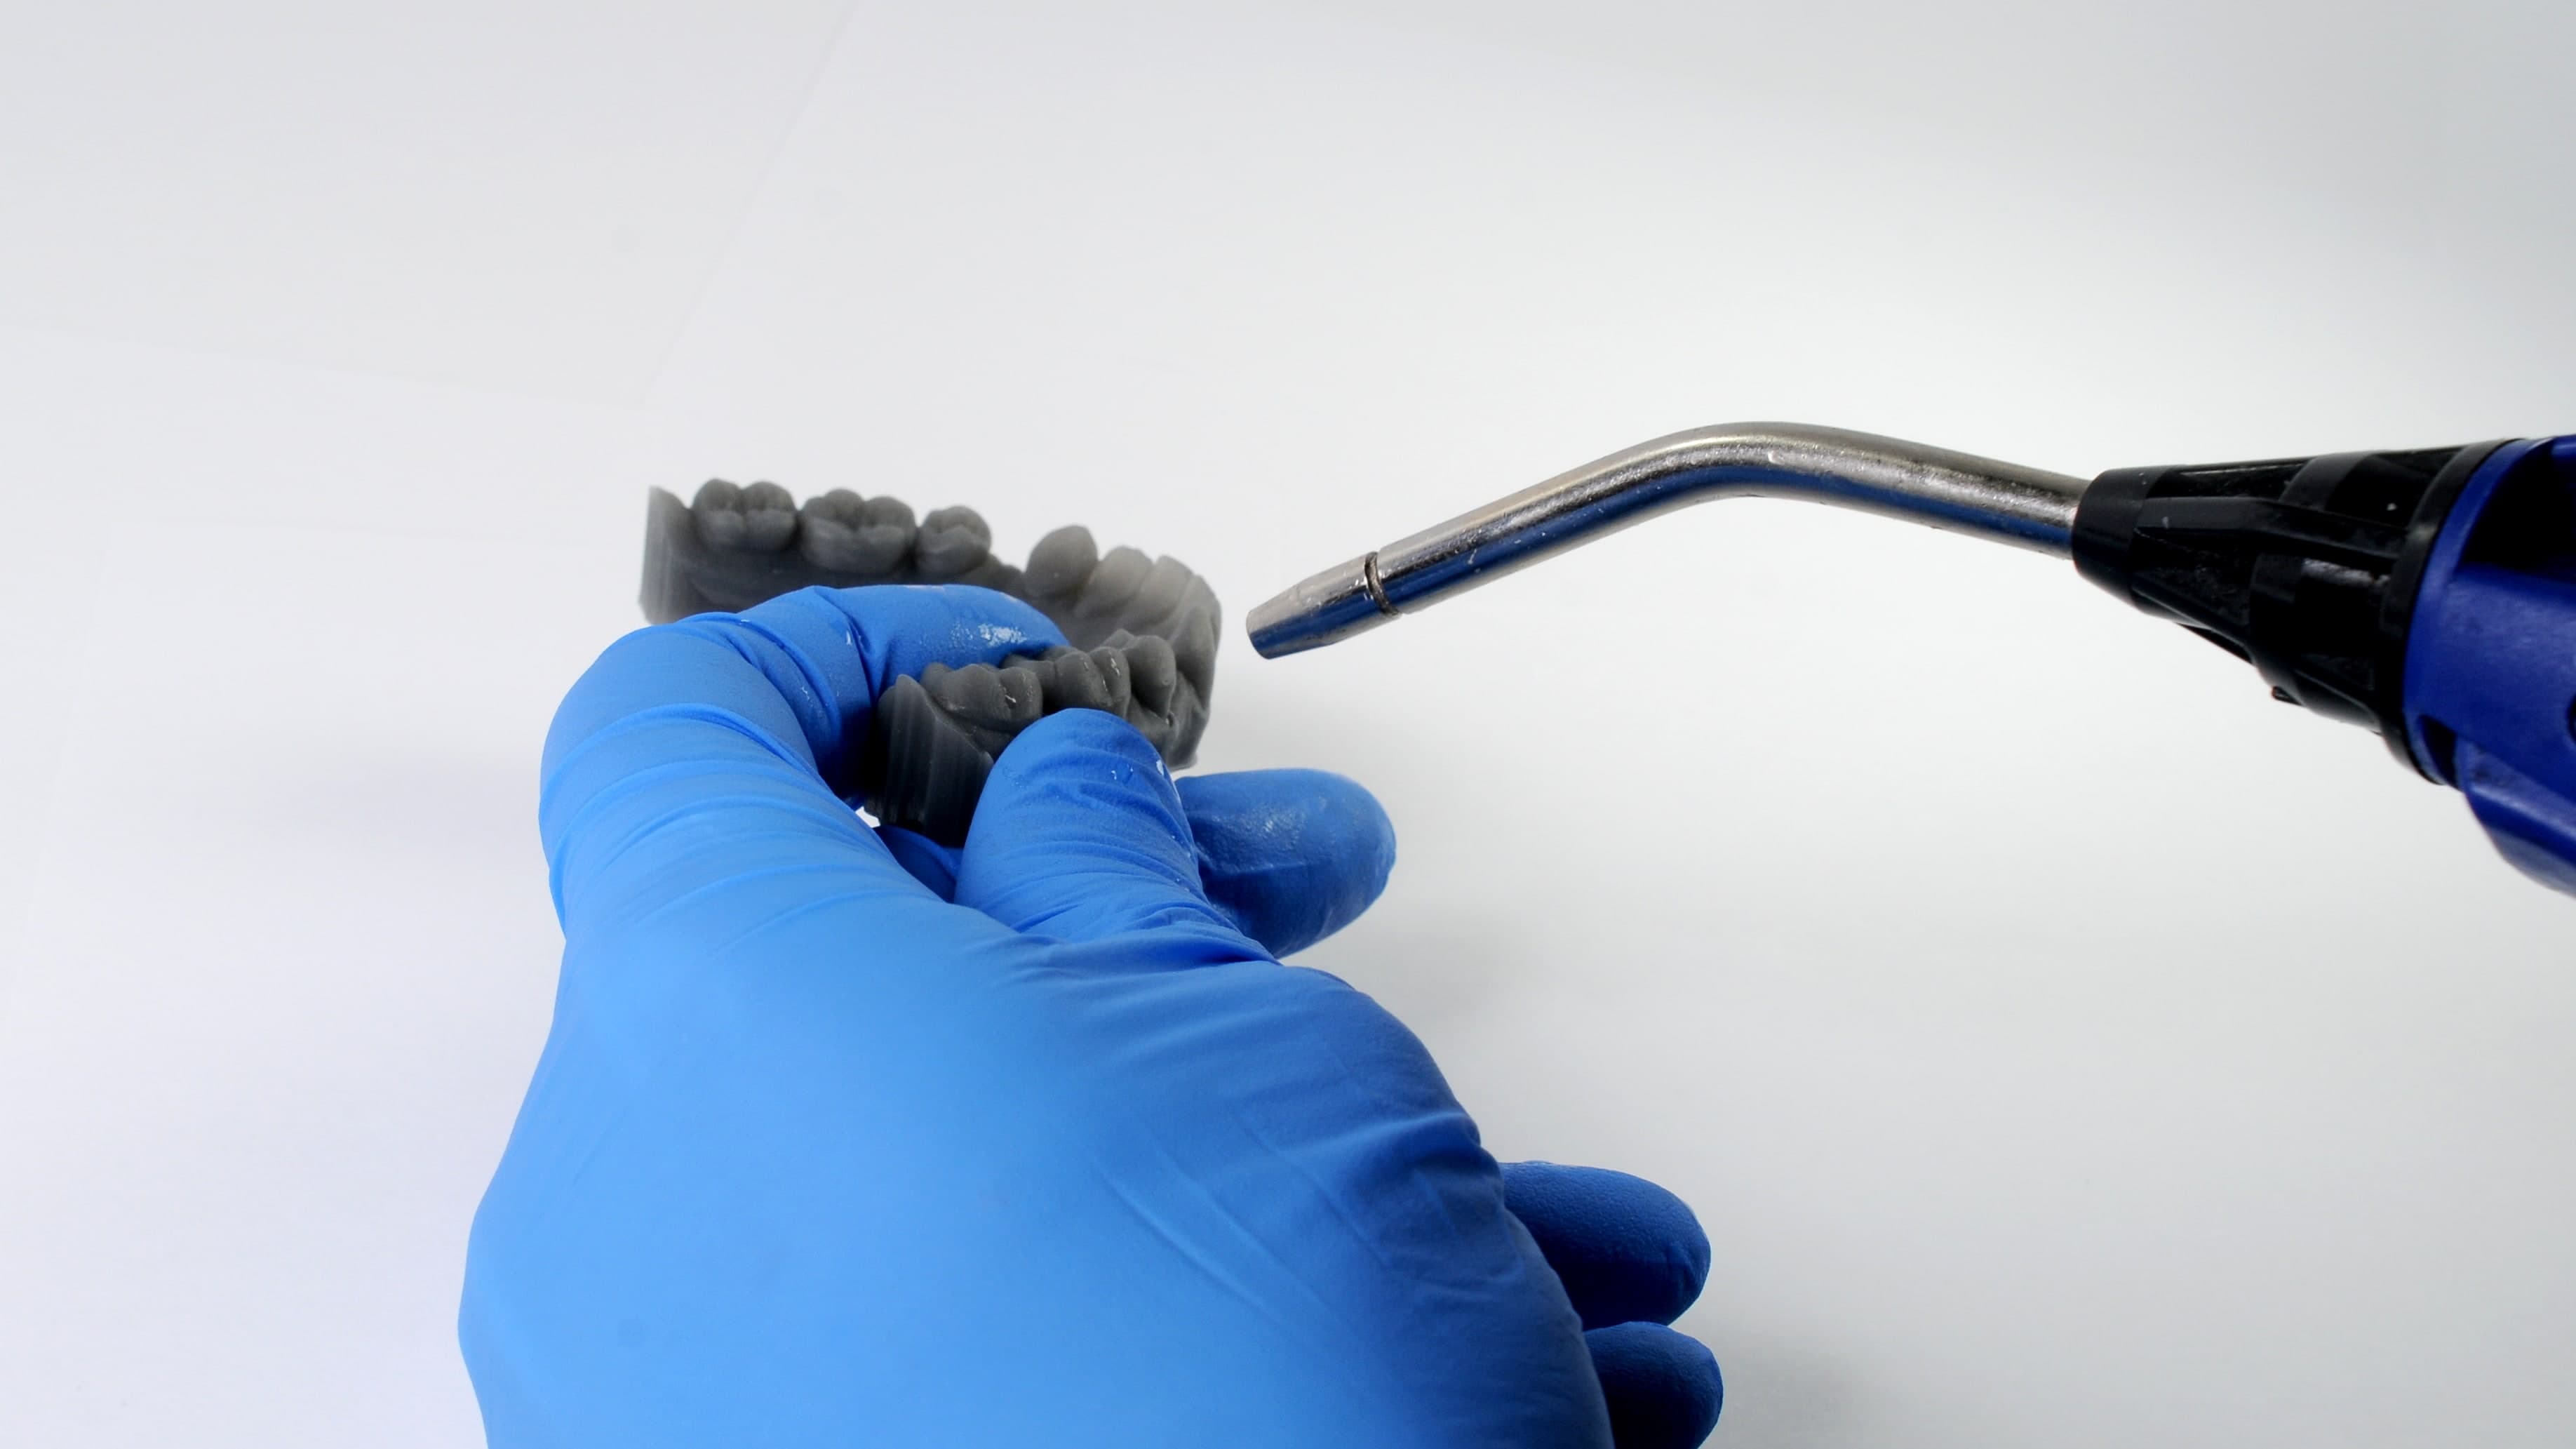
7. Apply Separator
To prevent the acrylic plate from bonding to the printed model, apply a separating medium.
Make sure to avoid the vestibular surfaces, as this will help secure the wire elements.
Formlabs has tested and recommends the following dental separators on the basis of separation effectiveness and wax retention.
|
SEPARATOR |
EFFECTIVENESS OF SEPARATION |
WAX RETENTION |
|---|---|---|
|
Siliform BEA |
Effective |
Not good |
|
Henry Schein Separating Film, Clear. P/N 101-8847 |
Effective |
Very effective |
|
Valplast V-sep Denture Separator. P/N 20256 |
Effective |
Very effective |
|
IMPRIMO Model Separator (Scheu Dental) |
Very good |
Effective |
|
SHERAiso-3d (SHERA) |
Very good |
Effective |
|
3D-separating-medium (Dentaurum) |
Very good |
Effective |
|
Palaferm (Kulzer) |
Very good |
Very effective |
Note:
Newer products specifically formulated for 3D printed models are the best options. These are often alginate-based separators that effectively work with acrylics. Refer to the above list for products from Scheu, Shera, and Dentaurum, and confirm their availability in your region.
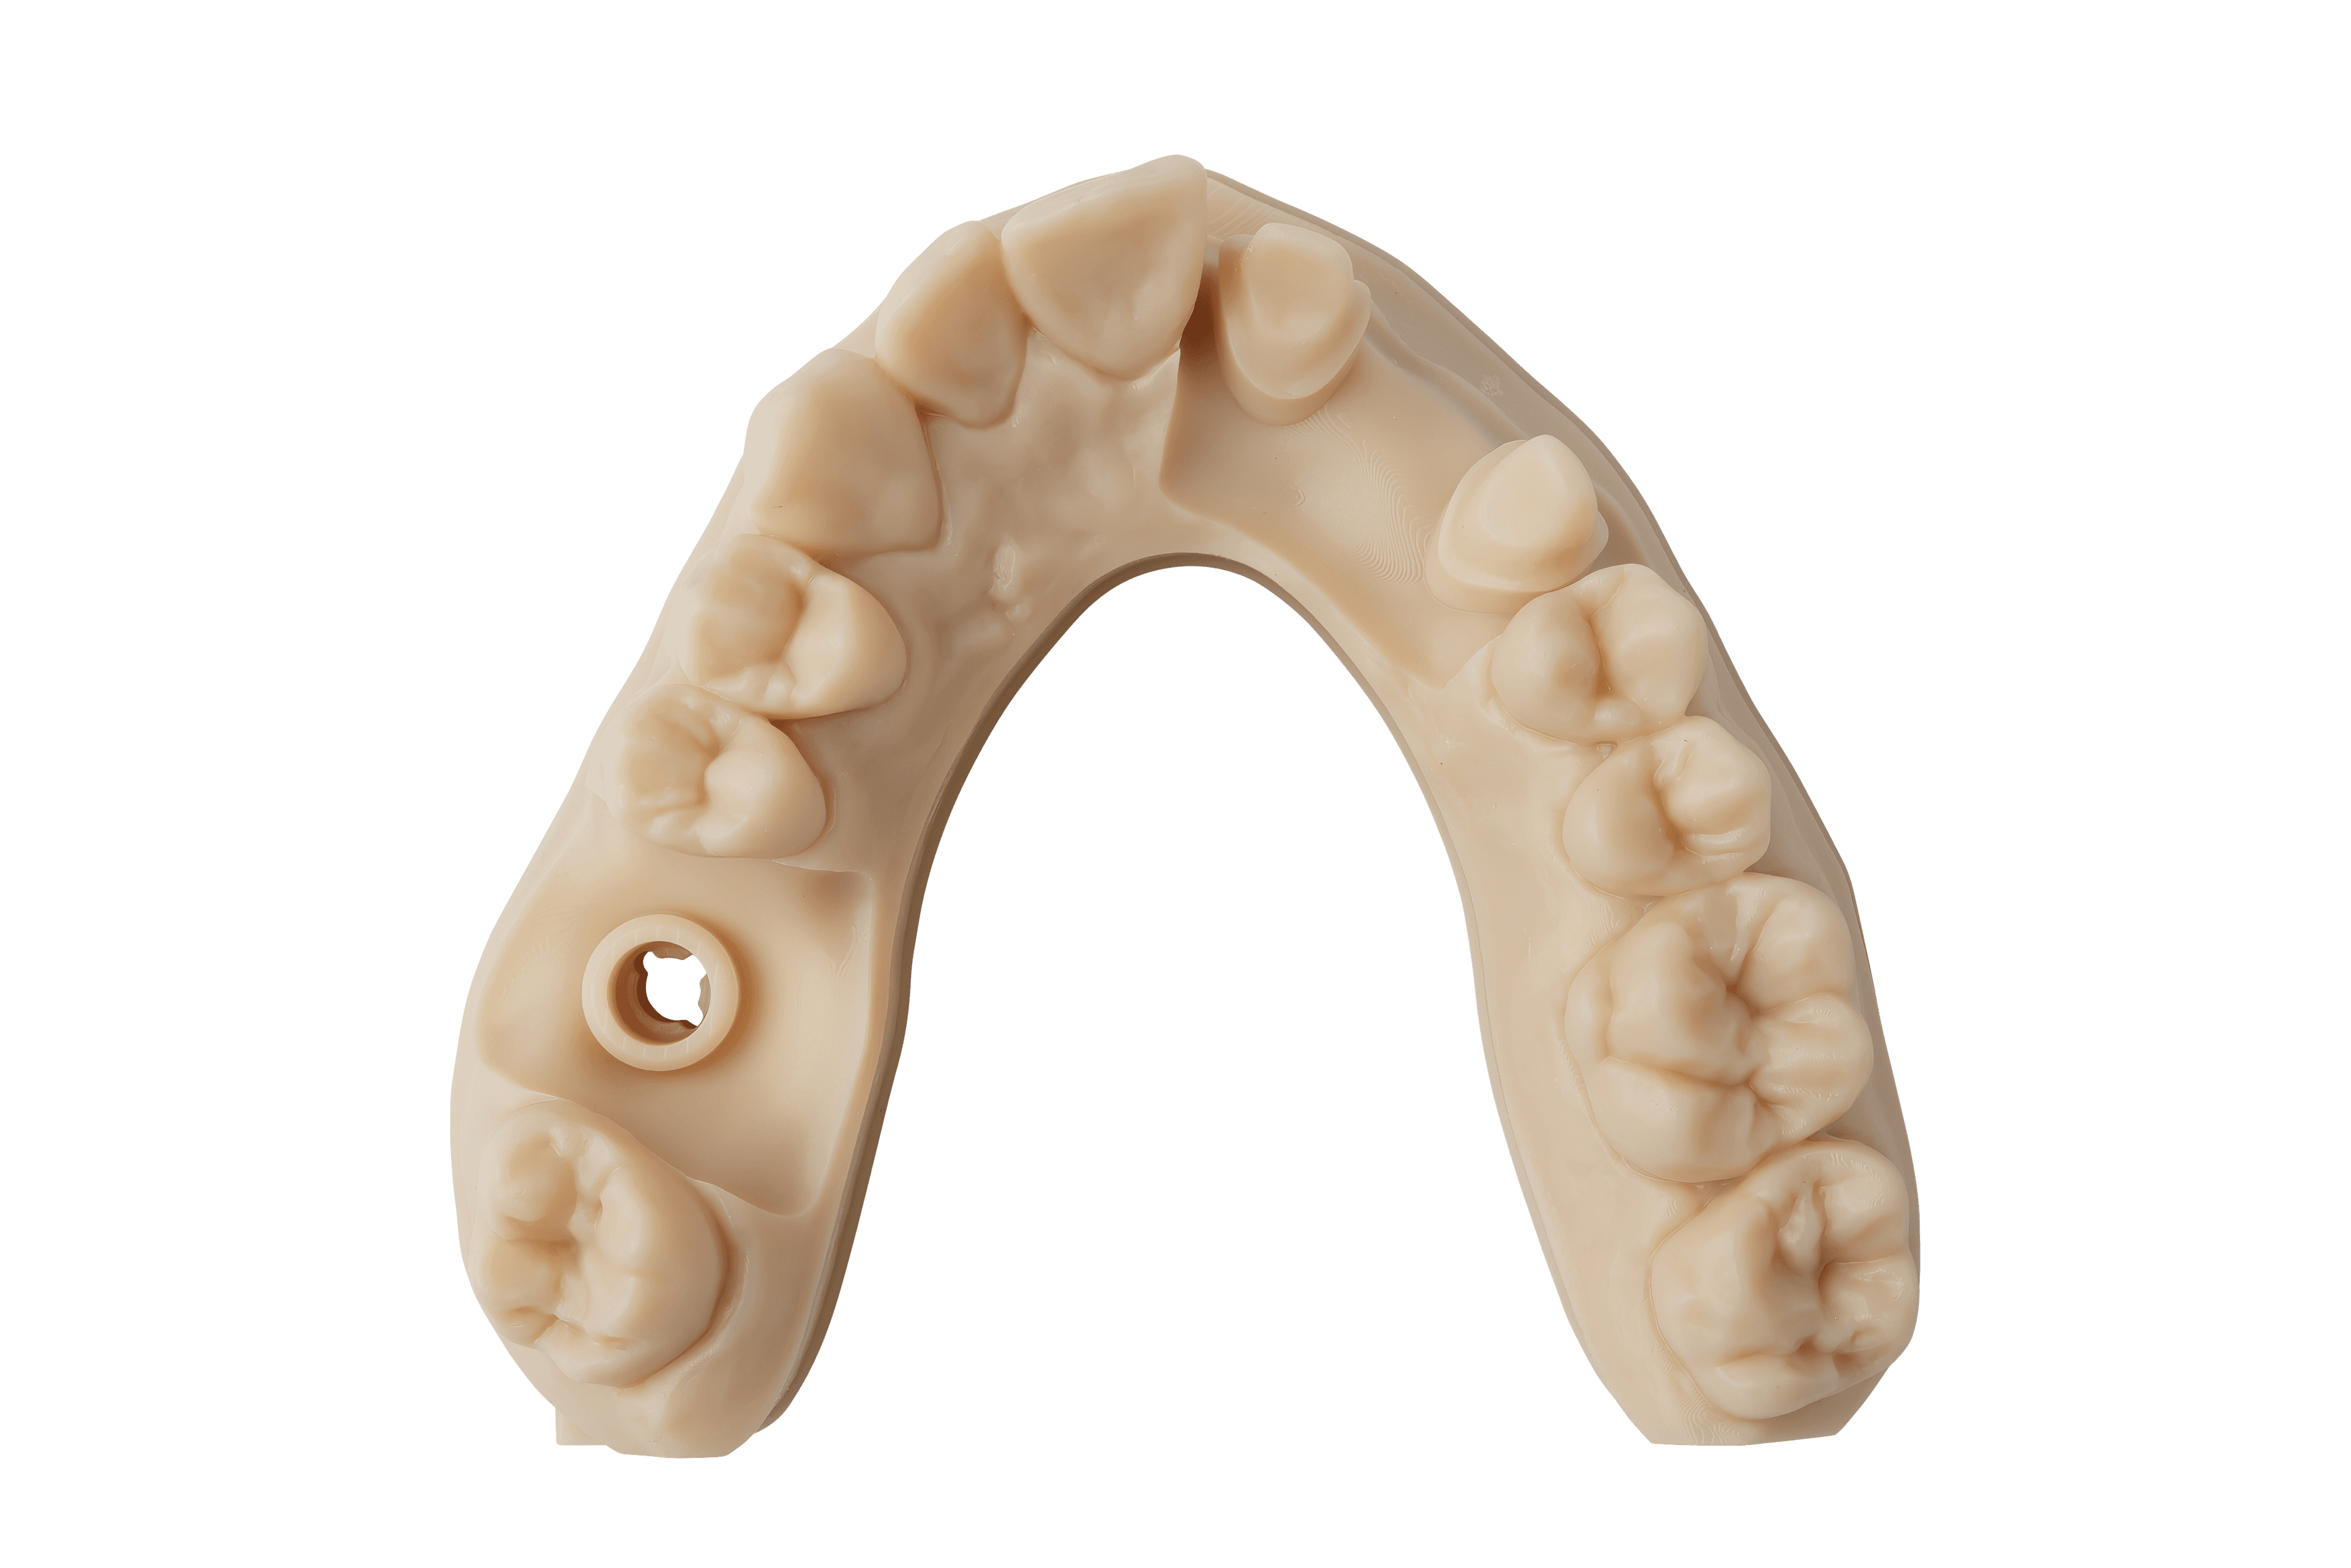
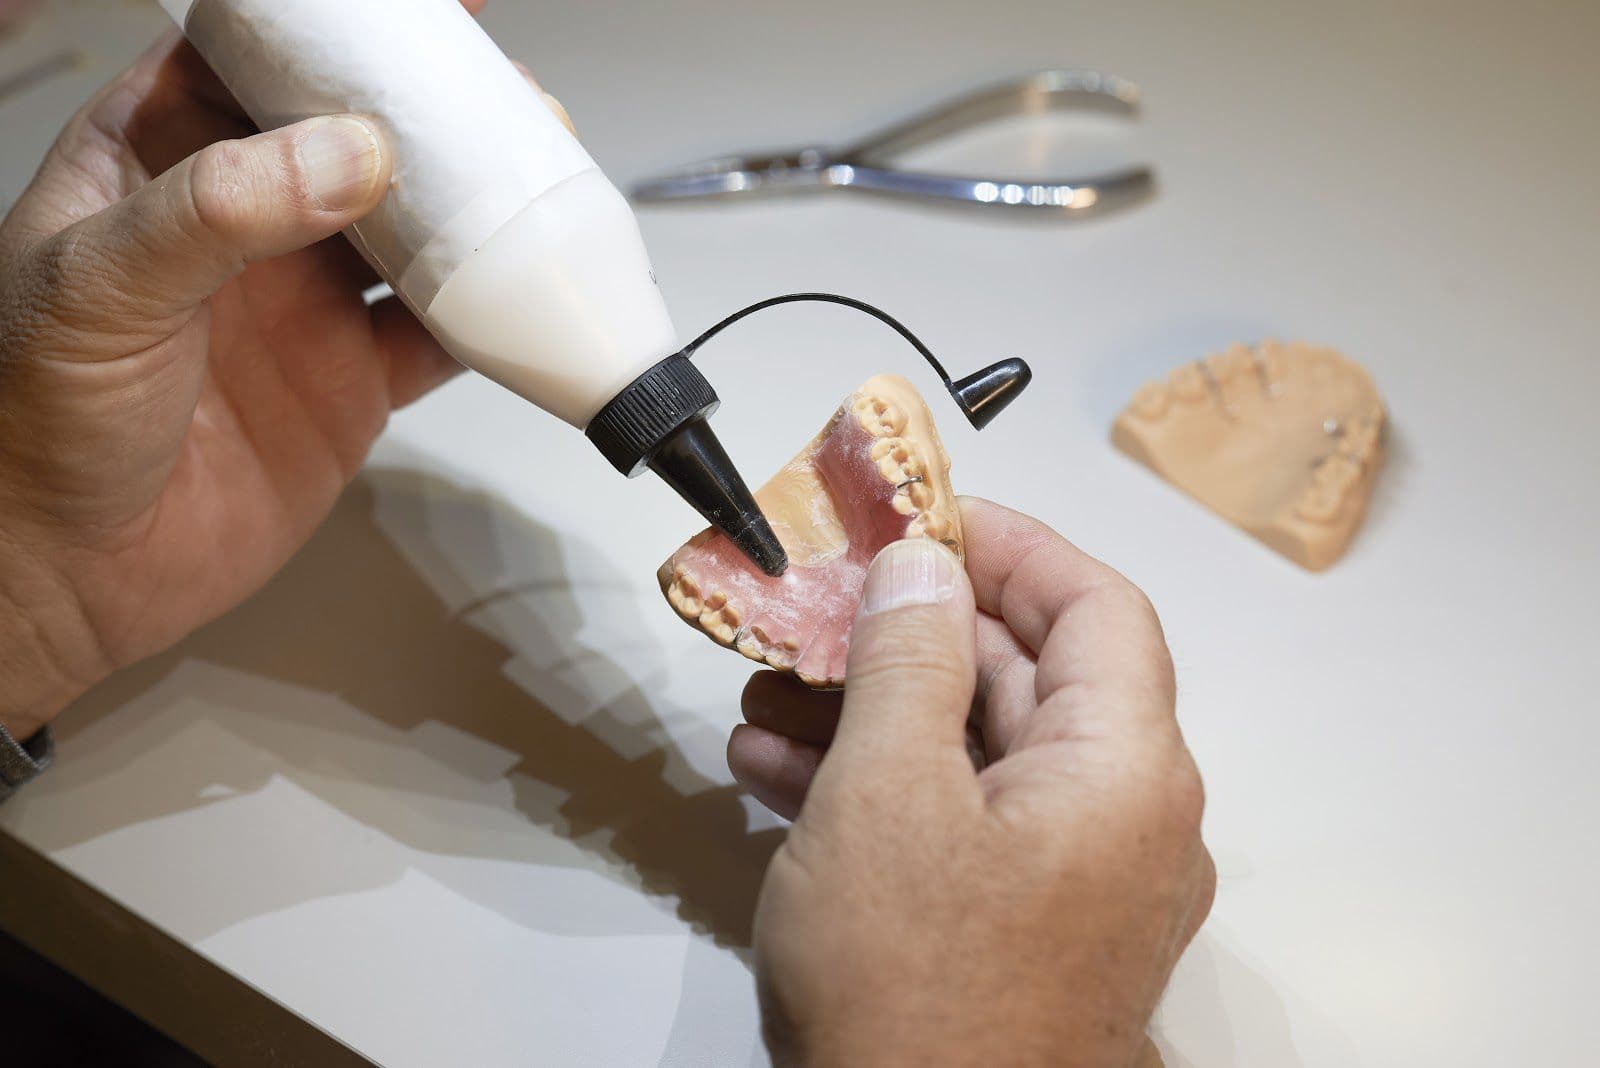
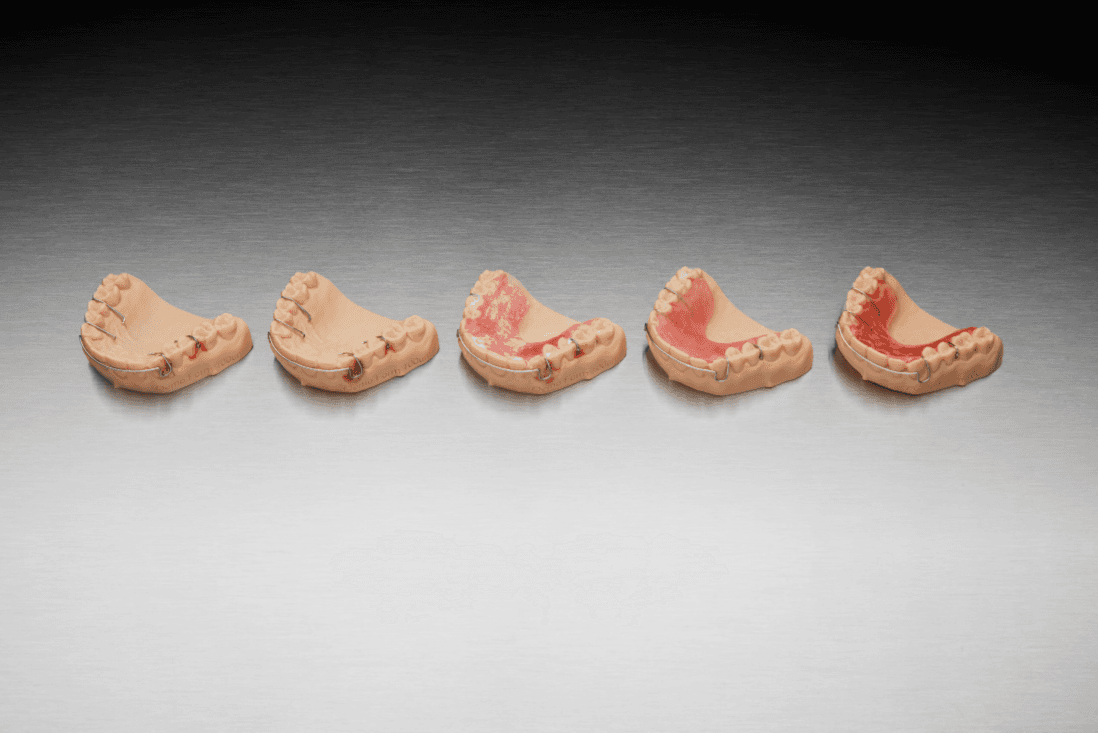
8. Apply Acrylic
To begin, secure all metal components (wires, clasps, screws) onto the model, using sticky wax or an equivalent material to hold them in place. For better adherence of the metal parts, it is helpful to avoid applying the acrylic separator on the occlusal and vestibular surfaces of the model. Next, create the acrylic plate using the "salt & pepper" technique. Finally, polymerize the plate while it is on the model, adhering to the acrylic manufacturer's specific instructions.
WARNING:
Liquid MMA monomers can be extremely flammable, volatile, and pose a health risk. Ensure that all acrylic work is in accordance with the hazards and safety precautions of the specific materials, and follow the instructions for use.
9. Finish
After removing the acrylic retainer from the model, use standard acrylic tools to cut it to its final shape. Minimal polishing may be required on the intaglio side, particularly when using the recommended 0.05 mm model layer height. Proceed with sanding and polishing the appliance as you normally would. A final fit check on the model is recommended to confirm that all wire components are properly adapted and positioned.
WARNING:
Polishing on a lathe using pumice and a gloss compound offers effective results, but presents a hazard: the polishing wheel can potentially catch on wire elements. Exercise caution.
Additional Resources
Explore Formlabs dental resources for in-depth guides. step-by-step tutorials, white papers, webinars, and more.
Dentistry Made Easier
Form 4B is a blazing fast dental 3D printer that offers the most diverse materials library for dentistry and orthodontics. Create high-quality dental models and biocompatible appliances fast, with easy workflows, leading reliability, and stunning part quality using the Form 4B ecosystem.