
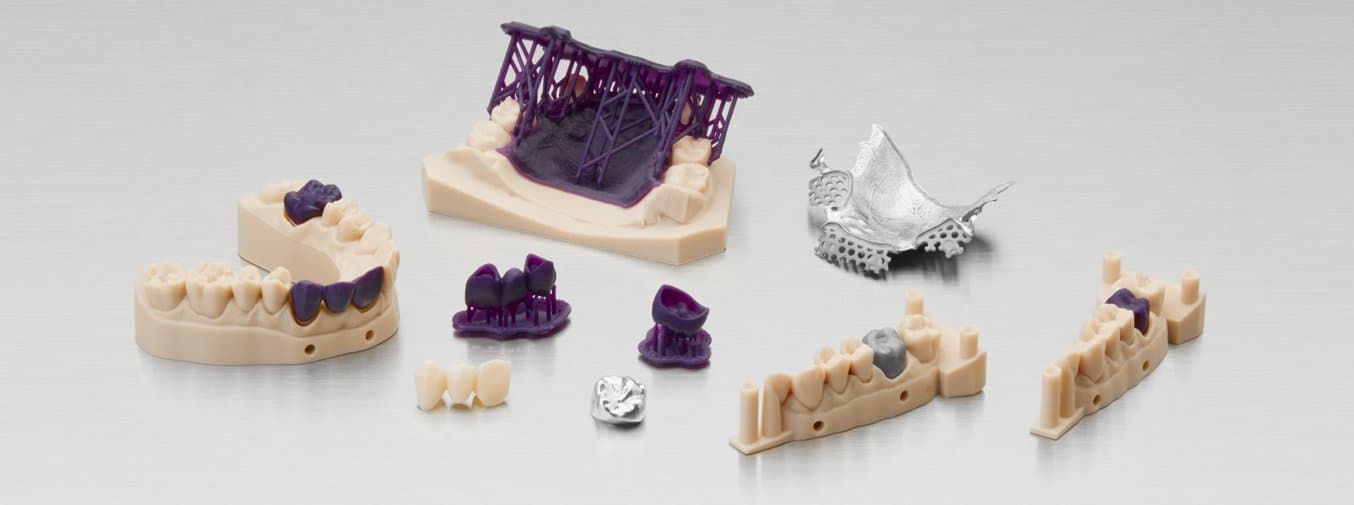
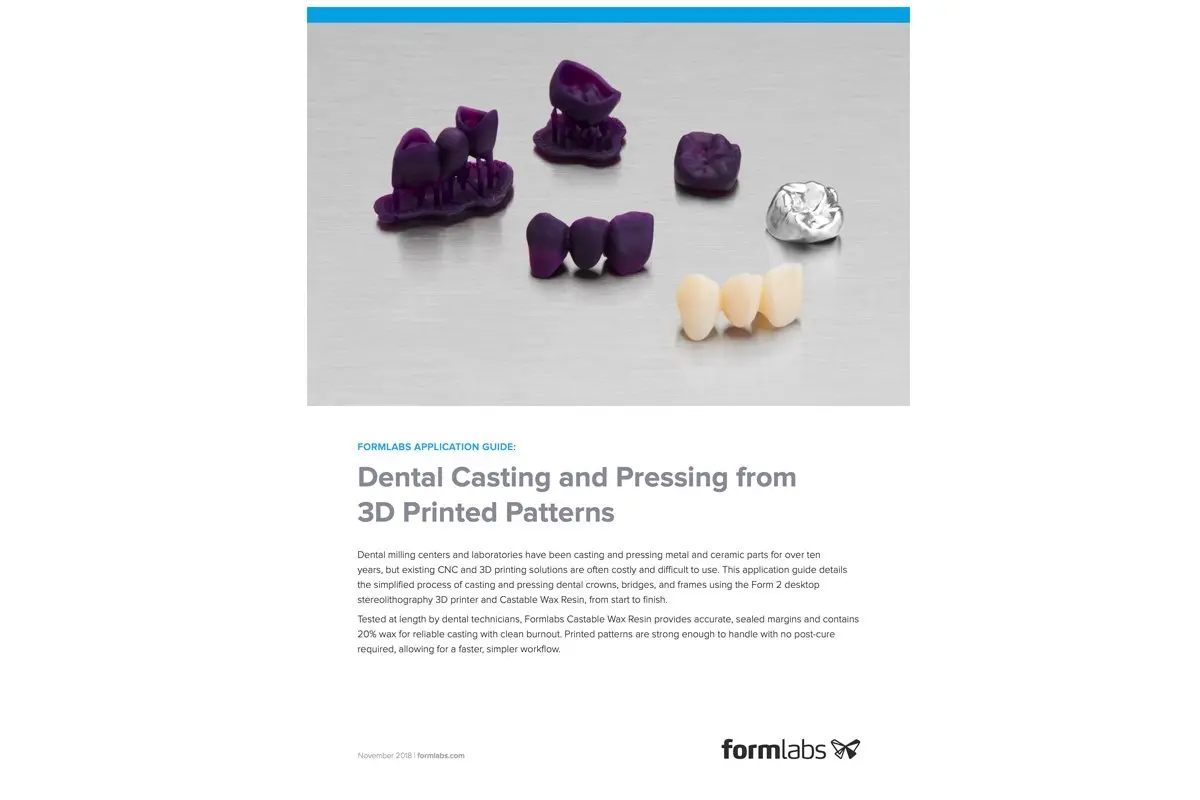
Dental Casting and Pressing from 3D Printed Patterns
Dental milling centers and laboratories have been casting and pressing metal and ceramic parts for over ten years, but existing CNC and 3D printing solutions are often costly and difficult to use. This application guide details the simplified process of casting and pressing dental crowns, bridges, and frames using Formlabs desktop stereolithography 3D printers and Castable Wax Resin, from start to finish.
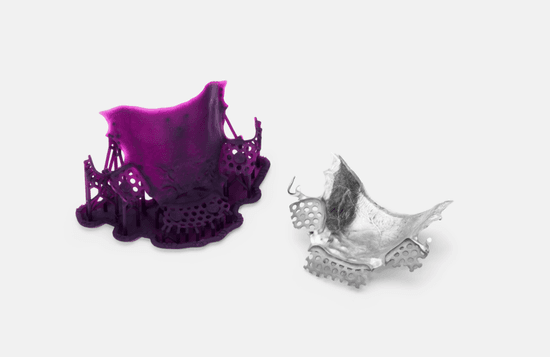
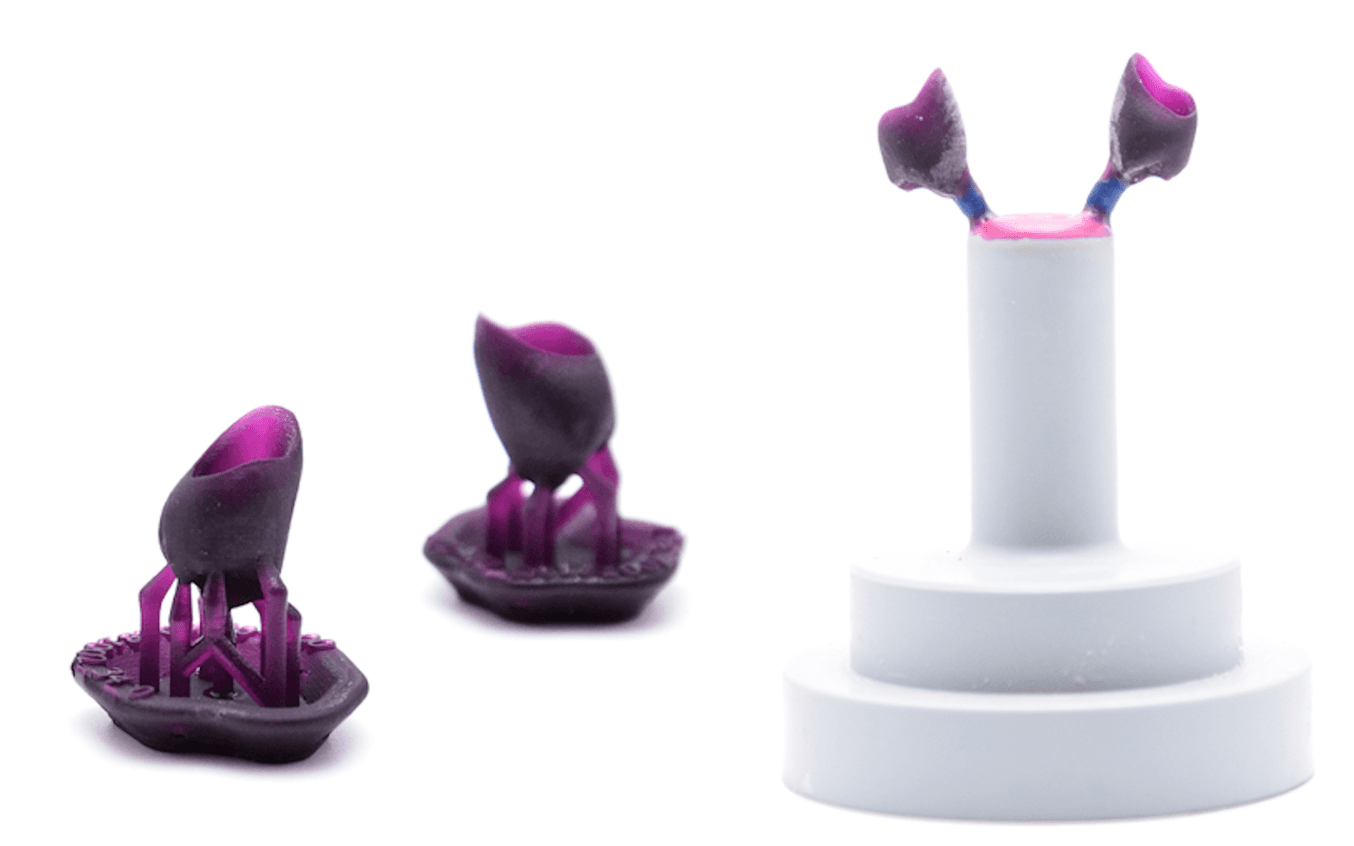
Tested at length by dental technicians, Formlabs Castable Wax Resin provides accurate, sealed margins and contains 20% wax for reliable casting with clean burnout. Printed patterns are strong enough to handle with no post-cure required, allowing for a faster, simpler workflow.
Dental Casting and Pressing from 3D Printed Patterns
Would you like to save this guide, print it, or share it with colleagues? Download it as a PDF.
Essentials
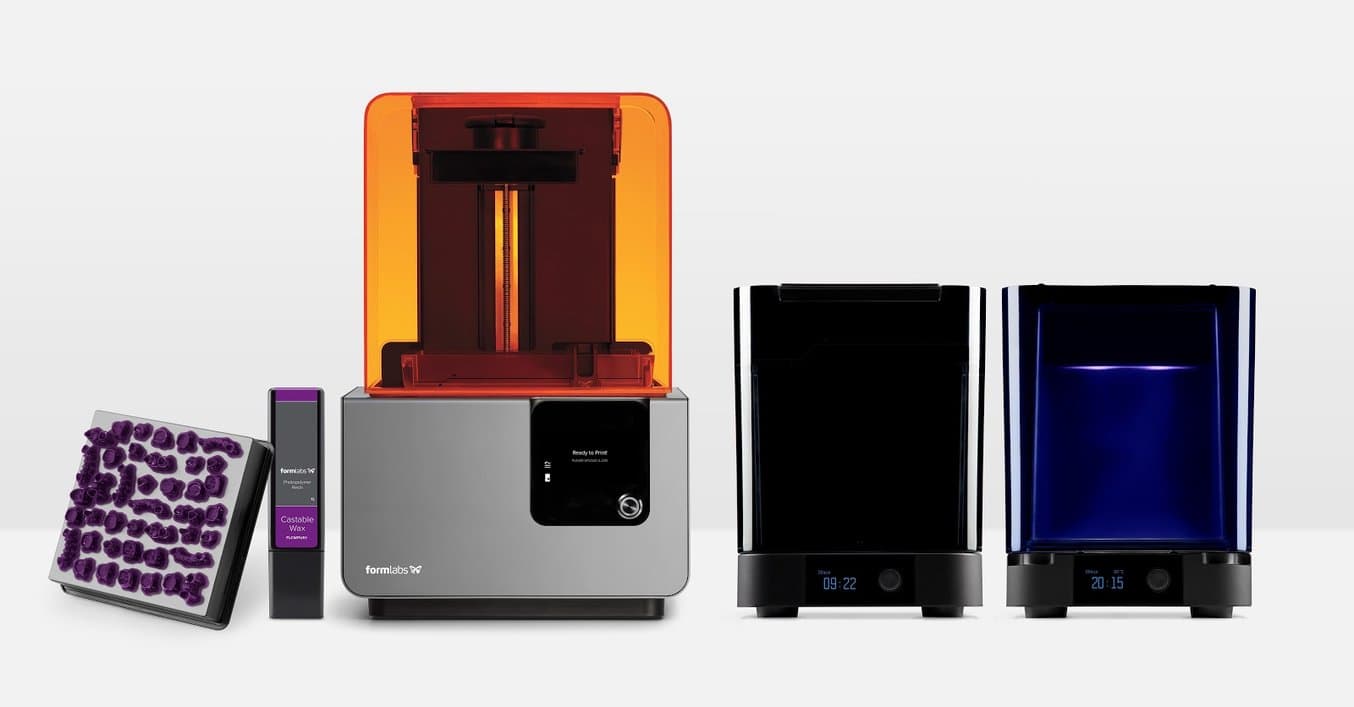
Made by Formlabs:
- Form 2, Form 3+, or Form 3B+ (SLA) 3D Printer
- Castable Wax Resin
- PreForm Software (free)
- Finish Kit or Form Wash
Made by Third Parties:
- Digital Impression
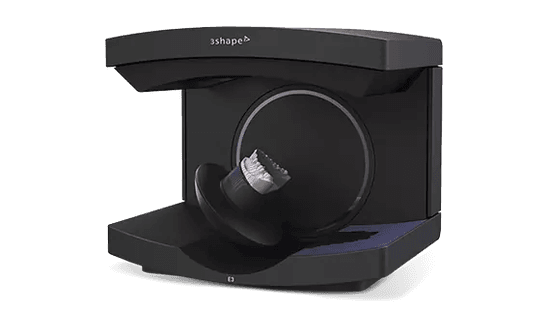
- 3D intraoral scanner
- Desktop model scanner
- Dental CAD software
- Dental burnout oven
- Investment ring or form
- Investment material
- Casting machine
- Metal or ceramic ingots
- Dental lab high speed tools for finishing
1. Scan
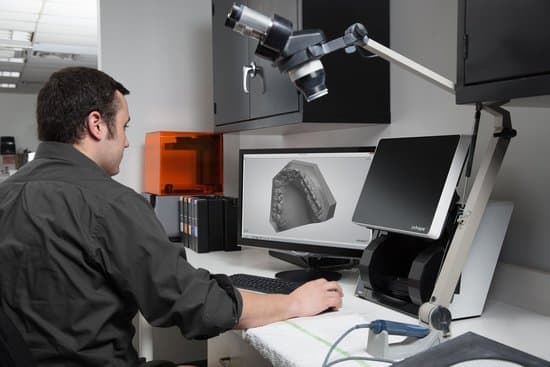
Dental CAD software requires a digital impression to create a crown, bridge, or frame. Capture the digital impression either directly, using an intraoral scanner, or indirectly, using a desktop optical scanner, to scan a polyvinyl siloxane (PVS) impression or stone model. Unless working inside a complete scan and CAD system, export the scan as an open file in STL format.

2. Design
After capturing the digital impression, import the scan files into the dental CAD software and design the restoration or appliance. Select dental CAD software that offers open STL file export to ensure compatibility with Formlabs PreForm print preparation software.
Exact importing and design procedures vary by software package. For additional help, contact the software reseller or manufacturer.
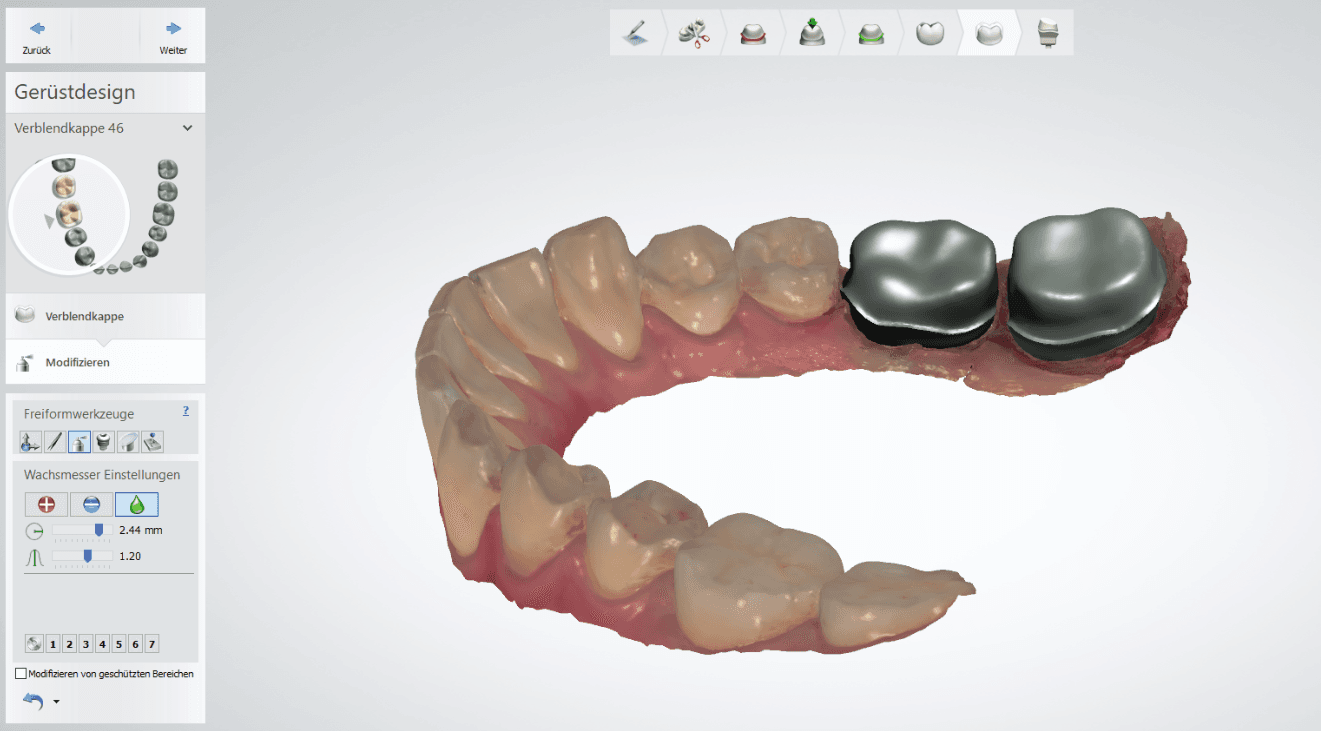
2.1 Crown and Bridge Design
Design your fixed case using the material settings provided by Formlabs (see “CAD Material Settings”).
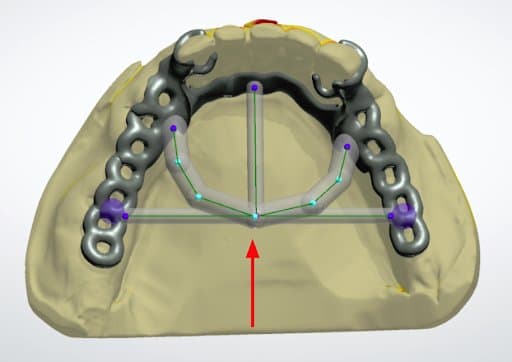
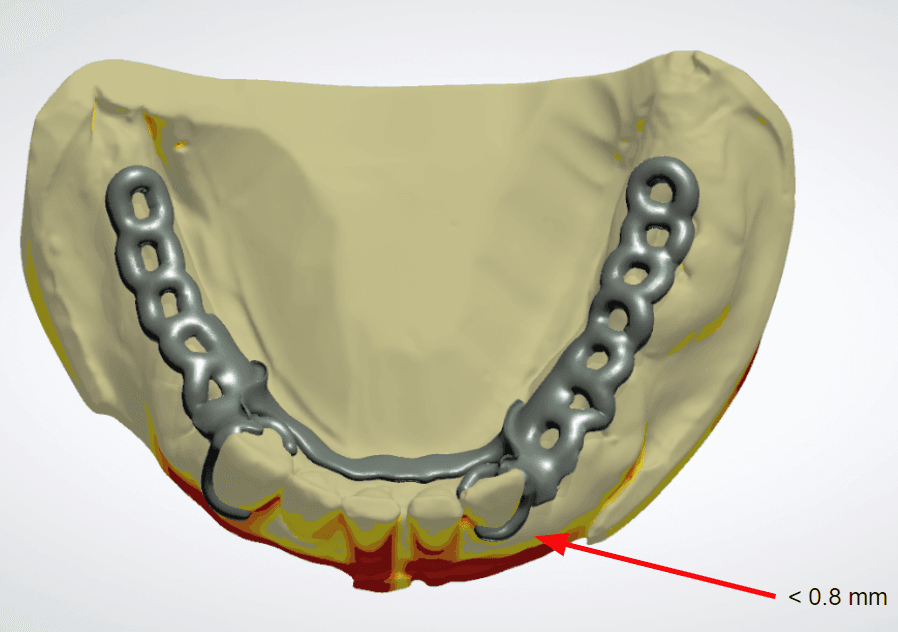
2.2 Removable Partial Denture Frame Design
To increase consistency and reduce distortion of 3D printed frame patterns, add a stabilization bar with a diameter of 2.5 mm.
When designing clasps thinner than 0.8 mm, connect the clip arms together for the most accurate results.
Tip
You can create the casting sprues in the CAD software and print them directly. This saves time that would be spent manually placing sprues.
CAD Materials Settings
| Crown and Bridge | Removable Partial Dentures | |
|---|---|---|
| Minimum Thickness | 0.5 mm | 0.5 mm |
| Drill Compensation | Disabled | Disabled |
| Cement Gap and Extra Cement Gap | 0.03 mm and 0.10 mm | - |
| Margin Offset | 0.15 mm | - |
Material Files and Library
3Shape: Download DME Preset file
3. Print
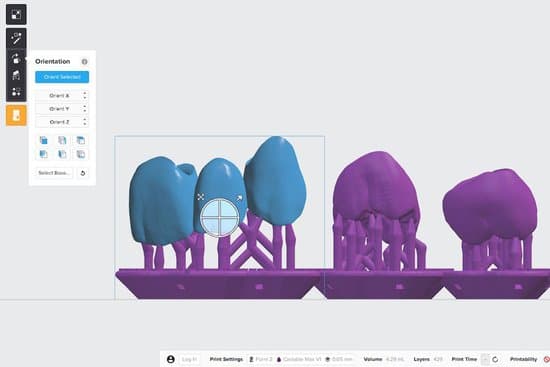
3.1 Import Crown, Substructure, or Frame Files into PreForm
Open Formlabs PreForm print preparation software and import the STL or OBJ file(s) generated by the dental CAD software.
3.2 Configure Print Settings
In the “Print Setup” menu in PreForm, select your printer based on its Serial Name. Select “Castable Wax” from the “Material” menu. Print wax patterns at 0.05 mm thicknesses to reduce print times and ensure clinically acceptable accuracy.
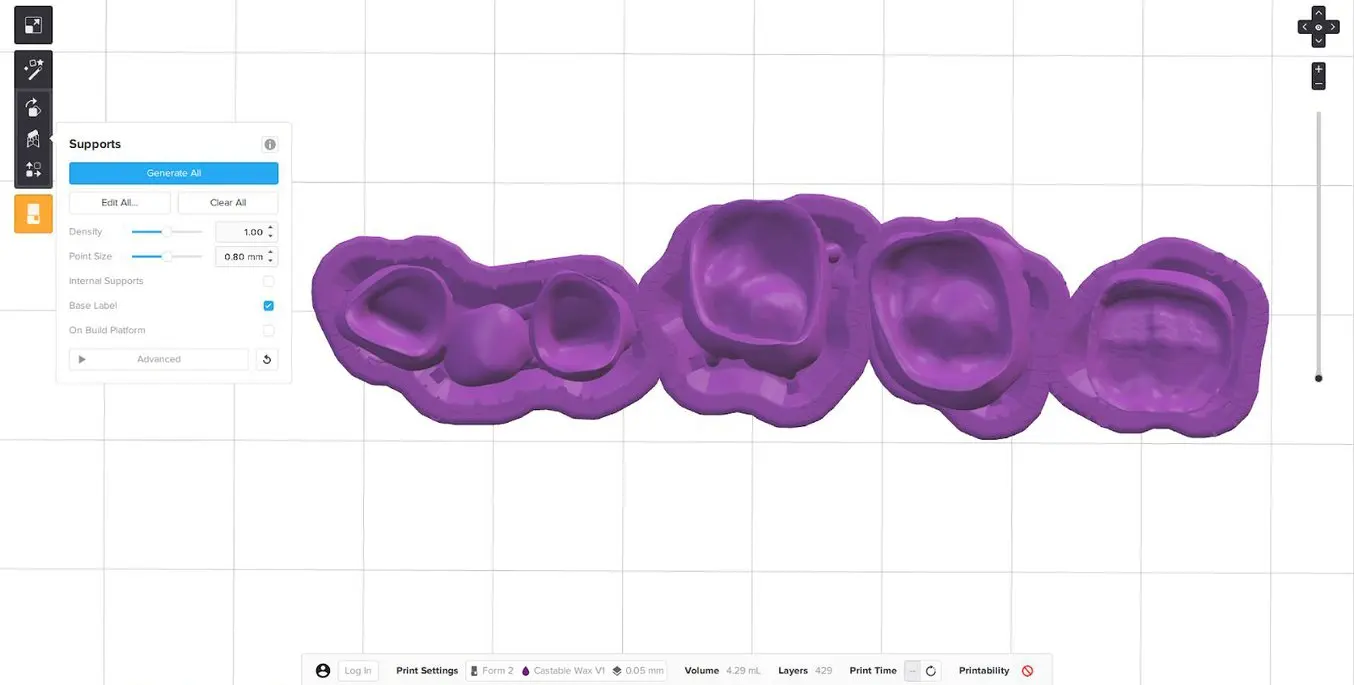
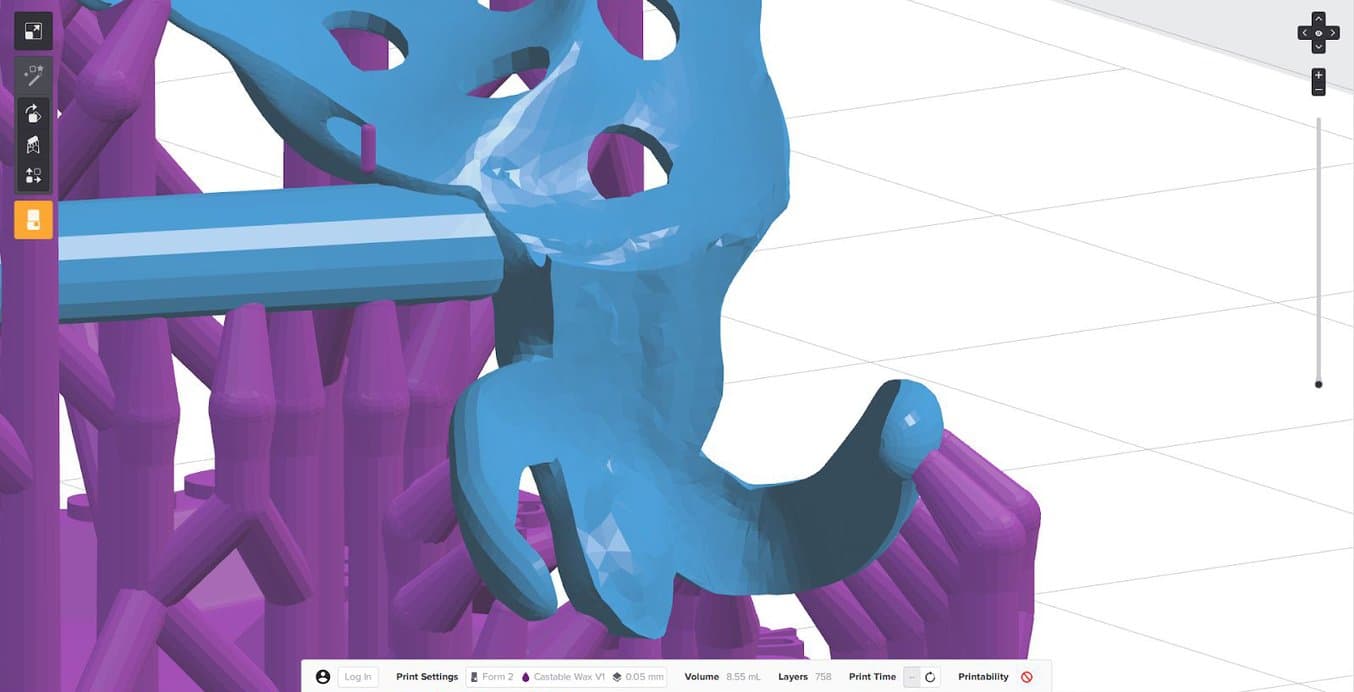
3.3 Orient parts for Printing With Supports
Always print with supports. For the best results and the lowest post processing effort, follow the best practices below.
3.3.1 Crowns and Bridges
Position crown and bridge patterns with the fitting areas or margins facing upwards. This prevents the possibility of adding supports to the most critical part of the restoration.
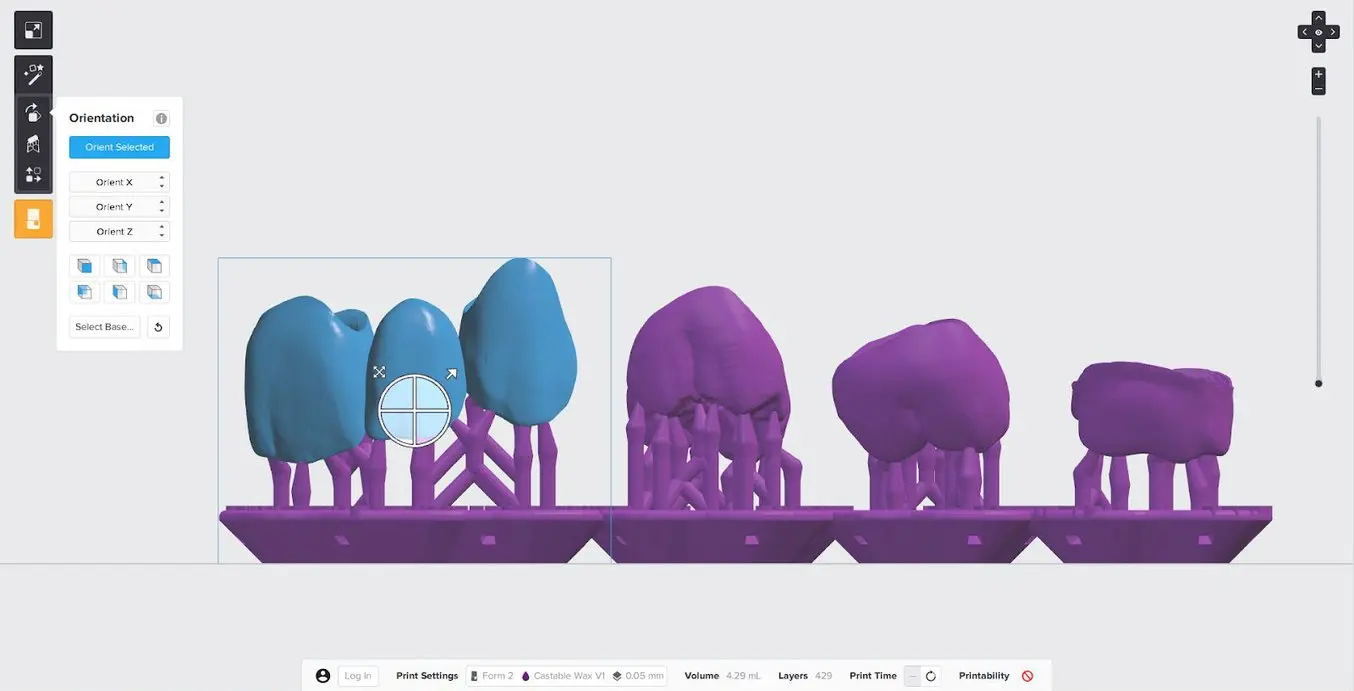
For full contour crown and bridge patterns, place support touchpoints on the cusp tips and ideally not on the contact areas of the crown.
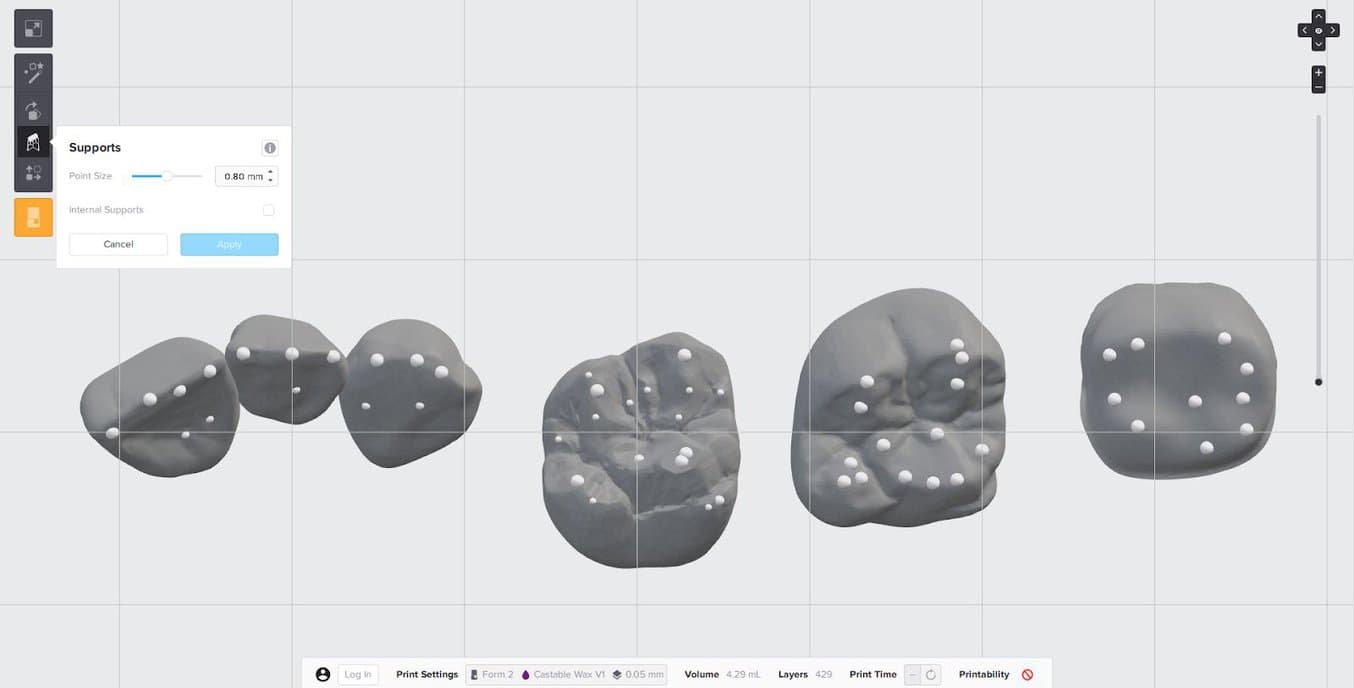
Always check the margin and internal aspect of the restoration to confirm that supports have not been generated in those critical areas. If additional support is needed, manually add supports where appropriate.
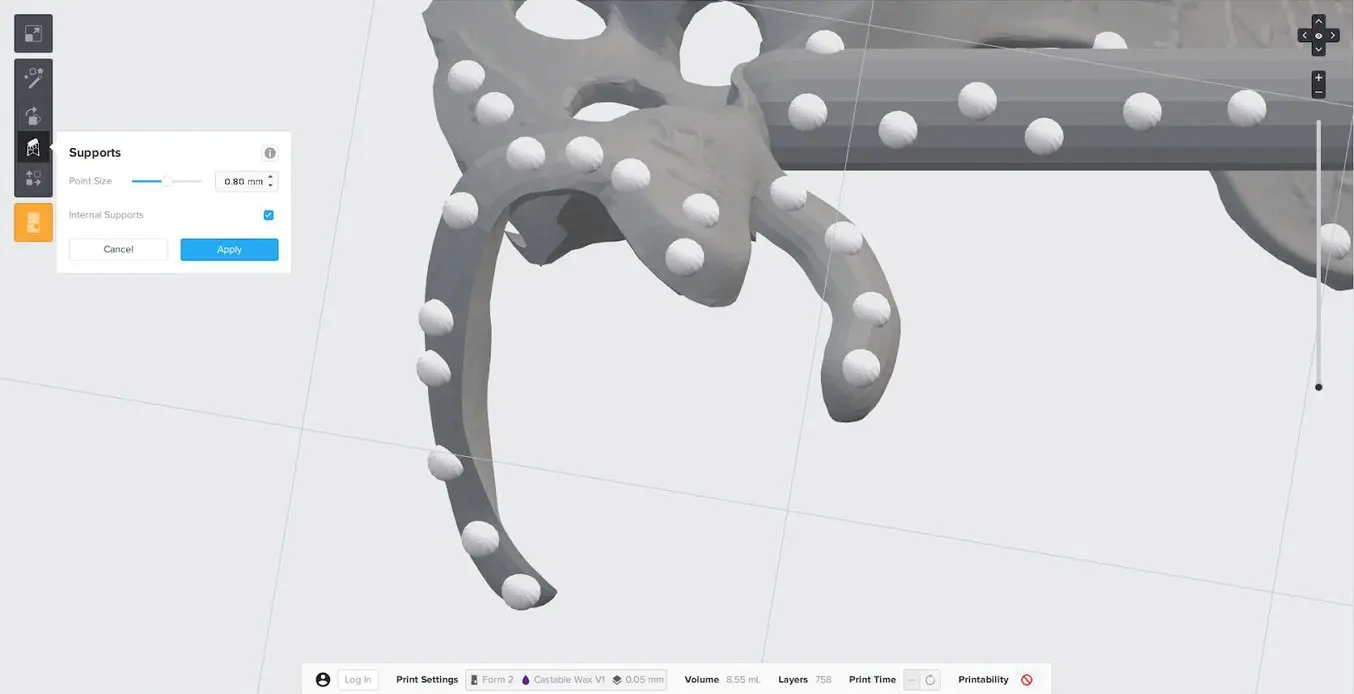
3.3 .2 Removable Partial Denture Frame
Position your RPD frame with the intaglio surfaces facing up. Manually remove and place supports as needed by clicking “Edit All” in the “Supports” menu. Place supports on the outer surfaces of the clasps.

Avoid placing supports on surfaces that will come in contact with the patient’s dentition or other important areas of the partial denture frame.
Support each clasp with 4-5 evenly distributed supports along the clasp tip to the shoulder.
3.4 Prepare the Printer and Resin
Thoroughly agitate the resin cartridge by shaking and rotating it several times. Insert the resin tank, the Castable Wax Resin cartridge, and the build platform into the printer.
3.5 Print
Click the orange “Print” button in PreForm, then upload the job to the printer. Once the print is uploaded, press the button on the printer to start the print.
4. Prepare
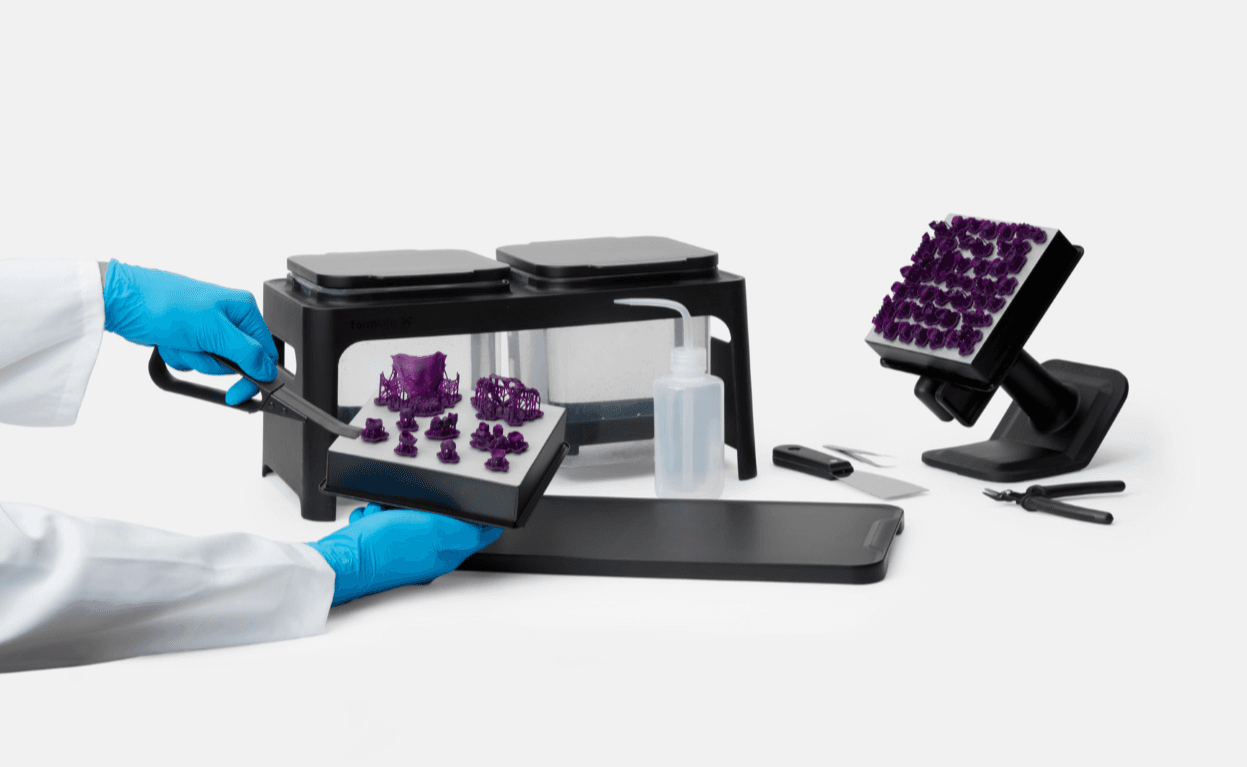
4.1 Wash parts
If you are using a Form Wash automated washing system, leave the printed parts on the build plate for washing. Align the top lip of the build platform with the arms of Form Wash’s platform mount, and fully insert to touch the back. Wash parts with isopropyl alcohol (IPA) with a concentration of 90% or higher (99% is recommended). Set Form Wash to 15 minutes, and start the wash cycle.

If you are using a Finish Kit, carefully remove parts from the build platform once the build is complete. Firmly insert the included scraper into the chamfer of the support raft, then twist the scraper gently from side to side. Rinse the parts in two buckets of isopropyl alcohol, with an initial bath of 10 minutes, and a second bath of 5 minutes. IPA with a concentration 99% or higher is recommended but 90% or higher will work.
Notice:
Washing Castable Wax parts will stain the IPA and future washed parts purple. To avoid staining parts printed with other resins, wash Castable Wax parts in a dedicated Form Wash or Finish Kit.
Air dry parts or use a compressed air hose to blow IPA away from surfaces. Inspect parts closely to ensure all uncured resin has been removed. Repeat wash if necessary. Let the patterns dry completely before use.
No Post-Cure Required
Castable Wax Resin was designed for use without post-curing. For the highest accuracy, we do not recommend post-curing printed patterns, as this can result in a small amount of shrinkage. Print, process, and cast or press patterns as soon as possible after printing. If this is not possible, store washed Castable Wax patterns in a cool and dark place.
4.2. Support Removal
Use the flush cutters included in the Finish Kit to carefully cut the supports at the touchpoints (where they attach to the part). Consider wearing safety glasses when cutting the supports, as the material may be brittle and small pieces of supports can fly off. Supports can also be removed using dental handpieces, such as cutting discs, burs, and polishing wheels.
Notice:
Very thinly designed parts, like removable partial dentures (RPDs), are easy to break during the support removal process. Using a cutting disc is recommended.
5. Investment
5.1 Best Practices for Setting Up an Investment Mold
Crowns and Bridges:
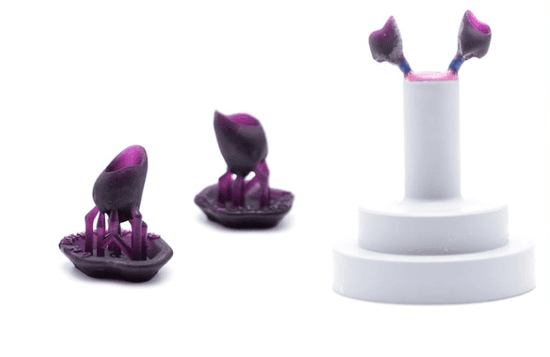
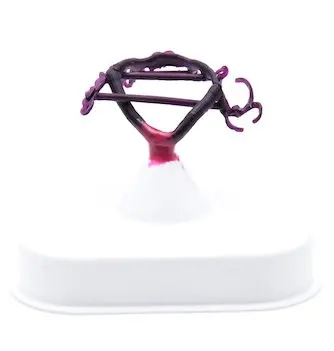
Position the crowns and bridges in the mold outside the heat center, about 5 mm from the mold wall. Individual crowns can be grown directly onto the casting mold former using a 2.5 mm wax wire (optionally with a cast reservoir). Bridges, on the other hand, should be connected to a 5 mm distribution channel with a 2.5 mm wax wire at a 45 ° angle and waxed to the casting mold shaper using a 4 mm wax wire.

Cast Partial dentures
Pressable Ceramics
- Crowns and bridges are sprued directly with a 2.5 to 3 mm wax wire (without corners and edges) at a 45 to 60 ° angle to the mold cavity former.
- Place sprues on the thickest area of the pattern. For crowns, this is generally a cusp tip. Bridges should have a sprue on each abutment and pontic (do not attach a sprue to a bridge connector).
- The casting channel should be between 4 and 8 mm long, and the total length including the press object should not exceed 16 mm long.
- The distance to the wall of the silicone ring should be at least 10 mm.

6. Burnout Process
Casting with Castable Wax Resin requires a high heat bonded phosphate investment. Formlabs tested burnout schedules with two investments: BEGO Bellavest SH and WiroFine. The burnout schedules are the same for both investments with variance on the final temperature. Always refer to the investment manufacturer’s recommendations.
| Investment | Ideal for | Manufacturer information |
|---|---|---|
| BEGI Bellavest SH | Pressing and casting crowns and bridges | |
| Bego WiroFine | RPD frame casting |
6.1 Standard Burnout Schedule
| Description | Phase | Time to temp | Schedule ºC | Schedule ºF |
|---|---|---|---|---|
| Bench Setting | Hold | 30 mn | Room Temp | |
| Insert Mold | Ramp | 50 mn | 5ºC/mn | 41 ºF/mn |
| Drying | Hold | 30 mn | 250 ºC | 482 ºF/mn |
| Thermal Transition | Ramp | 45 mn | 7 ºC/mn | 44.6 ºF/mn |
| Hold | 30 mn | 570 ºC | 1058 ºF | |
| Burnout | Ramp | - | 7 ºC/mn | 44 ºF/mn |
| Hold | 60 mn | Alloy Final Temp |
| Burnout | Time to Temp: 60 min | Alloy Final Temp | ||
|---|---|---|---|---|
| Material | Schedule ºC | Schedule ºF | ||
| Precious Metal | 700 ºC | 1292 ºF | ||
| Precious metal-to-ceramic alloys | 850 ºC | 1562 ºF | ||
| Non-precious metal | 900 ºC | 1652 ºF | ||
| Pressable ceramics | Up to 900 ºC | Up to 1652 ºF | ||
| Non precious RDP frame | 950 to 1050 ºC | 1742 to 922 ºC |
6.2 Short Burnout Schedule
| Description | Phase | Time to Temp | Schedule ºC | Schedule ºF |
|---|---|---|---|---|
| Preheat oven | - | 900 ºC | 1652 ºF | |
| Bench Setting | Hold | 20 mn | Room Temp | |
| Insert Mold | Hold | 20-30 mn | 900 ºC | 1652 ºF |
| Burnout | Ramp | - | 7 ºC/mn | 44.6 ºF/mn |
| Hold | 60 mn | Alloy Final Temp | - |
| Burnout | Time to Temp: 60 min | Alloy Final Temp | |
|---|---|---|---|
| Material | Schedule ºC | Schedule ºF | |
| Precious Metal | 700 ºC | 1292 ºF | |
| Precious metal-to-ceramic alloys | 850 ºC | 1562 ºF | |
| Non precious metal | 900 ºC | 1652 ºF | |
| Pressable ceramics | Up to 900 ºC | Up to 1652 ºF | |
| Non precious RPD frame | 950 to 1050 C | 1742 to 1922 F |
7. Casting or Pressing Process
For a successful casting or pressing process, observe the manufacturer’s specifications, especially matching the preheating and casting or pressing temperature to the alloy.
To figure out the optimal amount of material to press or cast into your pattern, use the following formula:
(Standard wax weight) x 1.21 = Castable Wax Max Weight
For example, if your alloy or ceramic recommends 1 ingot per .75 g in standard wax, the correct weight per 1 ingot of Castable Wax would be .91 g.
Notice:
Castable Wax is 21% heavier than standard wax.

This application guide was written in collaboration with Stephan Kreimer.
Stephan Kreimer is a master dental technician (MDT) specializing in digital workflow solutions and is a consultant/ beta tester for several dental companies. He owns and operates Kreimer Dentallabor GmbH & Co. KG, a dental laboratory in Warendorf, Germany.
To contact him, email [email protected] or visit https://kreimer-dentallabor.de
Additional Resources
Explore Formlabs dental resources for in-depth guides. step-by-step tutorials, white papers, webinars, and more.
Everything You Need to Control Your Digital Future
The Form 3B Complete Package includes all of the tools required to bring high-precision 3D printing into yourlab or office.
