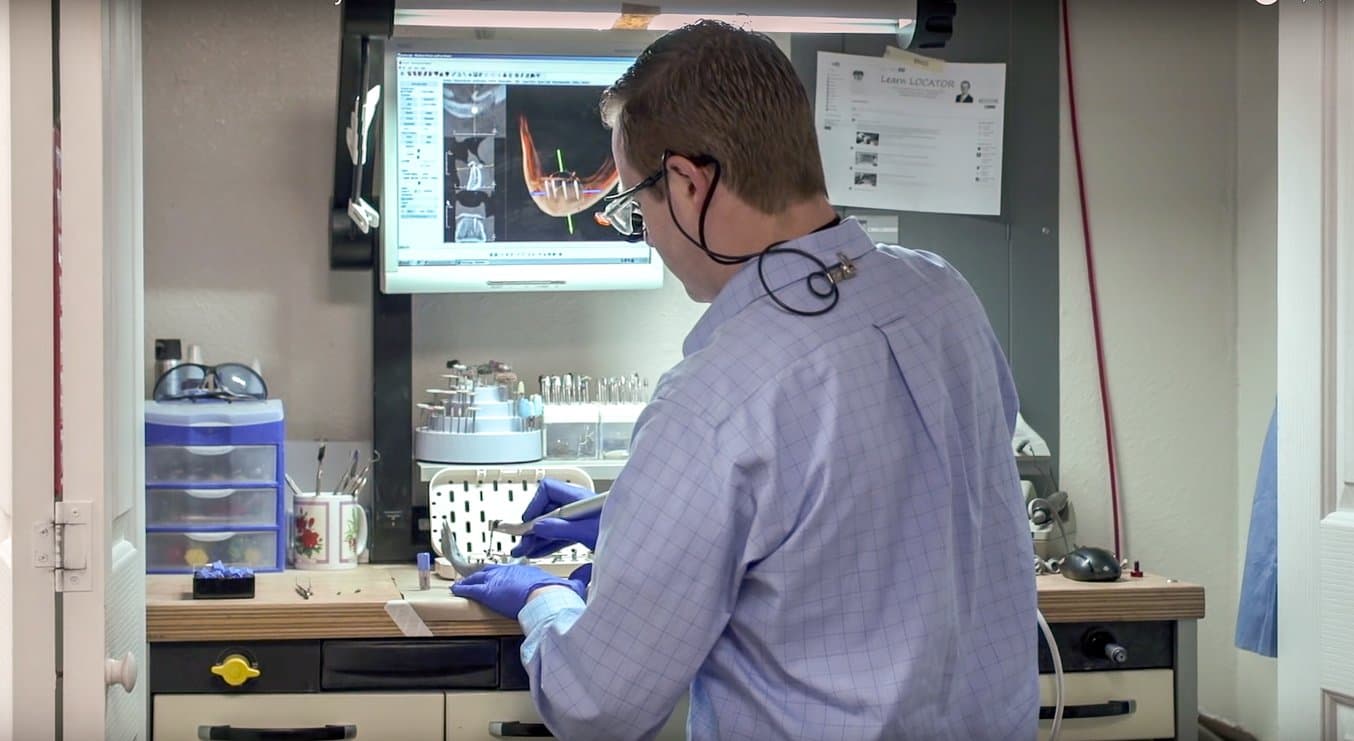
Dr. Michael Scherer, DMD, MS is an assistant clinical professor at Loma Linda University, a clinical instructor at the University of Nevada–Las Vegas, and maintains a practice limited to prosthodontics and implant dentistry in Sonoma, California. He uses the Form 2 3D printer to create educational models, bite guards, bleaching trays, and vacuum-formed surgical guides.
Dr. Michael Scherer prints dental models for vacuum-forming surgical guides on his Form 2 3D printer.
“Having my own in-office 3D printer saves a tremendous amount of time and expense in the laboratory. I can do the entire surgical guide process in about an hour and a half instead of having to send it away for a week.”

Dr. Scherer begins with a surgical guide design created from a digital scan of a patient’s teeth or jaw with a CBCT scanner, 3D scanner, and modeling software. He exports the surgical guide template to PreForm, a simple software that prepares the model for printing in one click. Next, he creates a vacuum template to go over the top of the model sleeves. The surgical guide prepares him for the procedure and improves his precision during it.

In addition to fabricating the surgical guide, he can also print a model for surgical practice. “I can practice an actual surgical procedure on a 3D printed model. That way, when I go to the mouth, I’ve already done it once.”

Desktop 3D printing has saved Dr. Scherer a huge amount of time and money. He explains, “Before, I used to have to send [a surgical guide design] out to the laboratory, wait 2 to 3 weeks, and pay hundreds of dollars. Now, I can print out a model in about an hour.” His upgraded workflow makes surgery more efficient and ultimately improves patient outcomes.