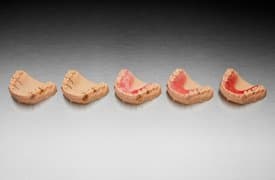
Guide: Manufacturing Hawley Retainers on 3D Printed Models
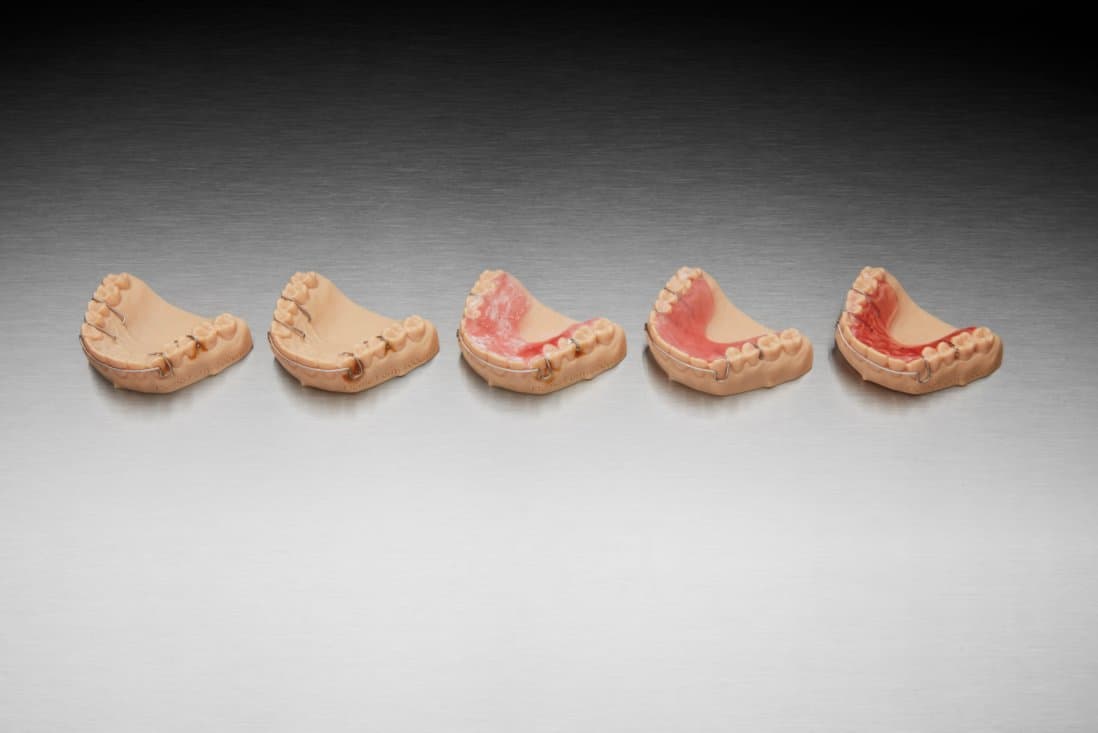
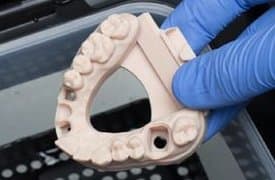
Acrylic Hawley retainers are often preferred by orthodontists for post-treatment retention due to their durability and adjustability. Traditionally fabricated on top of stone models, Hawley retainers can also be constructed with a digital workflow by manufacturing the appliance over a 3D printed model, greatly improving efficiency and reducing turnaround time. This application guide details the acrylic Hawley retainer workflow using a Formlabs 3D printer, from start to finish.
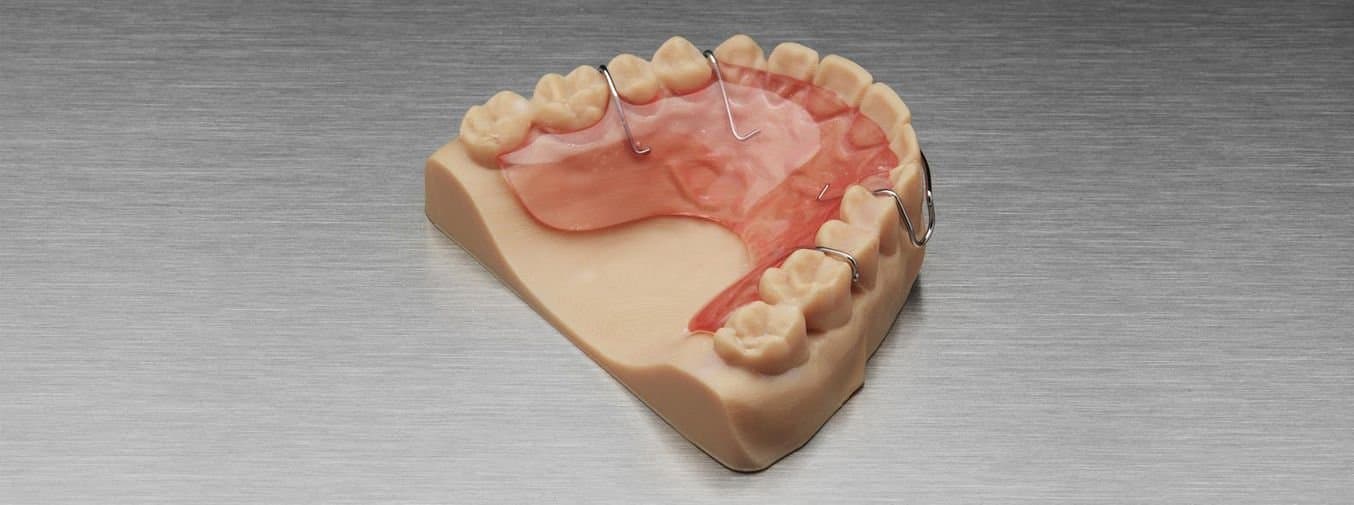
Manufacturing Hawley Retainers on 3D Printed Models
Would you like to save this guide, print it, or share it with colleagues? Download it as a PDF.
Essentials
Made by Formlabs:
- Form 2, Form 3, or Form 3B (SLA) 3D Printer
- Model Resin or Standard Grey Resin
- PreForm Software (free)
- Finish Kit or Form Wash
- Form Cure
Made by Third Parties:
- Intraoral 3D scanner
- Orthodontic CAD software
- Dental separating medium (see step 5 for a recommendation)
- Retainer wire and suppliers:
- Retainer wire
- Wire-bending pliers and cutters
- Laser welder for special appliances
- Dental wax and supplies
- Retainer wire
- Wire-bending pliers and cutters
- Laser welder for special appliances
- Dental wax and supplies
- Dental wax:
- Heated wax pot
- Spudger or low-temperature soldering iron
- Acrylic supplies:
- Acrylic polymer powder
- Liquid MMA monomer
- Dental pressure pot
- Post-processing supplies:
- Rotary tool with carbide bur
- Buffing paste
- Dental lathe with rotary buffing tool
1. Scan
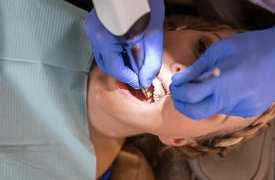
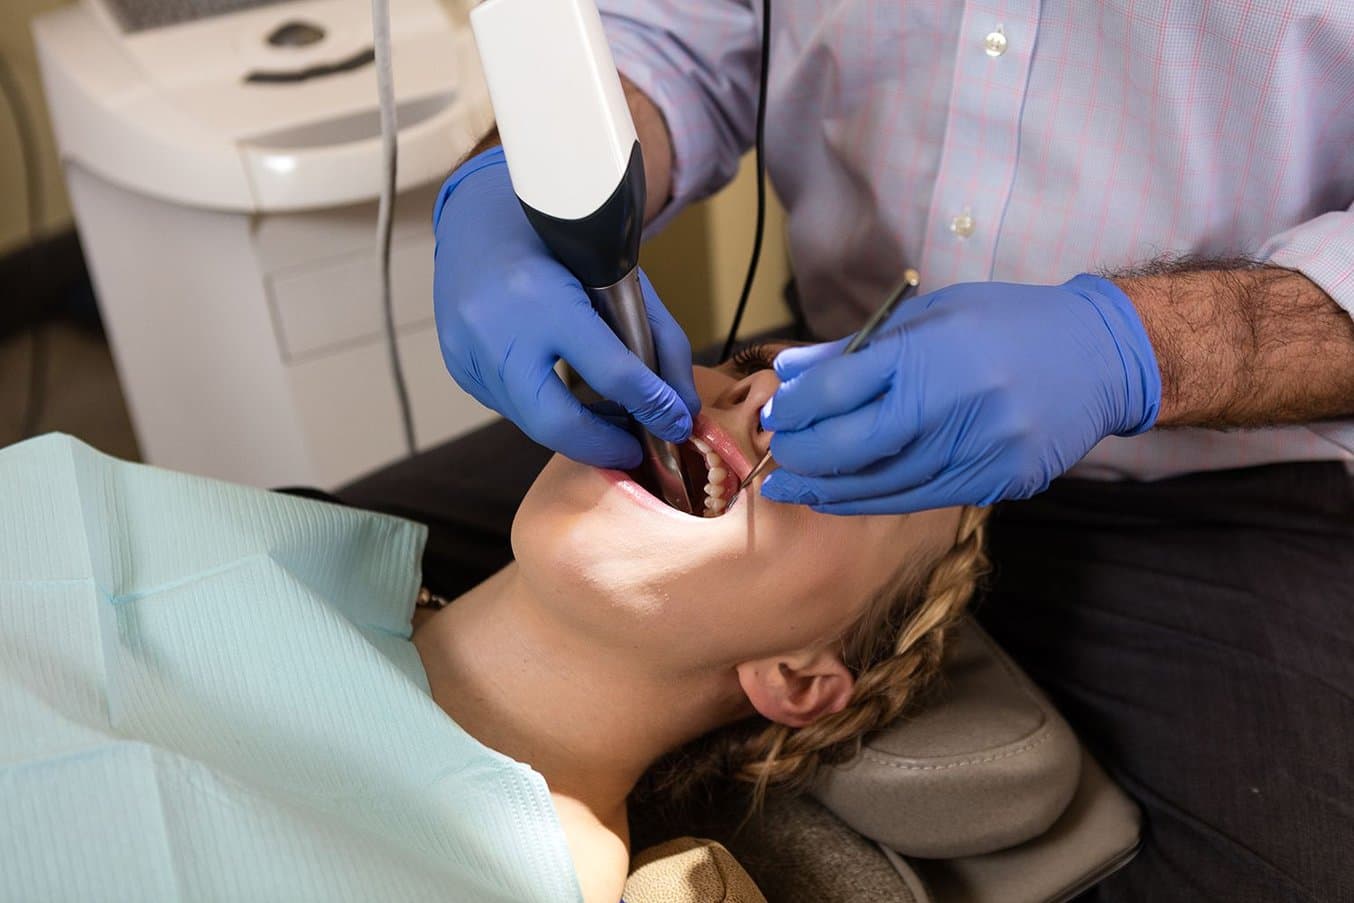
The dental CAD software requires a digital impression file to create a dental model for 3D printing. Capture the digital impression either directly, using an intraoral scanner, or indirectly, using a desktop optical scanner to scan a polyvinyl siloxane (PVS) impression or stone model. Unless working inside a complete scan and CAD system, export the scan as an open STL format file.
2. Design
After capturing the digital impression, import the scan files into dental CAD software to refine the scan, build a base, and remove brackets if applicable. Make sure to select a dental CAD software that offers open STL file export to ensure compatibility with PreForm, the software that will be used to prepare the 3D print.
The exact procedures in treatment planning and design vary by software package, but generally follow the workflow described below. For detailed advice on treatment planning and design, contact the software manufacturer.
2.1 Import the raw digital impression
Import the raw digital impression scan into your dental CAD or model building software. If the raw scan is missing data or is unrecognizable by the software, there are methods to fix the data, but a rescan might be needed.
2.2 Build the Model Base
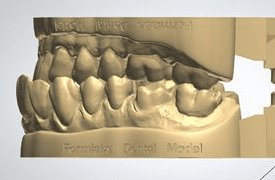
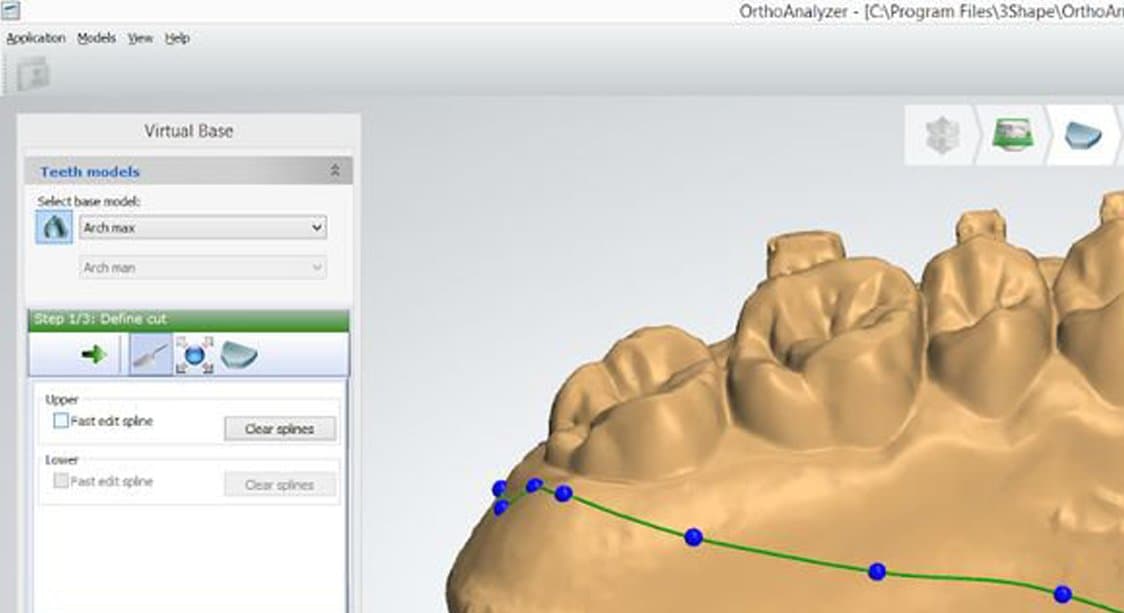
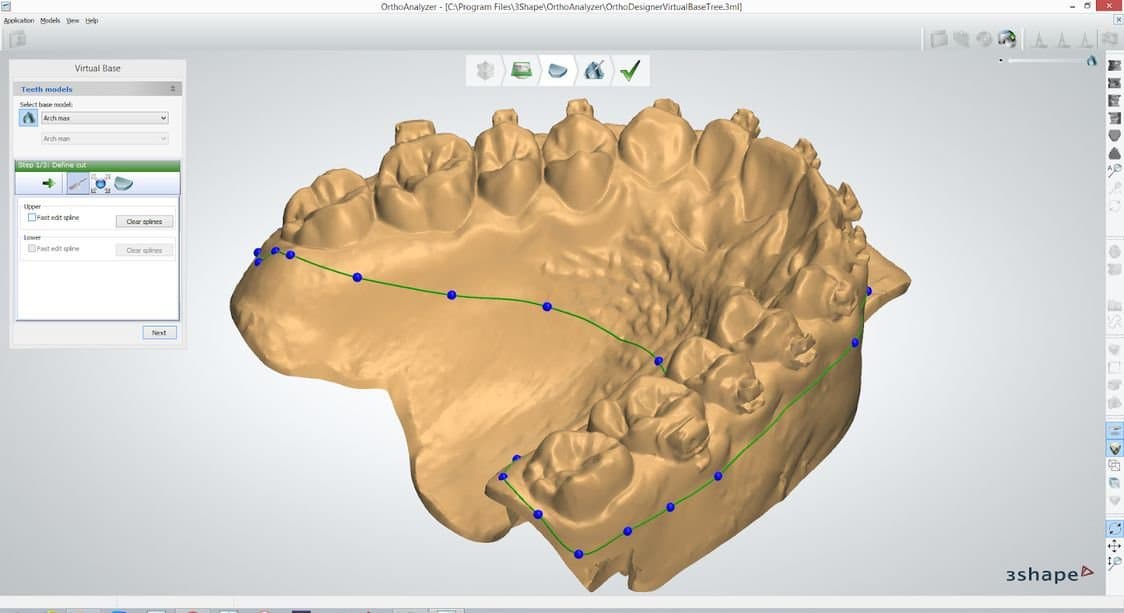
Build an arch base or full base for the model, depending on the appliance being manufactured. First, draw a spline on the model that includes the patient’s entire palate or floor of mouth, then auto-generate the base. Check that the auto-generated base is aligned properly, and that the palate and gingival margin are at least 2 mm above the bottom base of the model.
2.3 Remove brackets (if applicable)
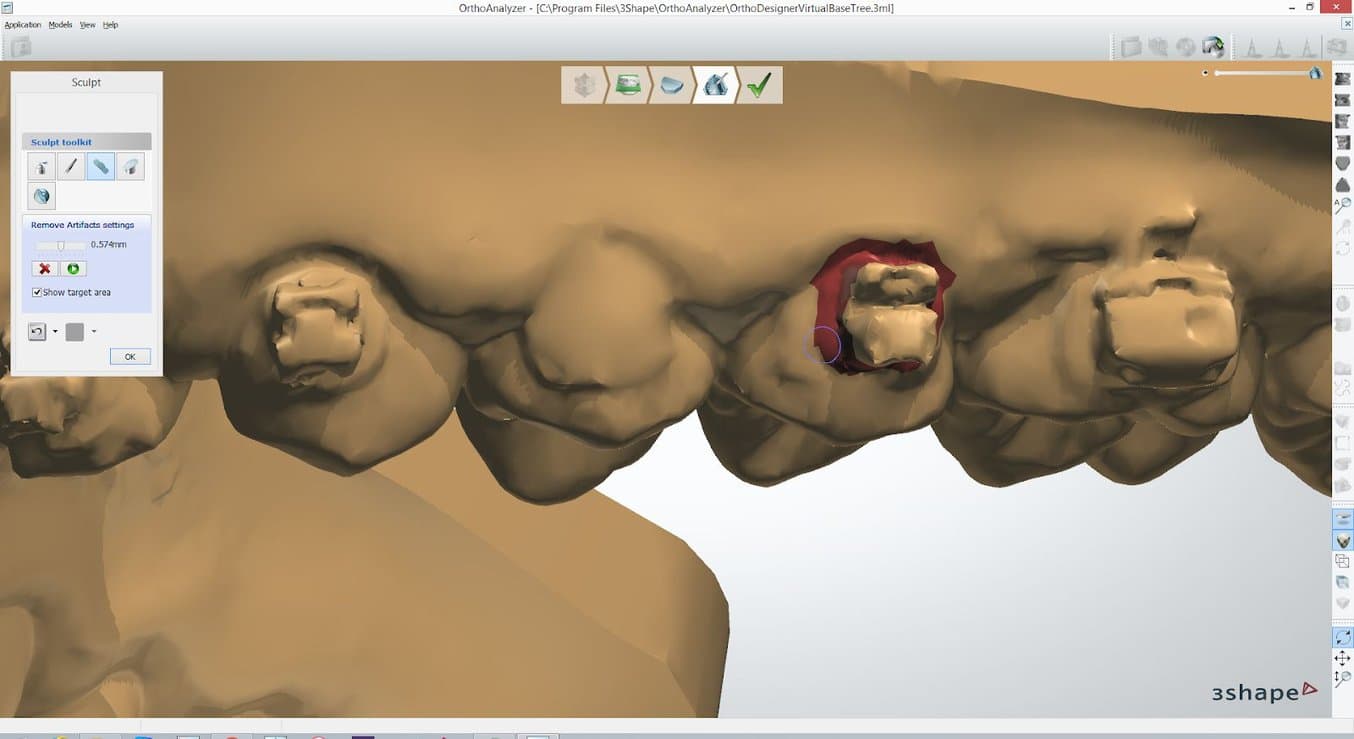
If the model has brackets, first remove the brackets digitally.
Note:
This feature is only available in certain dental CAD softwares.
2.4 Model Sculpting (optional)
For each model from the treatment plan, sculpting can:
- Improve printability
- Streamline part removal
- Add workflow-specific features, such as identification tags
These steps are optional and depend on the workflow and desired print orientation.
2.4.1 Chamfer the model base
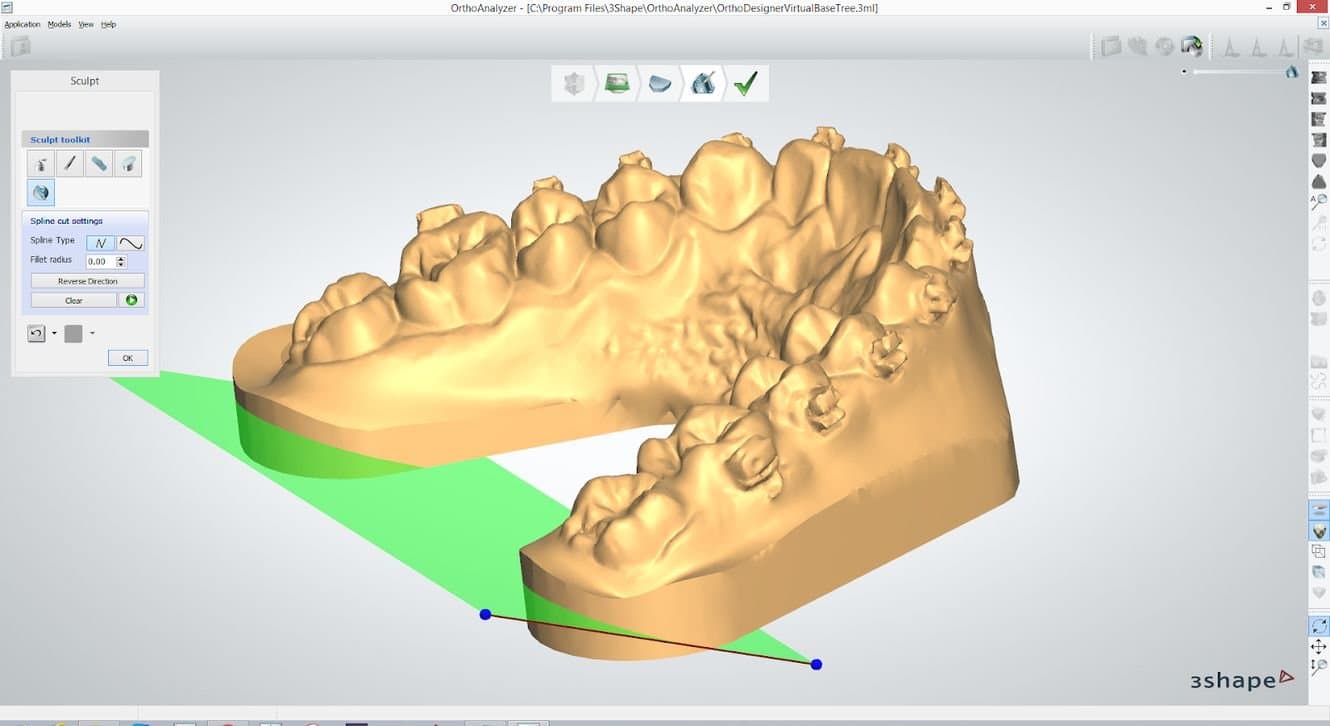
Chamfering the model base makes it significantly easier to remove parts from the build platform after printing. This can be done easily at the rear of the model with a plane cut tool. A chamfer angle of 30-45° is recommended, with a chamfer height of 2-3 mm to allow space for a part removal tool to be easily inserted.

2.4.2 Emboss identification tags on the model
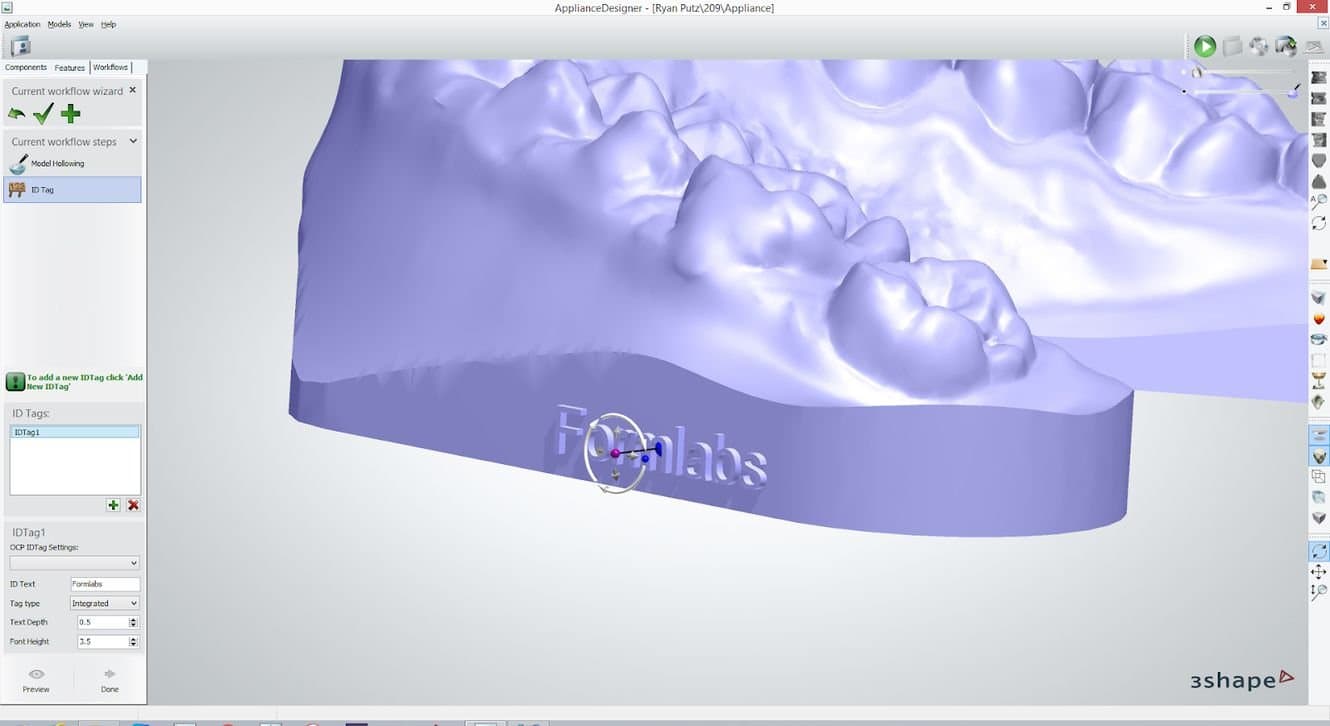
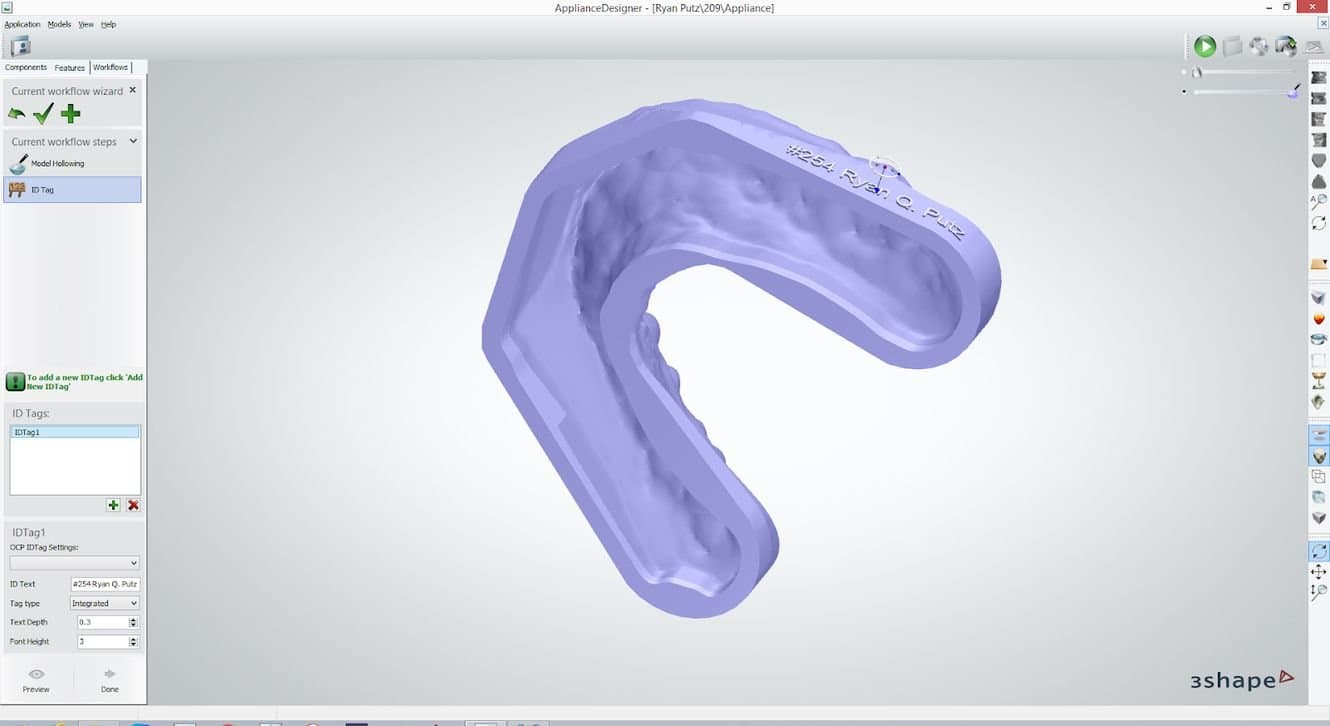
Embossing identifying information on printed models can be very helpful for high-volume retainer production. A treatment stage number, ID number, and/or patient name can be embossed anywhere below the gingival margin except on the base of the model. To ensure optimal printability, place the embossed information on the vertical wall of the extended base.
2.4.3 Hollow vs Solid Models
Hollowing the model can improve print time and reduce unit cost, although this feature is only available in certain orthodontic CAD softwares. If hollowing a part, ensure that wall thickness is at least 2-3 mm. Formlabs recommends printing solid models to reduce post-processing difficulty.
2.5 Export model
Finally, export the model in STL or OBJ file format.
3. Print
3.1 Import model files into PreForm
Open PreForm and import the generated STL or OBJ file(s) to begin preparing to print.
3.2 Configurate print settings
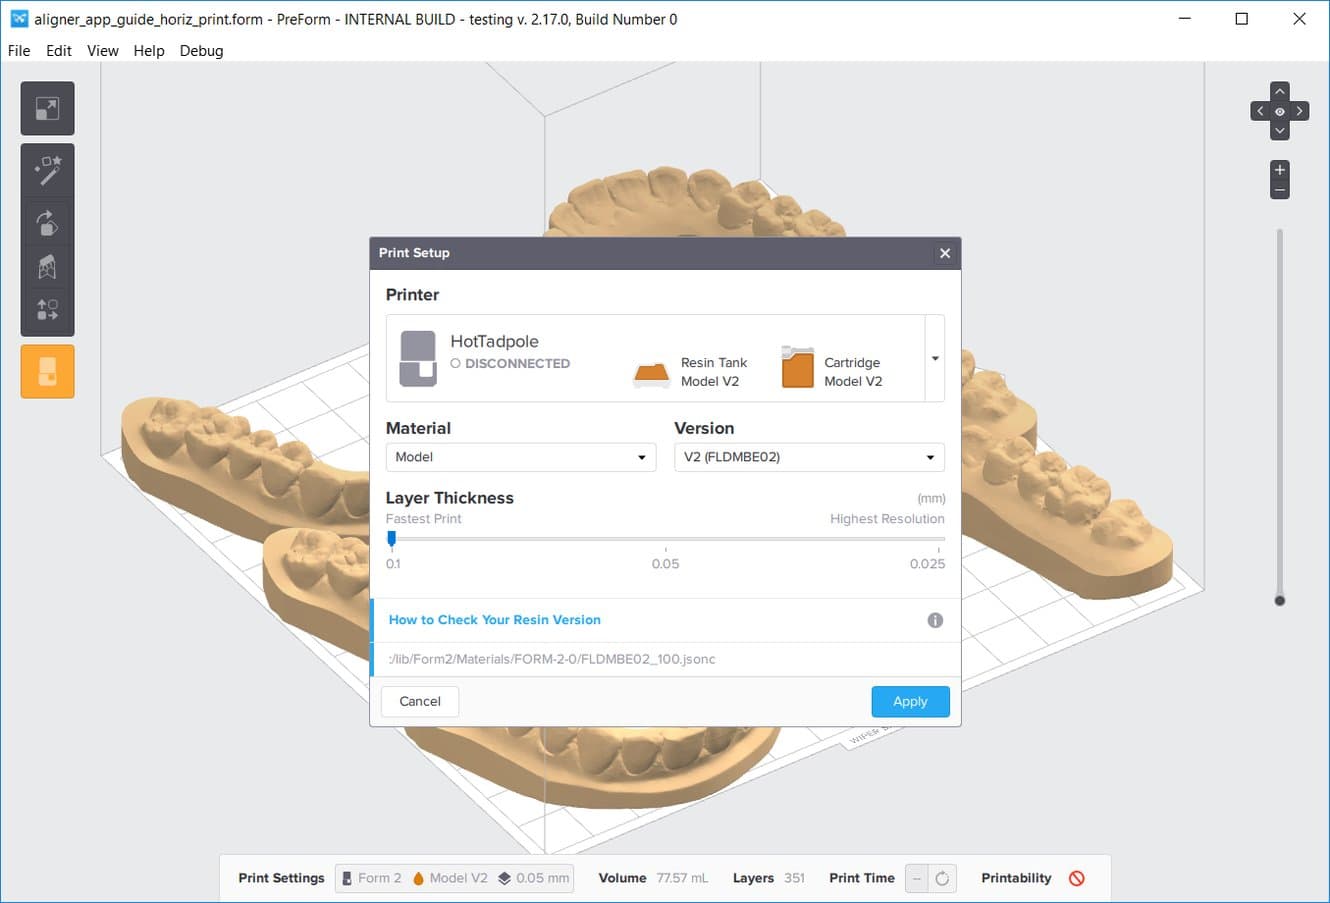
In the “Print Setup” menu in PreForm, choose the printer to be used based on its serial name, a unique combination of two words. Select “Model” or “Grey” from the Material menu, and 0.1 mm for the layer thickness.
Note:
An analysis on accuracy in printed orthodontic models showed that 0.05 mm print layer thicknesses yielded only marginal differences in accuracy and precision, while doubling the print time. Printing orthodontic models at 0.1 mm thicknesses is strongly recommended to reduce print times while still ensuring clinically acceptable accuracy.
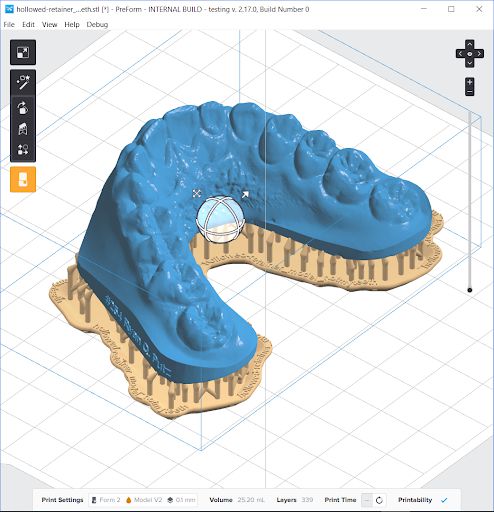
3.2a Orient parts for printing without supports
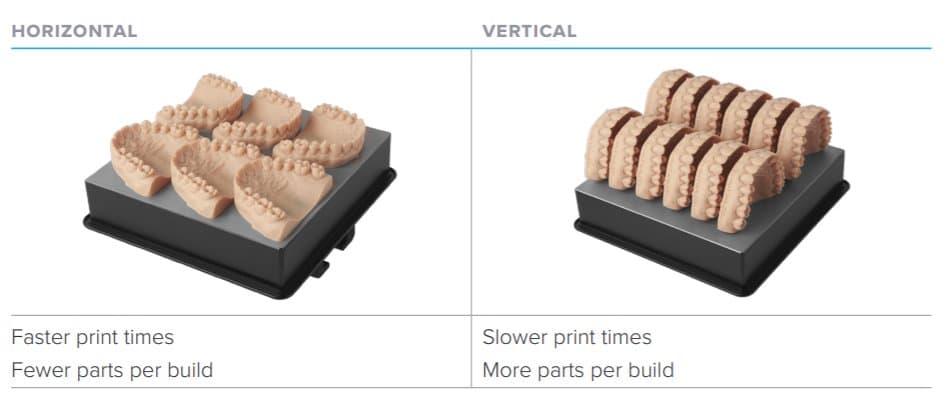
Models being printing directly on the build platform must have a flat surface. The Slicer tool on the right-hand side can be used to double check correct snapping of the part to the platform. To orient the base of the part directly to the build platform, select the base of the model in Orientation > Select Face.
Note:
Formlabs recommends printing horizontal models to maximize accuracy and precision, but many Form 2 users have also successfully printed orthodontic models vertically.
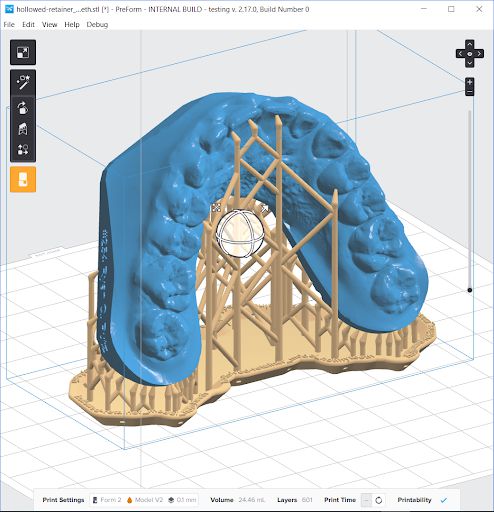
3.2b Orient Parts for Printing with Supports
Printing with supports makes part removal significantly easier and more consistent, but requires additional material and print time for the base and support pillars.
3.2 b.1 Orient the Models
Orient the model with the occlusion facing up and away from the build platform. Orienting models at a 15° angle or greater is recommended. Lower angles improve print times. Higher angles allow for a higher density of models to be printed in the same build.
3.2b.2 Generate Supports
Generate supports using PreForm’s auto-generation feature by selecting Supports > Generate All. Inspect the model to ensure that there are no supports touching tooth surfaces or the gingiva. For improved print consistency, set the point size to 0.7 mm. Remove any stray supports in Supports > Edit, or orient the model at a less steep angle.
3.3 Prepare the printer and resin
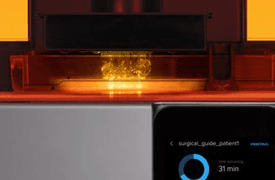
Thoroughly agitate the resin cartridge by shaking and rotating it several times. Insert a resin tank, the Dental Model or Standard Grey resin cartridge, and a build platform into the printer.
Using Standard Resin Tanks vs. Resin Tank LT:
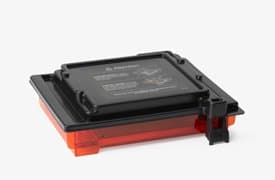
For the highest accuracy and precision, Resin Tank LT is recommended for printing dental models. Testing of Grey and Dental Model on Resin Tank LT revealed no degradation of accuracy or precision over the lifetime of the tank. If using a standard resin tank, laser exposure forms white, clouded marks on the surface of the resin tank’s silicone layer. This clouding eventually becomes extreme enough to affect accuracy. To avoid fit issues due to tank clouding, switch to a new standard resin tank after 50 consecutive prints, or with every second cartridge of resin, whichever comes earlier.
3.4 Print
Click the orange “Print” button in PreForm, then upload the job to the printer. Once the print is uploaded, press the button on the printer to start the print.

4. Prepare
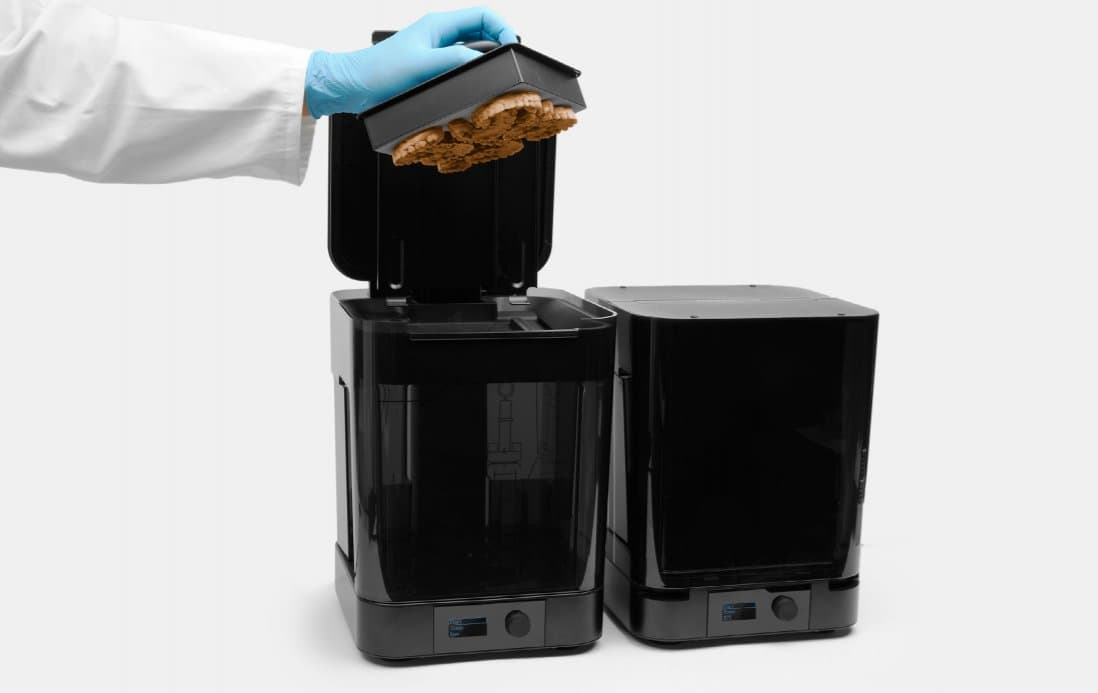
4.1 Wash parts
Hollow models printed directly on the build platform will trap liquid resin in the hollow regions underneath the model. Hollow models must be removed from the build platform prior to rinsing.
Using the Standard Finish Kit
Formlabs recommends using Form Wash for optimal resin removal and surface finish. If using the Finish Kit, remove parts first from the build platform with the part removal tool. Rinse the parts in two buckets of isopropyl alcohol (IPA), 96% or higher, for an initial bath for 10 minutes, and a second bath for 5 minutes.
4.2 Remove parts
Next, remove parts from the build platform. For chamfered models, insert the included putty knife into the chamfer with a firm force, then twist the knife gently from side to side. Otherwise, grasp the base of a molar using the included pair of flush cutters, applying the same twisting motion.
4.3 Air or blow-dry
Use a compressed air hose to blow IPA away from surfaces. Inspect parts closely to ensure all uncured resin has been removed. Repeat wash if necessary. If compressed air sources are not available, simply air dry the parts before inspection.
4.4 Remove supports if needed
Use the flush cutters included in the Formlabs Finish Kit to carefully cut the supports at the points where they attach to the part. Use caution when cutting the supports, as the material may be brittle. Supports can also be removed using other specialized appliances, such as cutting disks or round cutting instruments like carbide burs.
4.5 Post-cure the models
Cure dental models using light and heat for optimal mechanical properties, accuracy, and precision. When using Form Cure, the curing station developed by Formlabs, place the printed models inside Form Cure and post-cure for 30 minutes at 60 °C.
5. Apply Separator
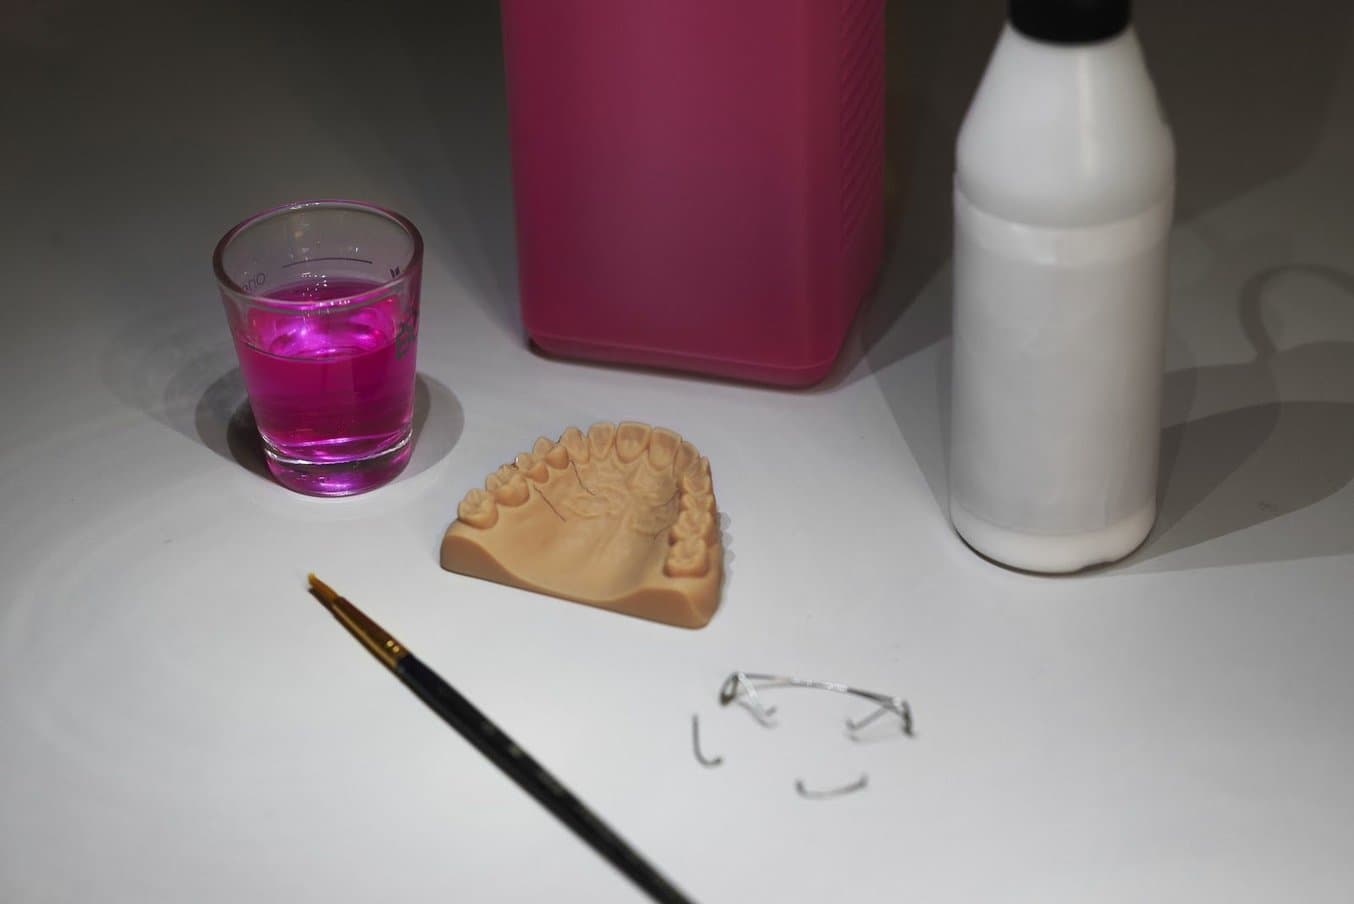
The separating medium prevents the printed model from binding to the acrylic retainer during the acrylic polymerization process. 3D printed models are chemically different from stone models, so special precautions must be taken regarding the separating medium used. Follow the instructions for applying the separator from the manufacturer. Dry the dental model at an angle to prevent separator material from pooling.
Tip: Warm models make it easier to work with viscous separators, especially petroleum jelly. Apply the separator while the model is still warm after the curing process, or use Form Cure to warm the models. Formlabs has tested and recommends the following mineral oil and silicone based dental separators on the basis of separation effectiveness and wax retention, although some labs have had success with other separators.
The results of our testing are listed in the table below:
| SEPARATOR | EFFECTIVENESS OF SEPARATION | WAX RETENTION | ||
|---|---|---|---|---|
| Siliform BEA (silicone) | Very effective | Not good | ||
| Henry Schein Separating FIlm, Clear. P/N 101-8847 (mineral oil) | Effective | Very effective | ||
| Valplast V-sep Denture Separator. P/N 20256 (mineral oil) | Effective | Very effective | ||
| Petroleum jelly (e.g. Vaseline) | Effective | Effective |
6. Create the Wire Frame
From this step, the workflow is identical to the traditional workflow for creating Hawley retainers.
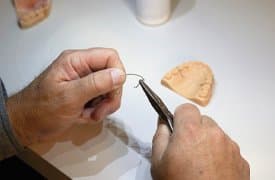
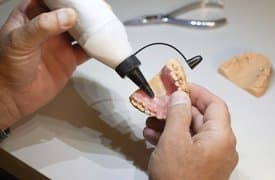
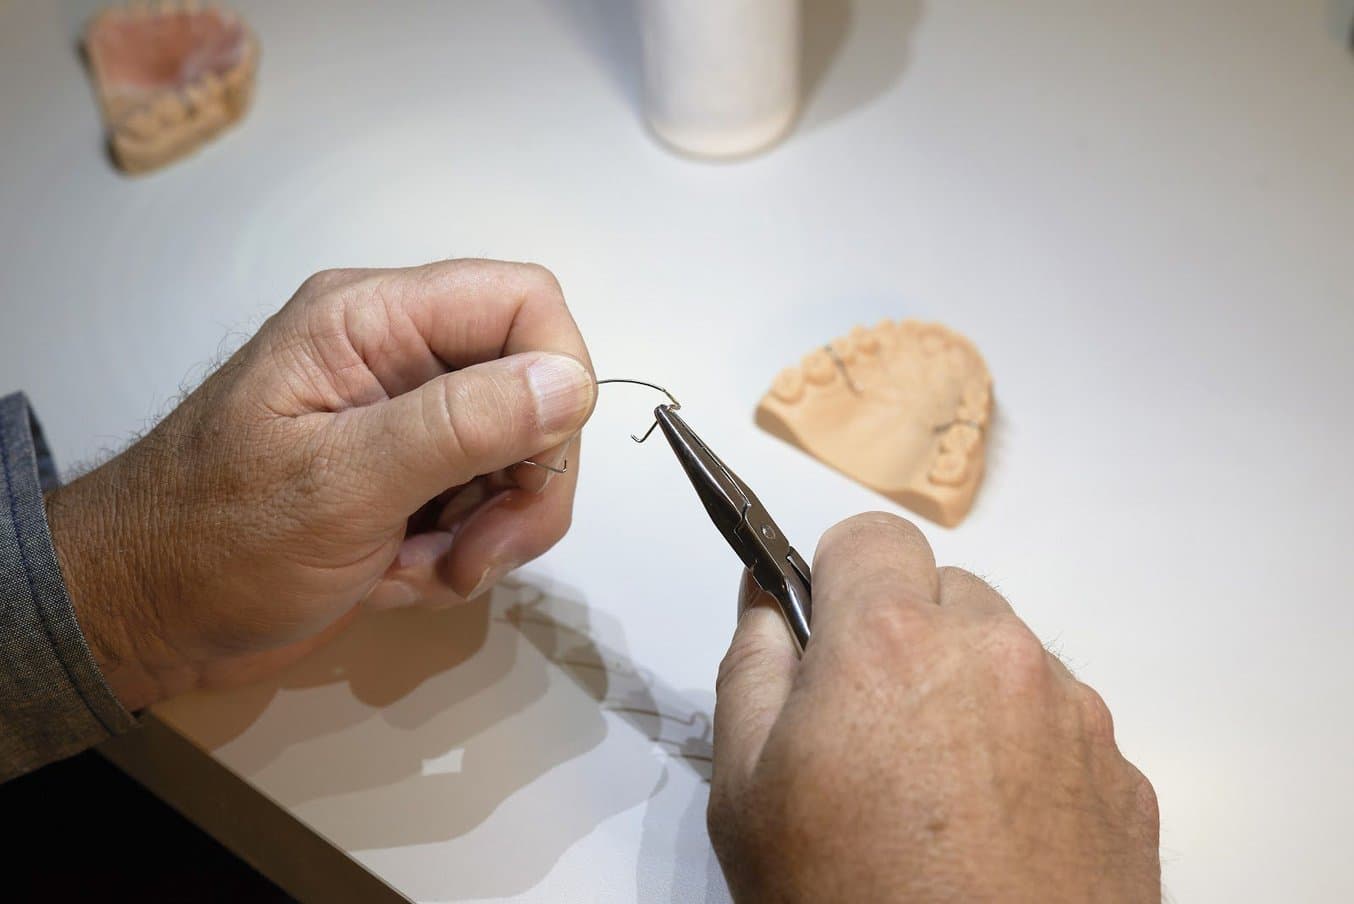
Use wire-bending pliers to form the arch wire and contour it to the patient’s dentition. Once the wire is properly bent, use dental wax to hold the wire in place for acrylic work. Formlabs tests have found that wirework on printed models is analogous to stone models, although waxwork may be more fragile.
If welding is required for any appliance fabricated on a printed model, laser welding is the preferred choice. Unlike traditional welding methods, laser welding does not heat soak the model and cause it to deform.
7. Apply Acrylic
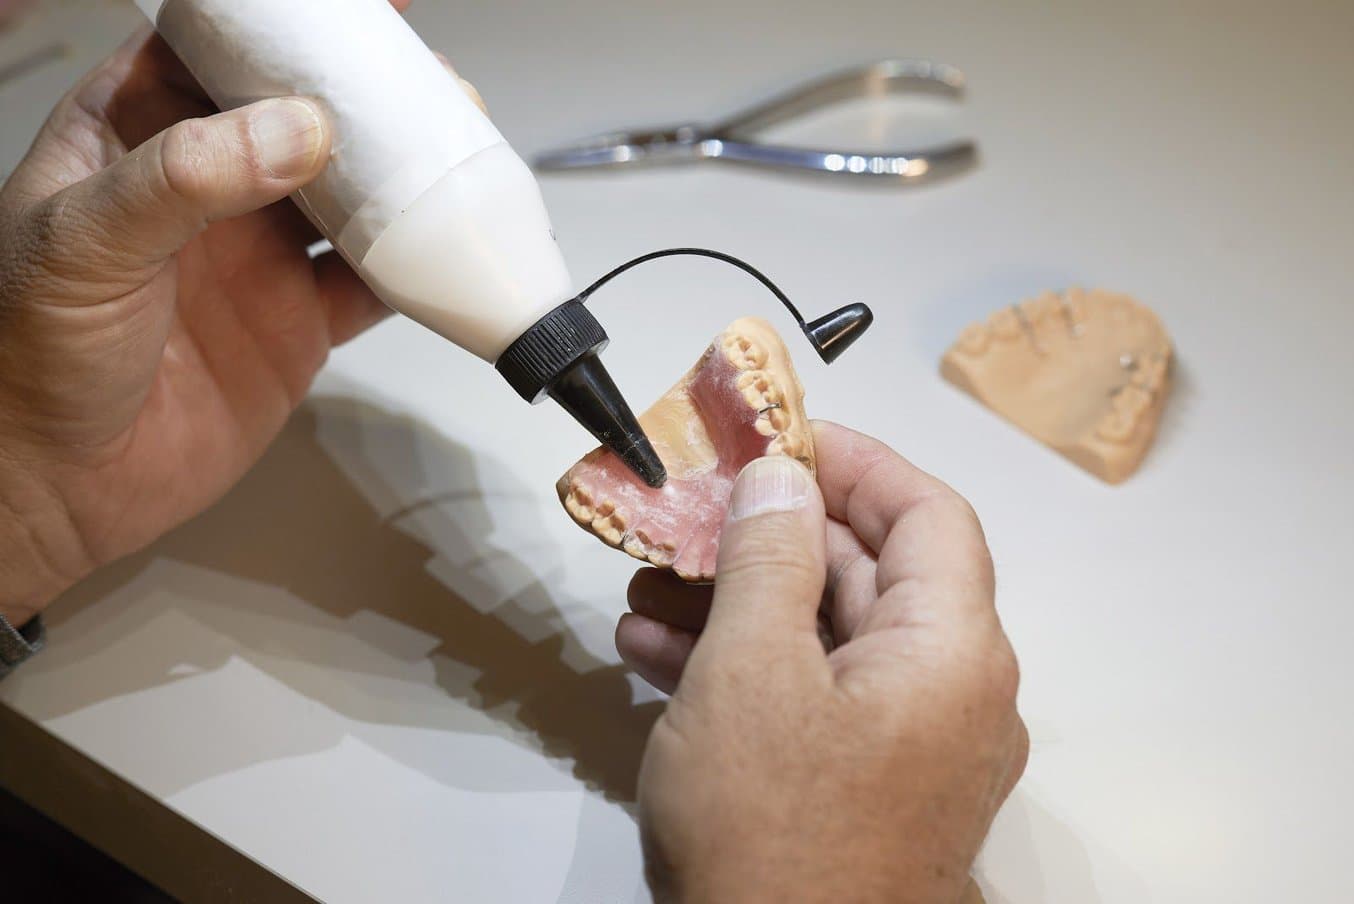
Formlabs tests have determined that acrylic should be applied and finished similar to traditional stone models. Some lab users have found that applying a thin coat of release agent on the printed model right before acrylic fabrication helped with workflow consistency.
WARNING!
Liquid MMA monomer can often be extremely flammable, volatile, and pose a health risk. Ensure that all acrylic work is in accordance with the hazards and safety precautions of the specific materials, and follow the instructions for use.
8. Finish
Remove the acrylic retainer from the model using a dental spatula, applying some force if needed. Cut the retainer to its final shape, trimming off the excess acrylic using a dental rotary tool with a carbide bur. Polish the retainer to improve aesthetics and fit. Use a rag wheel and pumice on a dental lathe to smooth all surfaces, then apply a wax coat to impart a glossy finish.
