
Double Digital Full-Mouth Rehabilitation With 3D Printing: Implant Placement and Immediate Loading With Temporary Prosthesis
In this clinical case, Dr. Andrea Bevilacqua presents a step by step overview of how he performs a complex full-mouth rehabilitation in two appointments, combining guided implant placement using a printed guide with Surgical Guide Resin and immediate provisional rehabilitation with printed prosthetics using Premium Teeth Resin.

About the Author
Dr. Andrea Bevilacqua is a dental practice owner and expert in digital dentistry who graduated from the State University of Milan's Hospital Galeazzi in 2020. He is the creator and CEO of the revolutionary concept Digital Patient®, and the author of the book Digital Patient in Dentistry (2020). An active promoter of new concepts like Perfect Smile Concept®, TartarQ®, and ParodontOK®, he is also a respected speaker at national and international meetings. Dr. Bevilacqua is a Key Opinion Leader for Medit and an active member of the Digital Dentistry Society.
Introduction
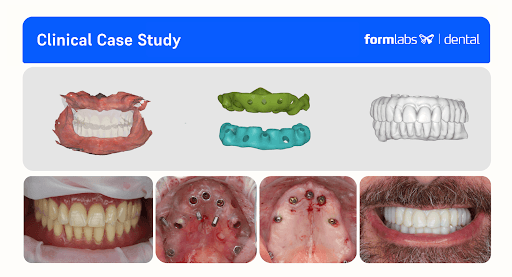
This case demonstrates a full in-house digital workflow for a complex full-mouth rehabilitation, successfully combining guided implant placement with immediate loading.
What makes this protocol relevant is its streamlined, in-house process, which radically improves efficiency and predictability. By leveraging intraoral scans, guided surgery, and 3D printing, it allows for the delivery of highly precise, functional provisional prostheses in record time. This not only enhances the clinical workflow but also significantly elevates the patient’s experience by reducing chair time and providing a functional and aesthetic solution on the same day as their surgery.
Starting with a complete Digital Patient avatar, the team planned and executed the placement of 13 implants (upper and lower). A surgical guide was designed in RealGuide and printed on the Form 4B stereolithography (SLA) 3D printer with Surgical Guide Resin in less than 60 minutes, ensuring precision and safety.
Following the procedure, the patient received two printed provisional full-arch, screw-retained, implant-supported prostheses. These were designed by an external dental lab using exocad, then printed on Form 4B with Premium Teeth Resin in under 30 minutes. The final printed prostheses were aesthetically pleasing, mechanically stable, and dimensionally accurate.
Compared to traditional dental lab workflows — which can take days — this protocol allows for same-day surgery and prosthetics, proving the power of an integrated digital solution to transform both the clinical workflow and the patient experience.
Summary of the Protocol:
First Appointment: Digital Patient Registration and Alignment
-
Intraoral scanning
-
Extraoral scanning
-
CBCT acquisition
In-Between Appointment: Digital Implant Planning and Wax-Up
-
Digital design of the surgical guides
-
Digital design of the preliminary prosthesis based on the wax-up
-
3D printing of the surgical guides and preparation for clinical use
Second Appointment: Full-Arch Implant Placement and Immediate Loading
-
Implant placement using the surgical guides
-
Final implant position registration and data transfer to the laboratory
-
Modification of the wax-up and prosthesis according to the final implant position
-
Transfer of STL files for in-house 3D printing
-
Double full-arch immediate loading with the printed prostheses
Get in Touch
Whether you need to produce occlusal splints in-house, or are looking for high-throughput production of dental models, we're here to help. Get in touch with a dental expert to find the right solution for your business.
Case Presentation and Diagnosis
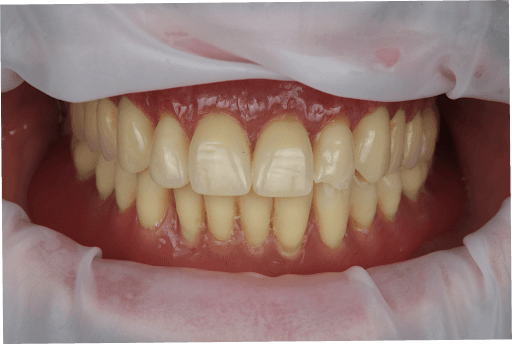
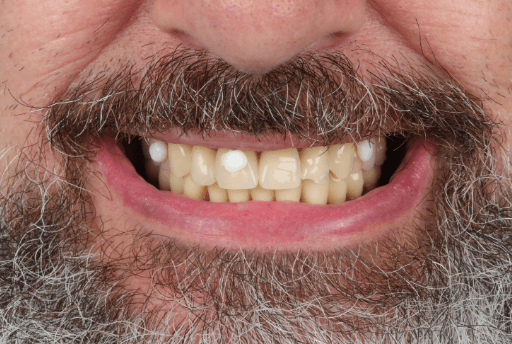
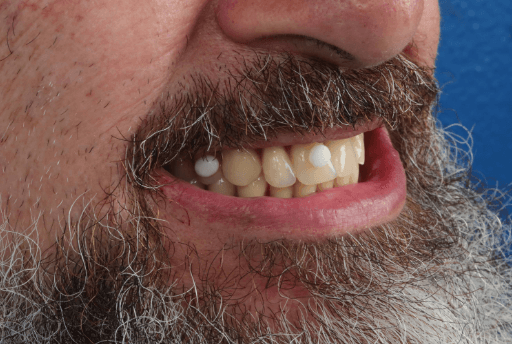
A 63-year-old male patient, ASA 1, came to the clinic expressing a strong desire to “finally have fixed teeth again.” Following some personal issues, he has neglected his oral health for the last 30 years, which lead to the several dental complications such as progression of severe periodontal disease and complete tooth loss.
During the clinical examination, the patient was wearing two full removable dentures which the patient said to have been using for 15 years.
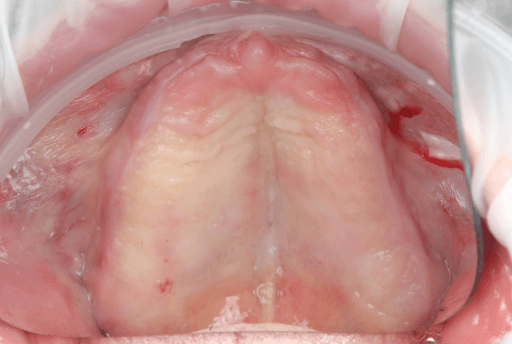
During clinical examination and CBCT evaluation it revealed severe maxillary atrophy (Cawood & Howell class V-VI), with reduced posterior bone height and unfavorable sinus pneumatization. The mucosa appeared thin but healthy, with no active infection. The mandible showed preserved basal bone and favorable ridge width posterior to the mental foramina.


Treatment Plan
The proposed treatment plan included two appointments where the following procedures would be performed:
First appointment: Full data collection (CBCT, intraoral scans, photos, and face scan) and establishing the treatment plan.
Second appointment: Double full-arch guided implant surgery using 3D printed surgical guides printed with Surgical Guide Resin on the Form 4B and delivery of 3D-printed screw-retained provisional prostheses (upper and lower arches) using Premium Teeth Resin. The detailed procedure is as follows:
-
Maxilla: Placement of seven implants, including two pterygoid implants to ensure posterior anchorage and avoid sinus grafting.
-
Mandible: Placement of six implants, with two 8 mm short implants positioned in the posterior areas above the inferior alveolar nerve, maximizing available bone without the need for nerve repositioning.
-
Immediate rehabilitation with two provisional upper and lower full-arch implant-supported prosthesis.
Execution of Treatment Plan
1. First Appointment
Full data collection (CBCT, intraoral scans, photos, and face scan) to create the Digital Patient and establish the treatment plan.
1. Scanning
2. CBCT
3. Facial Scan
Result: Digital Patient
A series of intraoral and extraoral scans were performed to digitize the case. The individual steps for each data capture can be seen below.
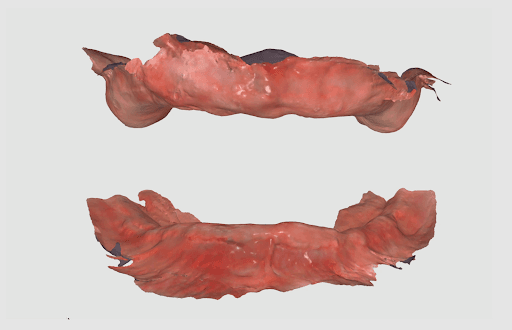
1.1 Intraoral Scanning
The intraoral anatomy of the patient for both the upper and lower jaws was captured using an intraoral scanner (Medit i900).
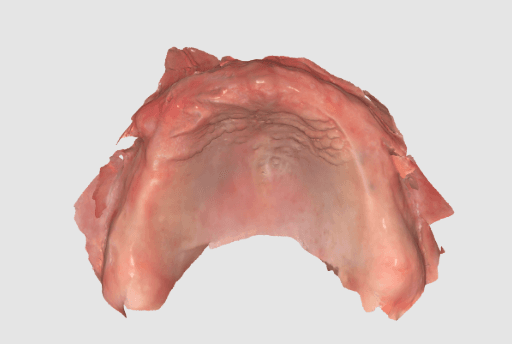

Intraoral scan of the upper jaw.
Intraoral scan of the lower jaw.
1.2 Extraoral and Intraoral Scanning
The upper and lower dentures of the patient were scanned extraorally using the same intraoral scanner (Medit i900).


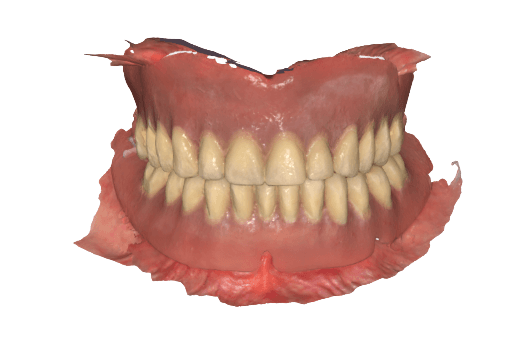
Extraoral denture scan used to align with the intraoral data.
This data is matched in Medit’s Design software as it follows:

Duplicate denture
Cut denture
Invert denture
Align denture with edentulous scan
Afterwards, the VDO is recorded by relining the dentures, placing them in the patient's mouth, and rescanning.


Extraoral scan of the upper denture and relined upper denture.
Extraoral scan of the lower denture (with posterior composite markings for better capturing) and scan of the relined lower denture.
Intraoral scan of the relined dentures in biting position to register VDO.
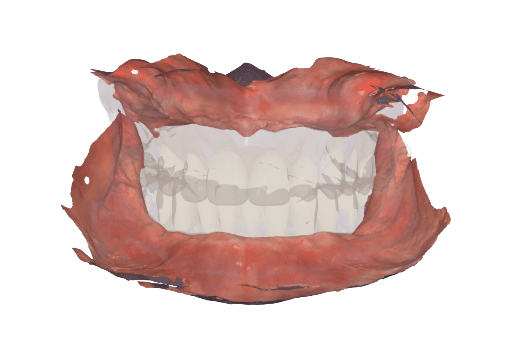
1.3 Merging the intraoral and denture data
The denture scanned extraorally is imported to the CAD software, cut, and inverted so that the intaglio surface of the denture can be aligned with the edentulous scan.
Using Medit’s Design software, the intraoral scan of the relined dentures in biting position enables merging the intraoral soft tissue data with the individual extraoral scans of the upper and lower dentures. This way, we can efficiently establish the vertical dimension of occlusion (VDO).
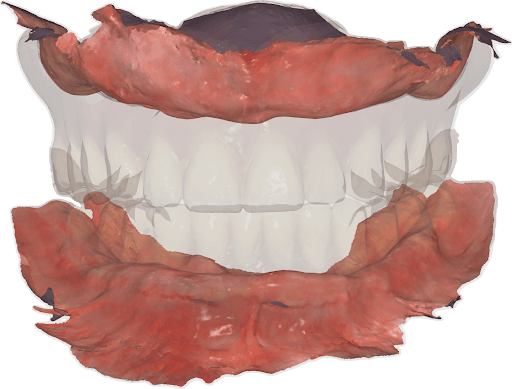

Upper and lower jaw intraoral scan properly aligned thanks to the registration of the relined dentures and biting position of those in the patient’s mouth.
VDO established for the upper and lower jaw.
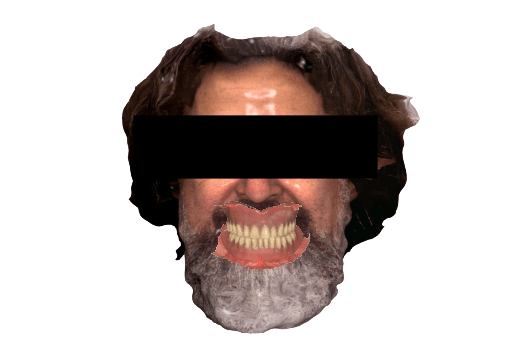
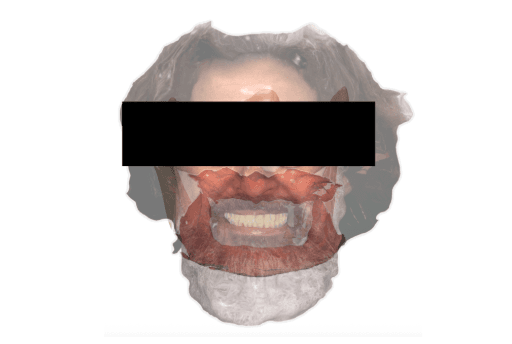
1.4 Extraoral Facial Scan
The patient’s extraoral facial data was captured using an extraoral scanner (RayFace) so it could then be merged with the intraoral data.
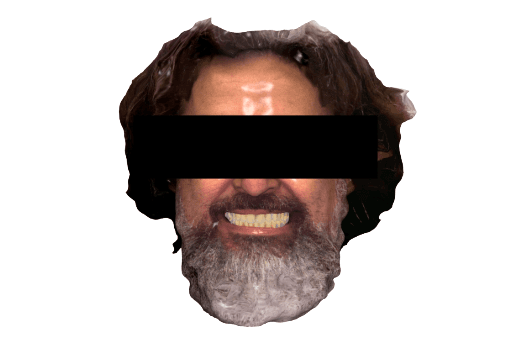

Digital patient with integrated facial scan, intraoral scan of the maxillas, and with dentures.
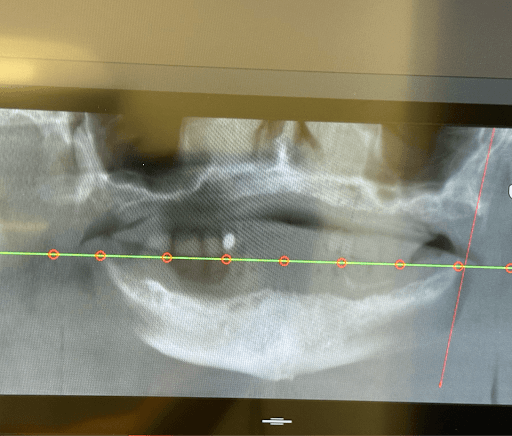
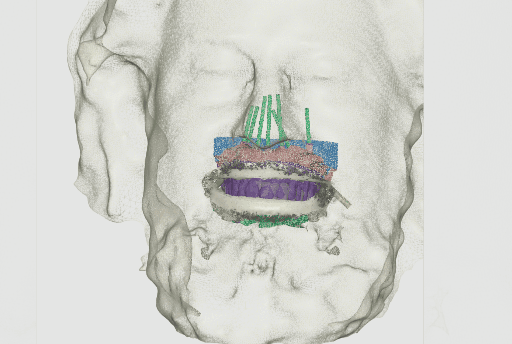
1.5 Merging the CBCT to the Facial and Intraoral Scans
In order to integrate the CBCT to the data captured from the intraoral and extraoral scan, a CBCT was done on the patient while wearing the dentures with added anatomical landmarks. The integration of the data with the CBCT will allow the implant planning and consecutive steps.

Dentures with anatomical landmarks.

CBCT of the patient and anatomical landmarks on the denture captured (RealGuide).
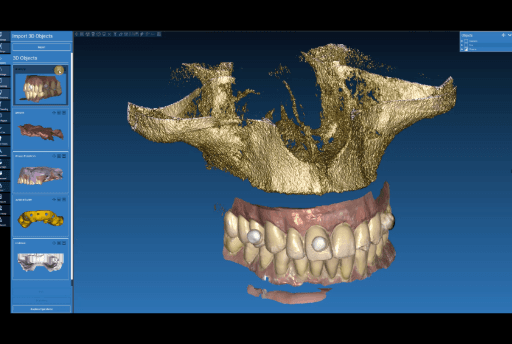

Aligning CBCT with the dentures with anatomical landmarks.
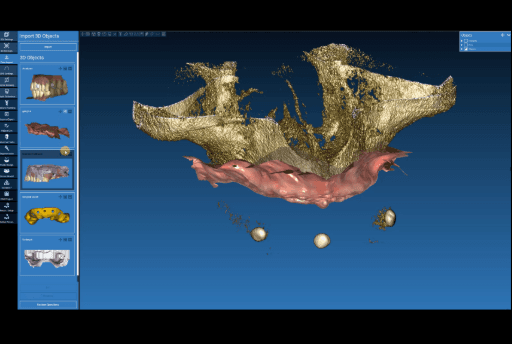
Aligning relined denture plus intraoral data to the anatomical landmarks in the CBCT.
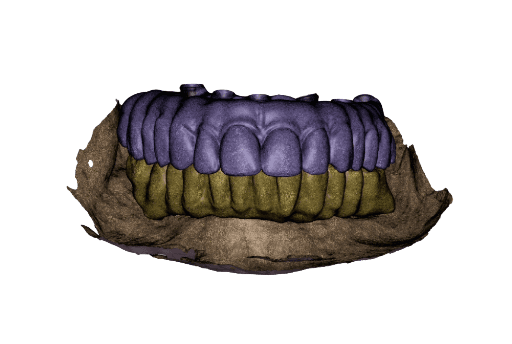
Intraoral data (soft tissue) aligned to the CBCT.
2. In Between Appointments
2.1 Digital Wax-Up
The digital wax-up was done by the dental lab based on the digital patient data provided. This wax-up will be adapted by the lab with the final implant positions on the day of the surgery.

Temporary full-arch implant-supported appliances for the upper and lower arch designed in exocad upon the digital patient.
Wax-up done in exocad upon the digital patient.
2.2 Implant Planning and Surgical Guide Design
Upon the CBCT with integrated data, the implant planning was performed using Real Guide. A total of seven implants were planned for the upper arch, including two pterygoid implants to ensure posterior anchorage. Six implants were planned for the lower arch. The implant distribution was planned to optimize anteroposterior spread and reduce cantilever length. Based on this virtual implant planning, a surgical guide with fixation pins was subsequently designed.


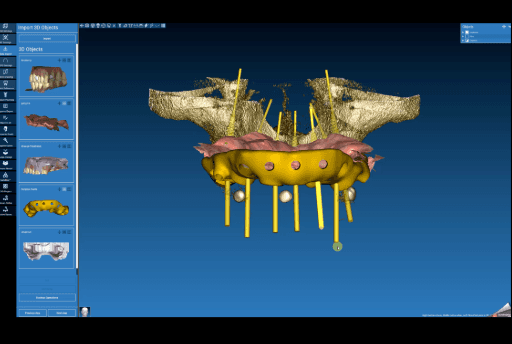
Implant planning (Real Guide) for the upper arch.
Implant planning (Real Guide) and fixation pins for the surgical guide for the upper arch.

The surgical guide (frontal view) designed in Real Guide for the upper arch.
The surgical guide (lateral view) designed in Real Guide for the upper arch.
The surgical guide was imported into Medit Design to control the spacing and guide design prior to exporting it as an STL to 3D print.


Surgical guide imported into Medit Design.
Design check using measuring tools in Medit Design.
2.3 Surgical Guide Production in Between Appointments
2.3.1 Nesting in PreForm Dental: The surgical guide designs are exported as STL files so they can be 3D printed. The STLs are imported into PreForm Dental, Formlabs’ free print preparation software. In PreForm, the guides are properly oriented (parallel to the build platform) and supported. Then, the material for printing can be selected and the surgical guides can be sent to the Form 4B 3D printer. For this case, Surgical Guide Resin was used. This material is a biocompatible, Class I material that can be autoclaved and used for printing surgical guides.


STLs of the surgical guides.
Surgical guides oriented and supported in PreForm Dental.
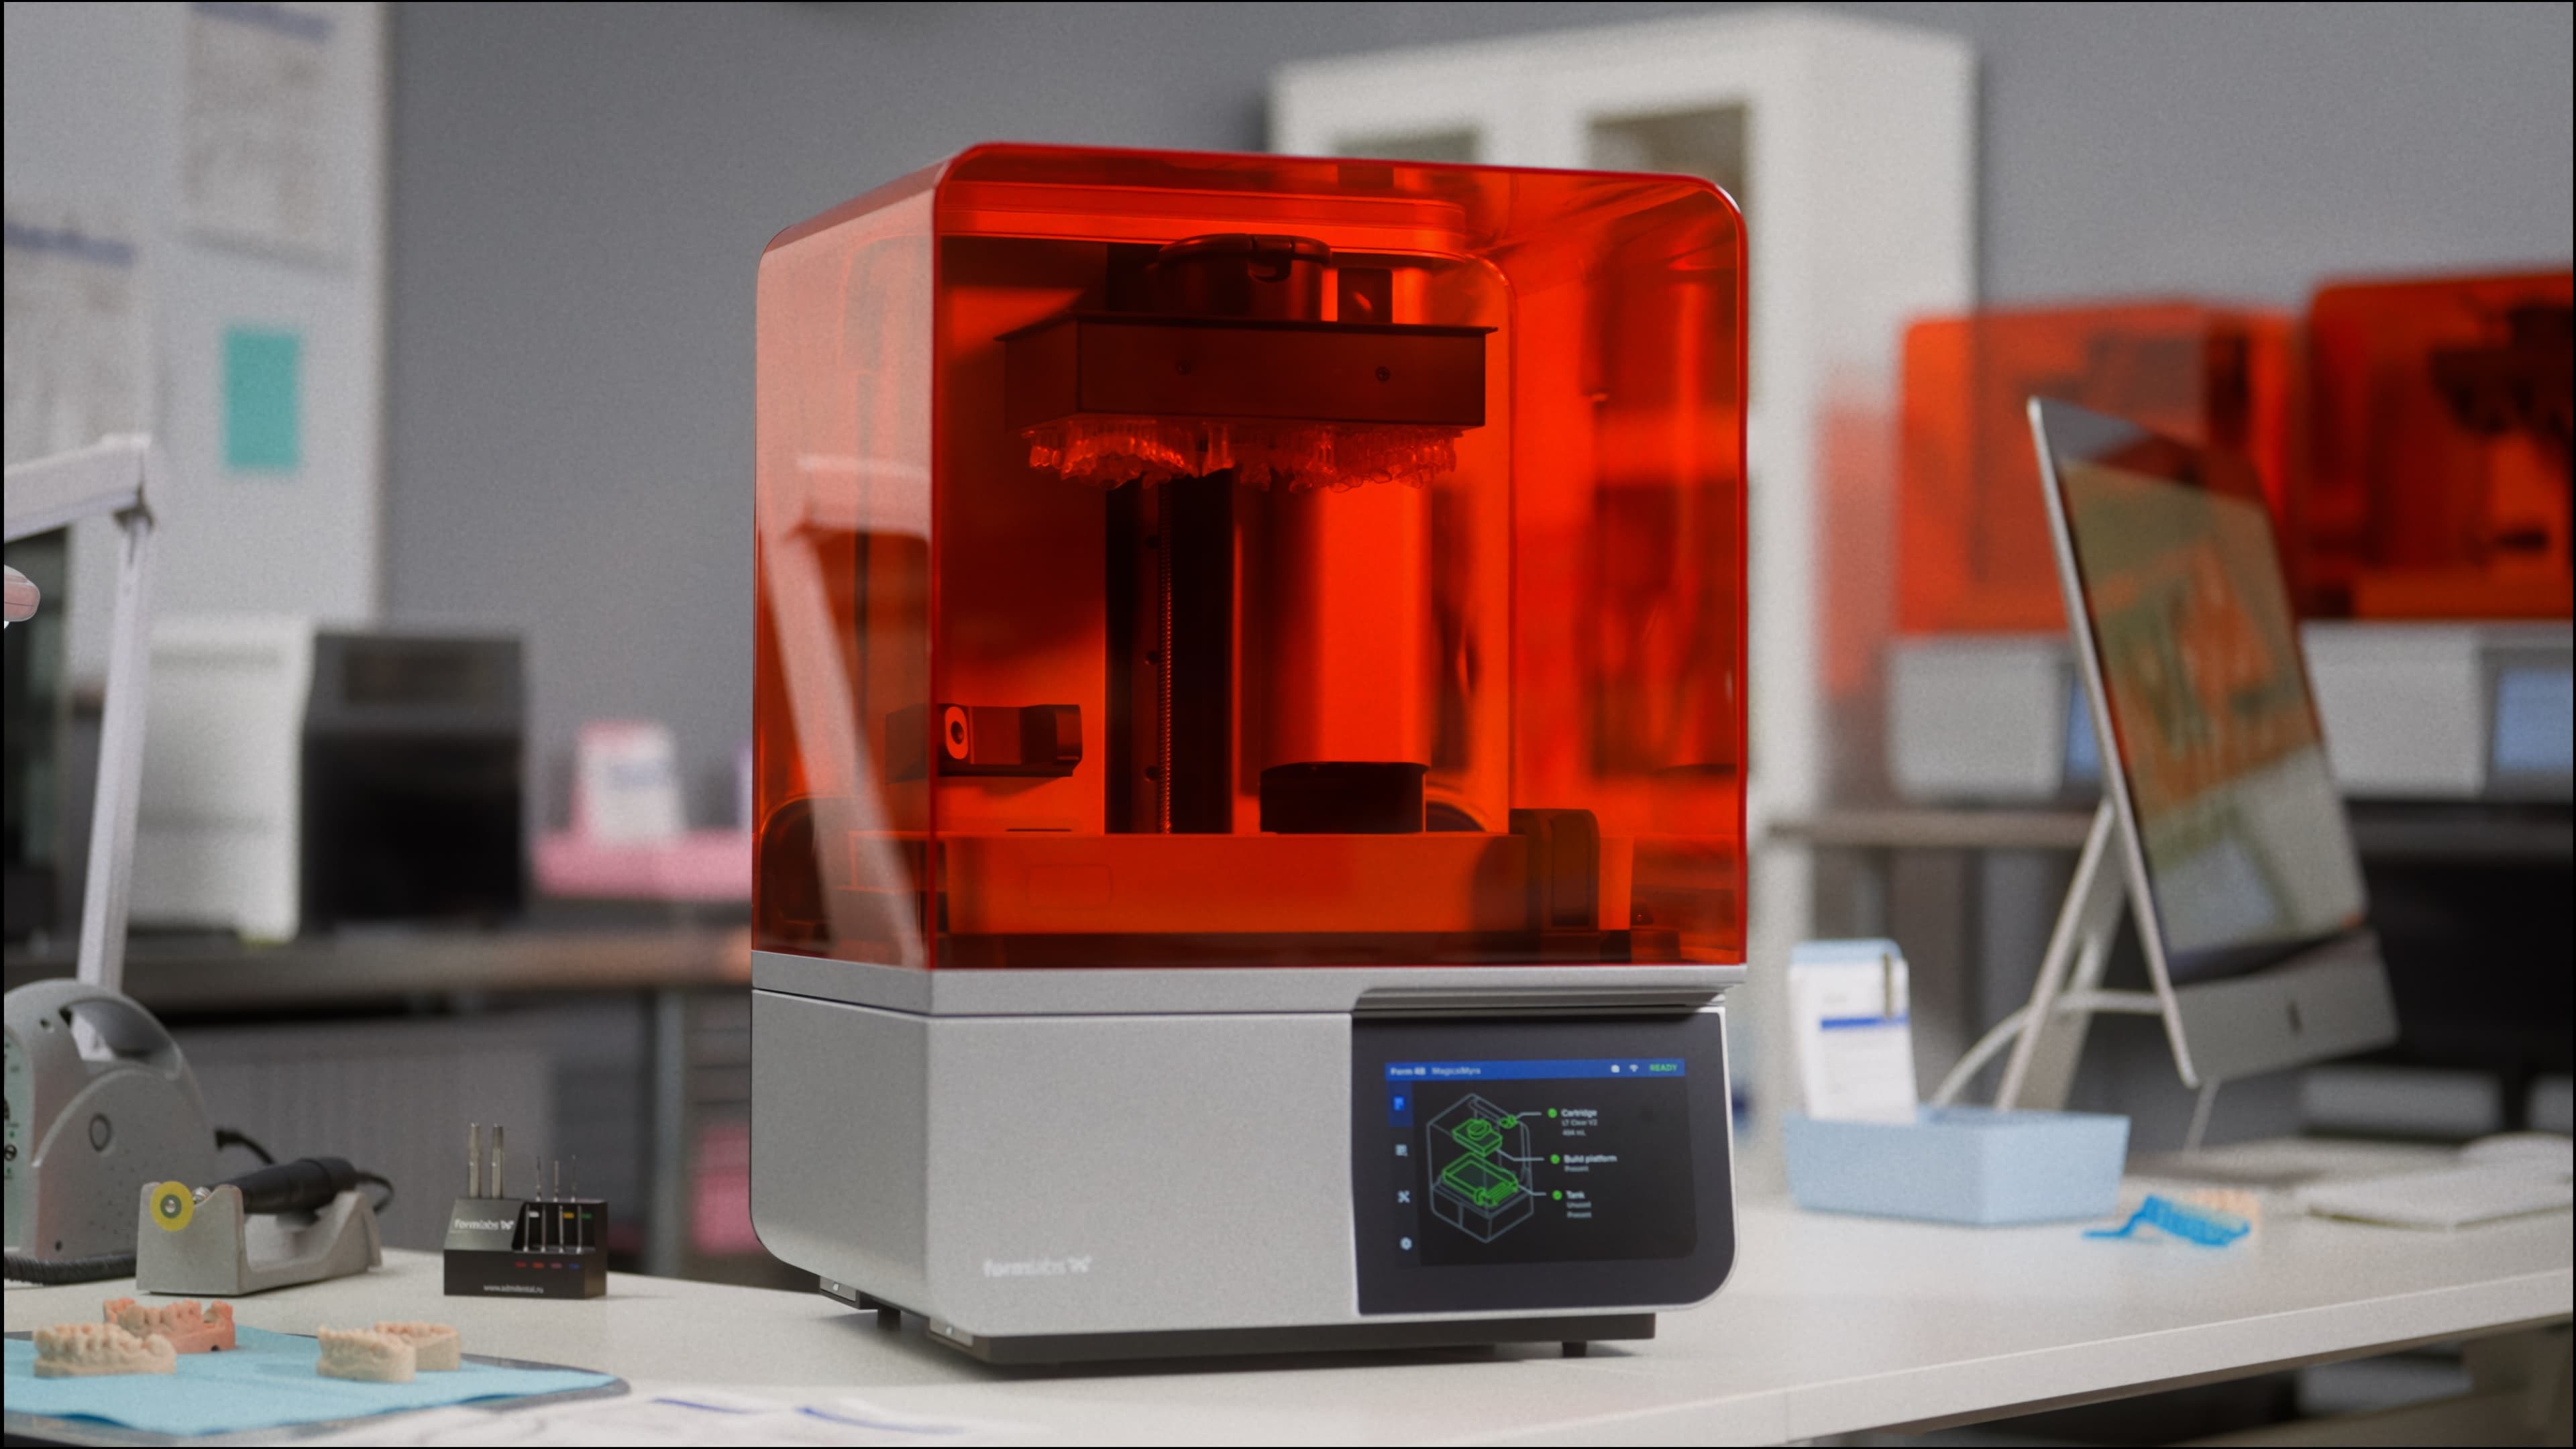
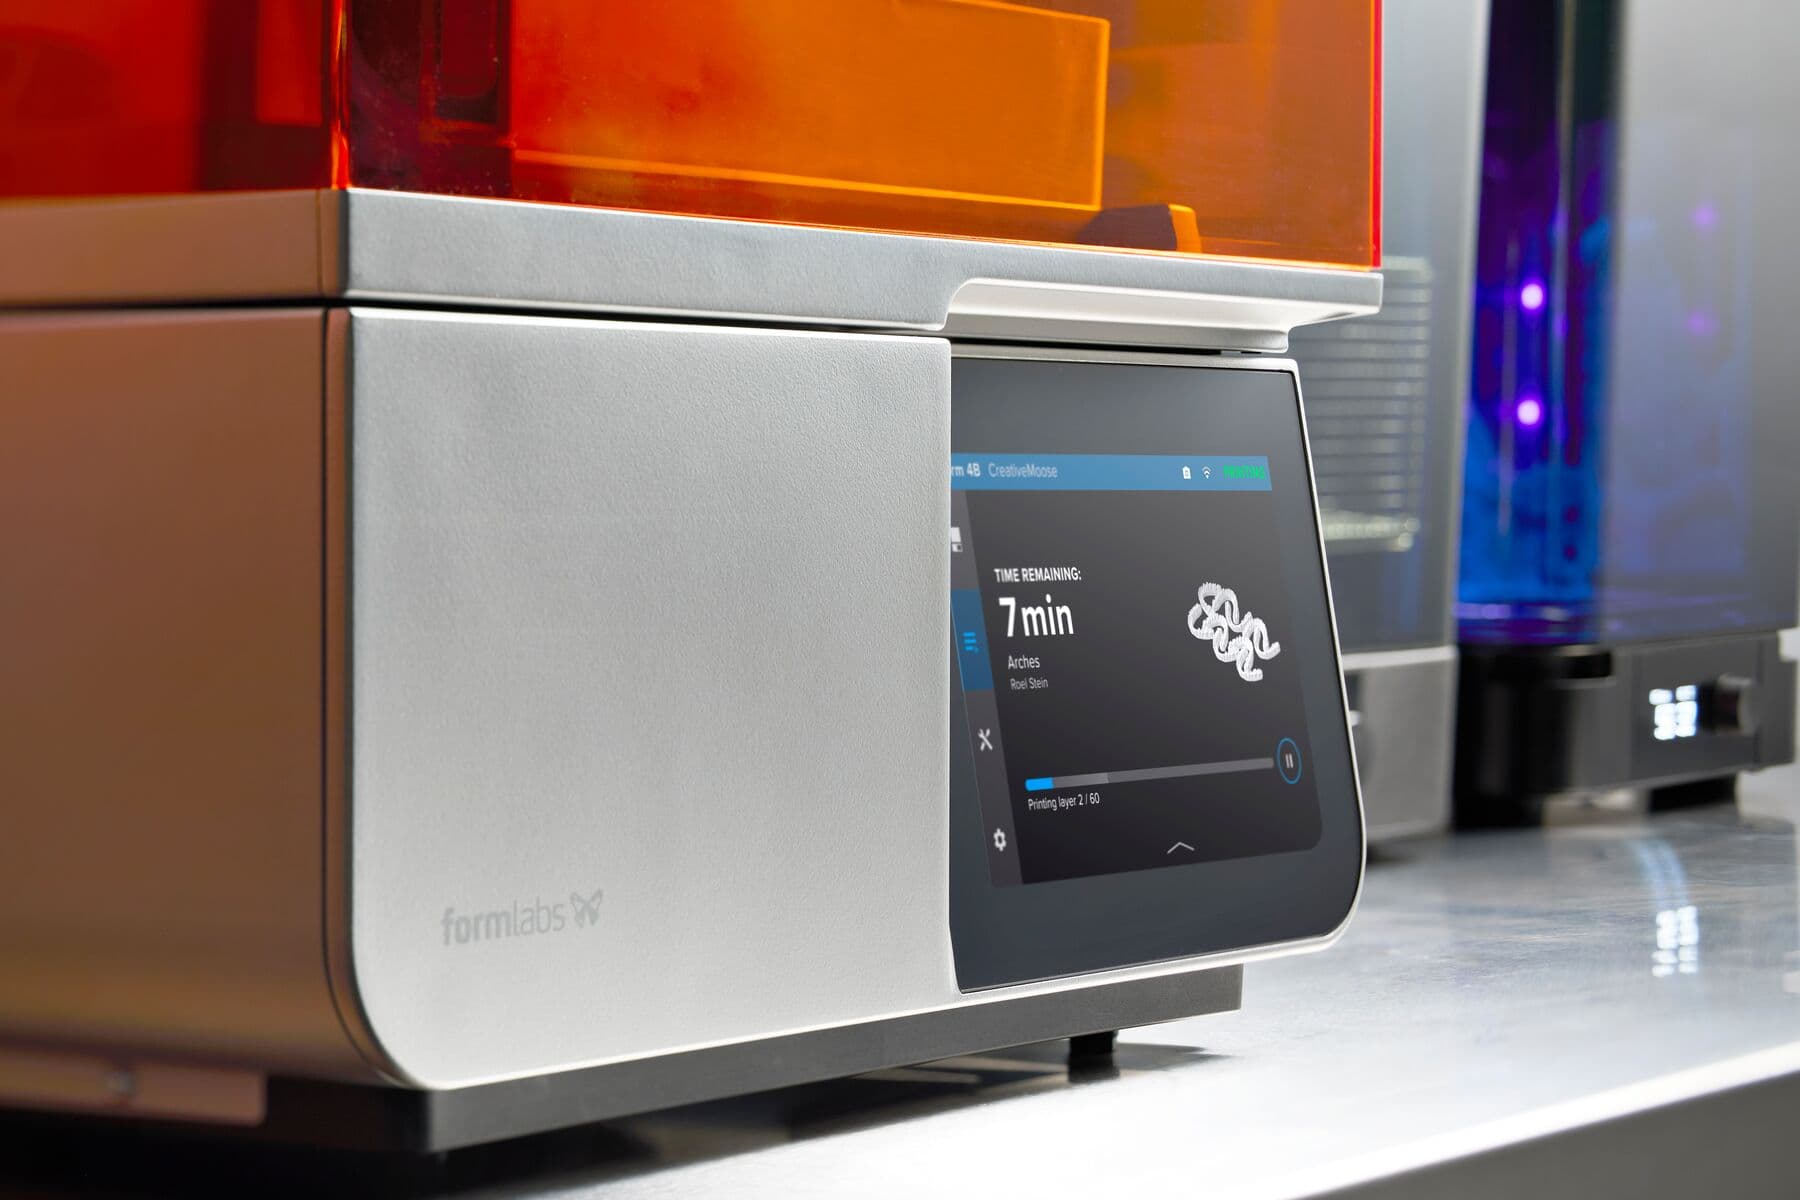
2.3.2 Setting Up the Printer: Form 4B is set-up with the resin tank, resin mixer, Flex Build Platform and Surgical Guide Resin cartridge. Once these elements are prepared, the file will start printing.
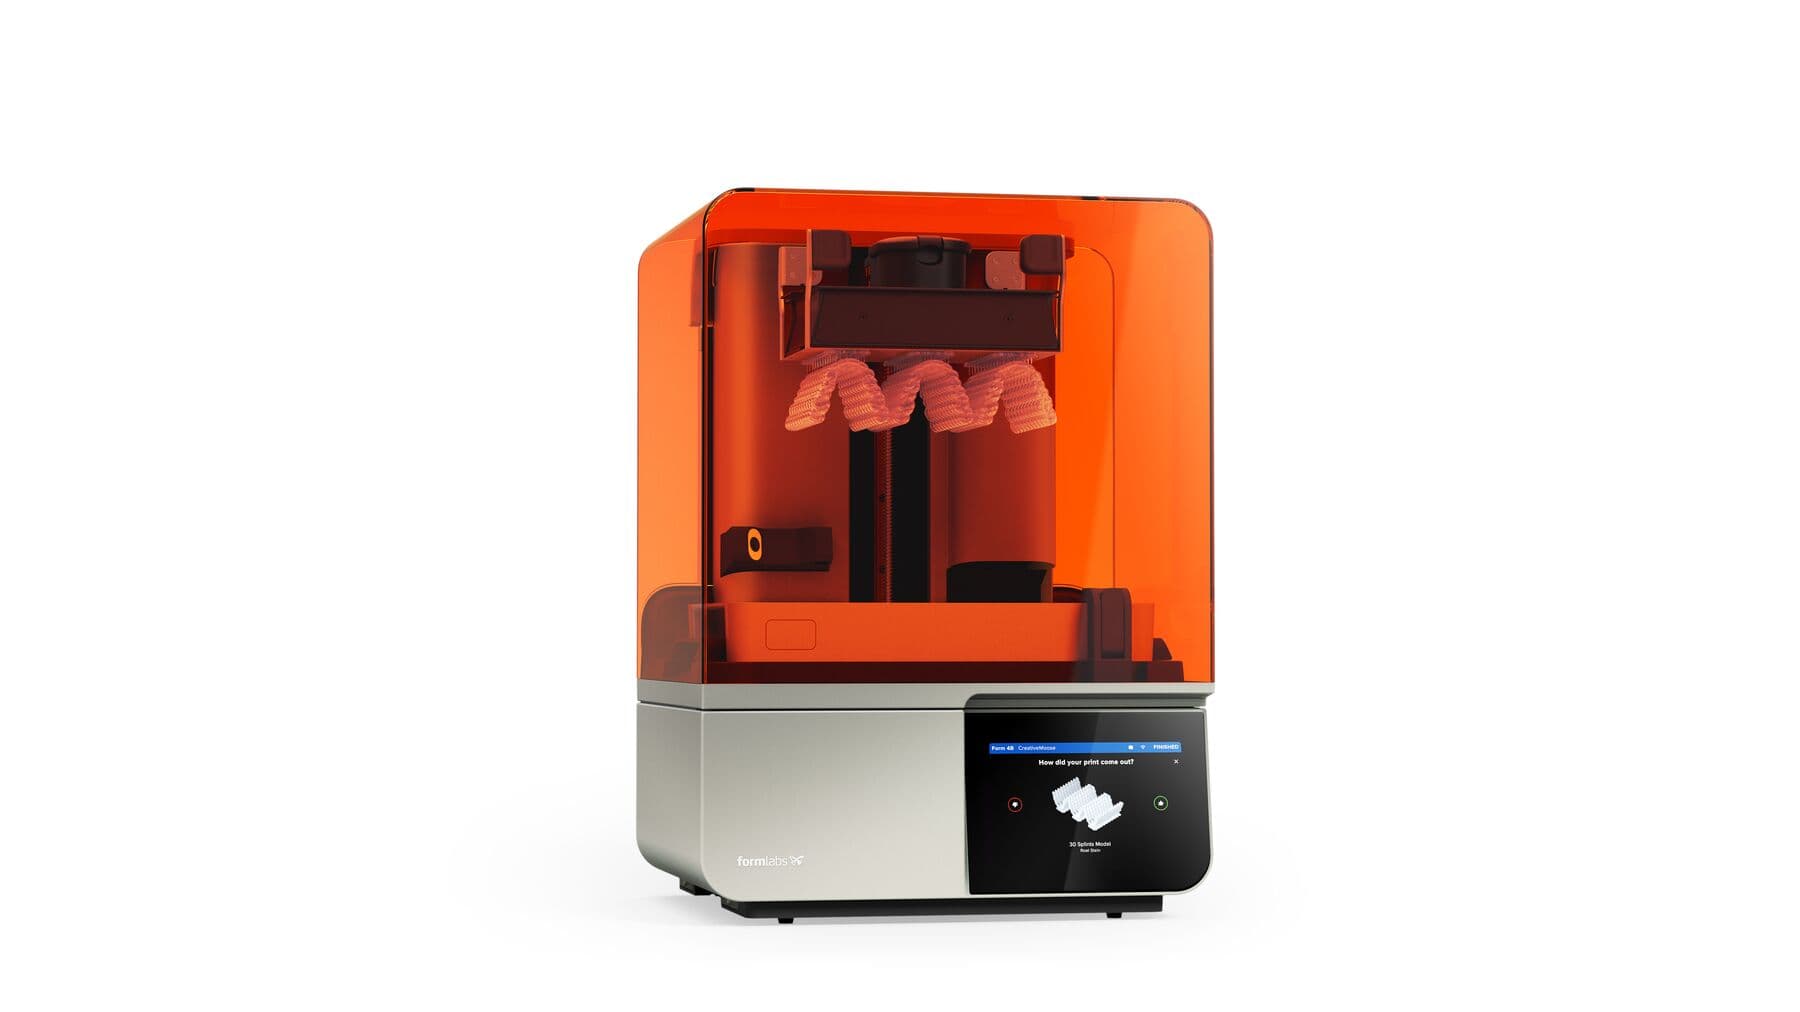


Form 4B
Resin tank and resin mixer
Flex Build Platform
Surgical Guide Resin
2.3.3 Post-processing and finishing of the parts for clinical use: Once the print completes, the parts need to be post-processed to achieve their final mechanical properties and biocompatibility.
First, the parts need to be removed from the Flex Build Platform and washed in the Form Wash as established in the Manufacturing Guide for Surgical Guide Resin. After washing, parts are allowed to dry for at least 30 minutes before curing. Once the parts are dry, they need to be cured in the Form Cure as established in the Manufacturing Guide. Users can also select the preset on the Form Cure for Surgical Guide Resin, which will set the cure time and temperature automatically.
Once the curing is complete, supports are removed with a cutting disk, the support tips and any edges are polished so they are smooth, the implant sleeves are inserted in the surgical guide, and the guides are autoclaved prior to surgery.


Print surgical guides on Form 4B.
Wash parts in Form Wash.
Allow parts to dry for at least 30 minutes.
Cure parts in Form Cure.


Remove support structures.
Polish and remove indentations.
Insert implant sleeves and autoclave surgical guide.
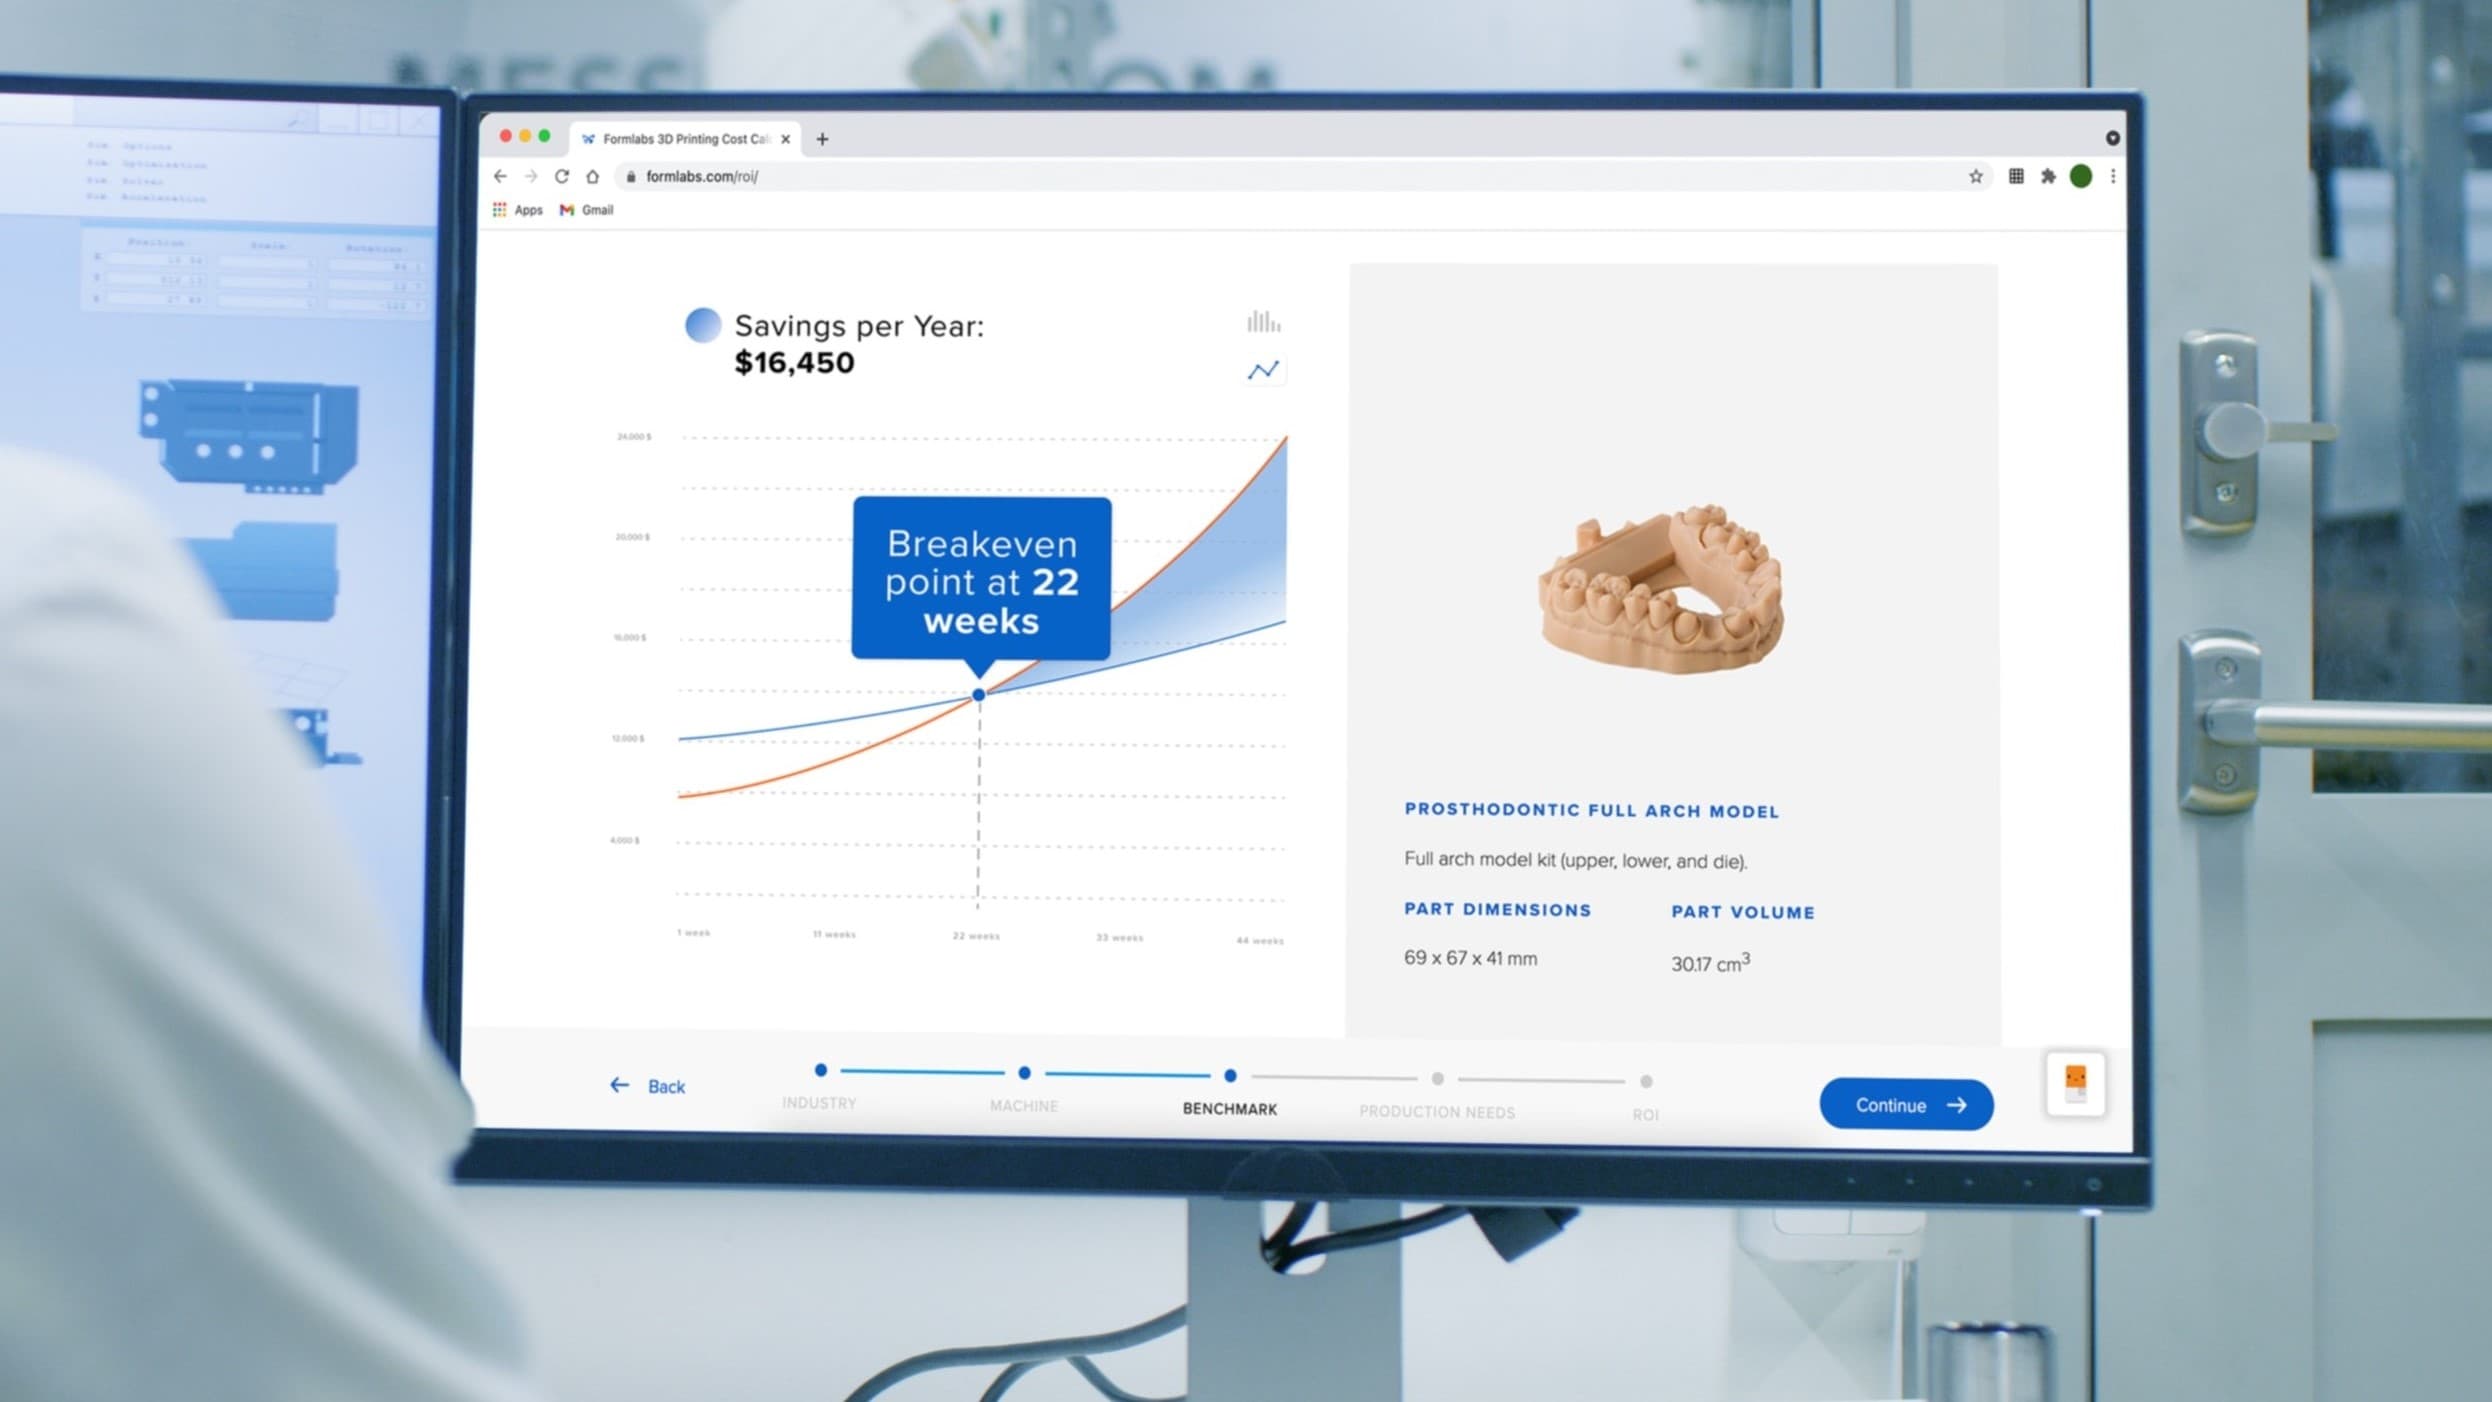
Calculate Your Time and Cost Savings
Try our interactive ROI tool to see how much time and cost you can save when 3D printing on Formlabs dental 3D printers.
3. Second Appointment
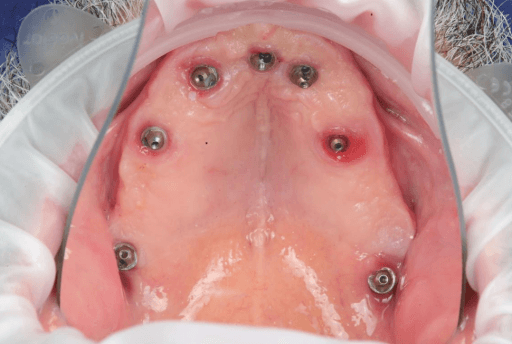
3.1 Surgical Implant Placement
During the second appointment, the surgical implant placement was performed. Using the 3D printed surgical guides, seven implants were placed in the upper arch and six implants in the lower arch. The surgery was performed under local anesthesia using a flapless approach in both arches. Total surgical time was approximately 45 minutes. No intraoperative complications were observed.


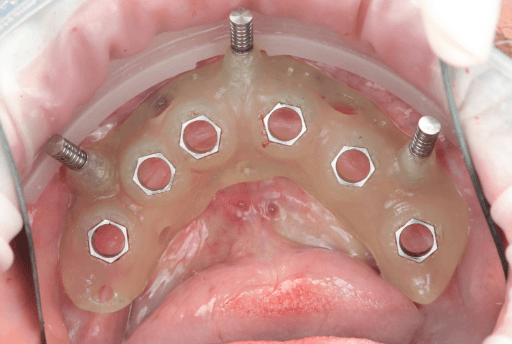
Upper arch surgical procedure. From left to right: Pre-surgical intraoral situation, 3D printed surgical guide with fixation pins, and seven implants placed.

Lower arch surgical procedure. From left to right: Pre-surgical intraoral situation, 3D printed surgical guide with fixation pins, and six implants placed.
3.2 Post-Surgical Intraoral Scan
Scanning of implant position with scanbodies: Immediately after the implants were placed, the final implant position was captured using Apollo scanbodies and the intraoral scanner (Medit i900).
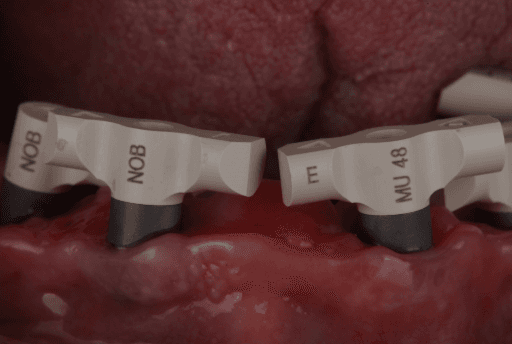
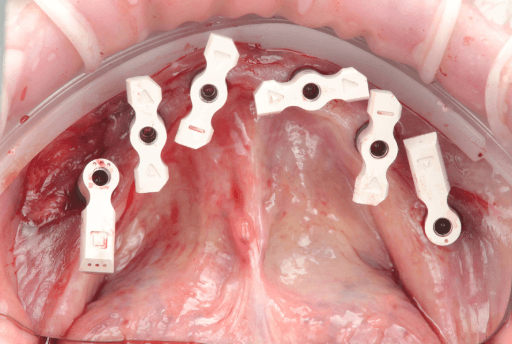
Apollo scanbodies in place.

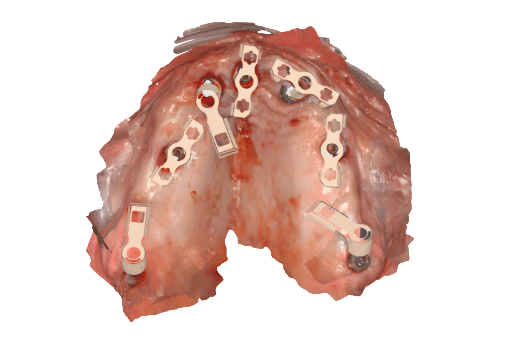

Upper arch from intraoral clinical situation digitized using the Apollo scanbodies and intraoral scanner.
Lower arch from intraoral clinical situation digitized using the Apollo scanbodies and intraoral scanner.
3.3 Updating the Digital Patient Data With Post-Surgical Implant Scan
Once the final post-surgery implant positioning has been captured with the intraoral scanner, that data can be added to the pre-surgery digital patient data. All this data is then sent to the dental lab so they can adapt the wax-up done previously, to the final position of the implants. The total time between sending the file and receiving the final .STL of the prosthesis to print is 15 minutes.
Updated digital patient including post-surgical implant capture data.
3.4 Adaptation of the wax-up by the dental lab and receiving STLs for in-house production
While the patient is in the dental chair, the dental lab adjusts the wax-up considering the intraoral data with the final implant positions in exocad. The temporary full-arch implant-supported prosthesis are then exported as STL files and sent via email to the clinic for in-house manufacturing.
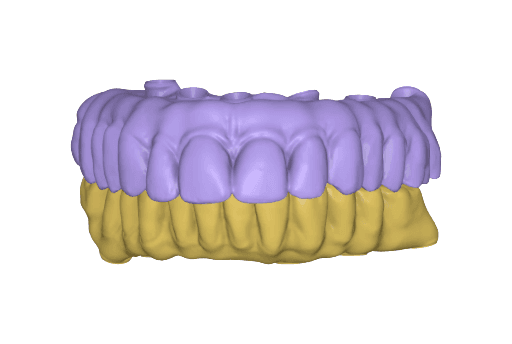
Temporary full-arch implant-supported appliances for the upper and lower arch designed in exocad upon the digital patient.
3.5 In-House 3D Printing of Dental Prosthesis
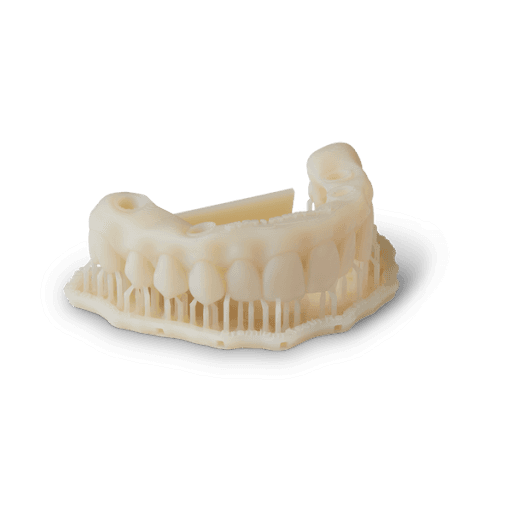
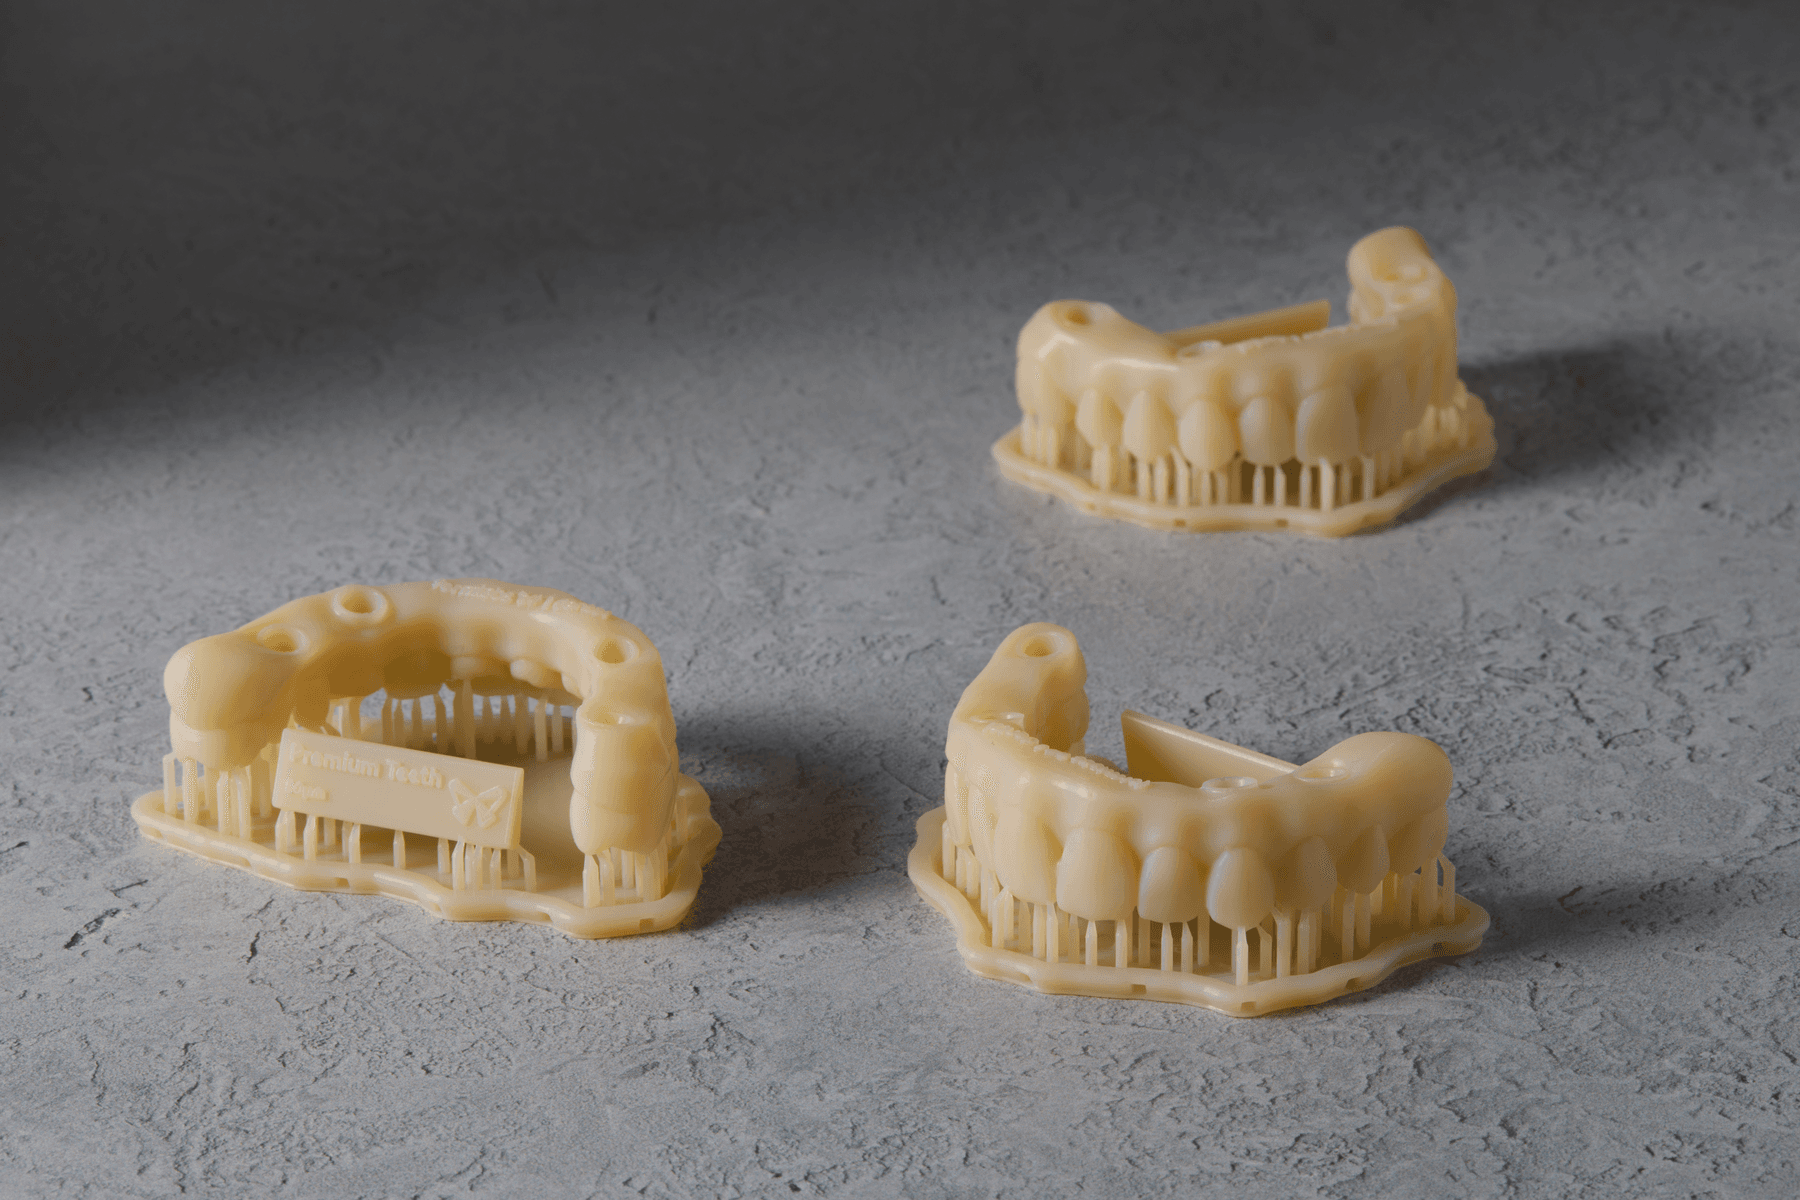
Once the files are received in the dental clinic, they are prepared to print using PreForm Dental and then sent to the Form 4B 3D printer for printing. For the appliances, Premium Teeth Resin was used to print both upper and lower temporary full-arch implant-supported appliances at 100 microns layer height setting — this took 29 minutes total.
Premium Teeth Resin was chosen as it is a ceramic-filled, Class IIa material with optimized esthetics, and mechanical resistance. The total print time is very convenient for manufacturing same-day full-arch rehabilitations.


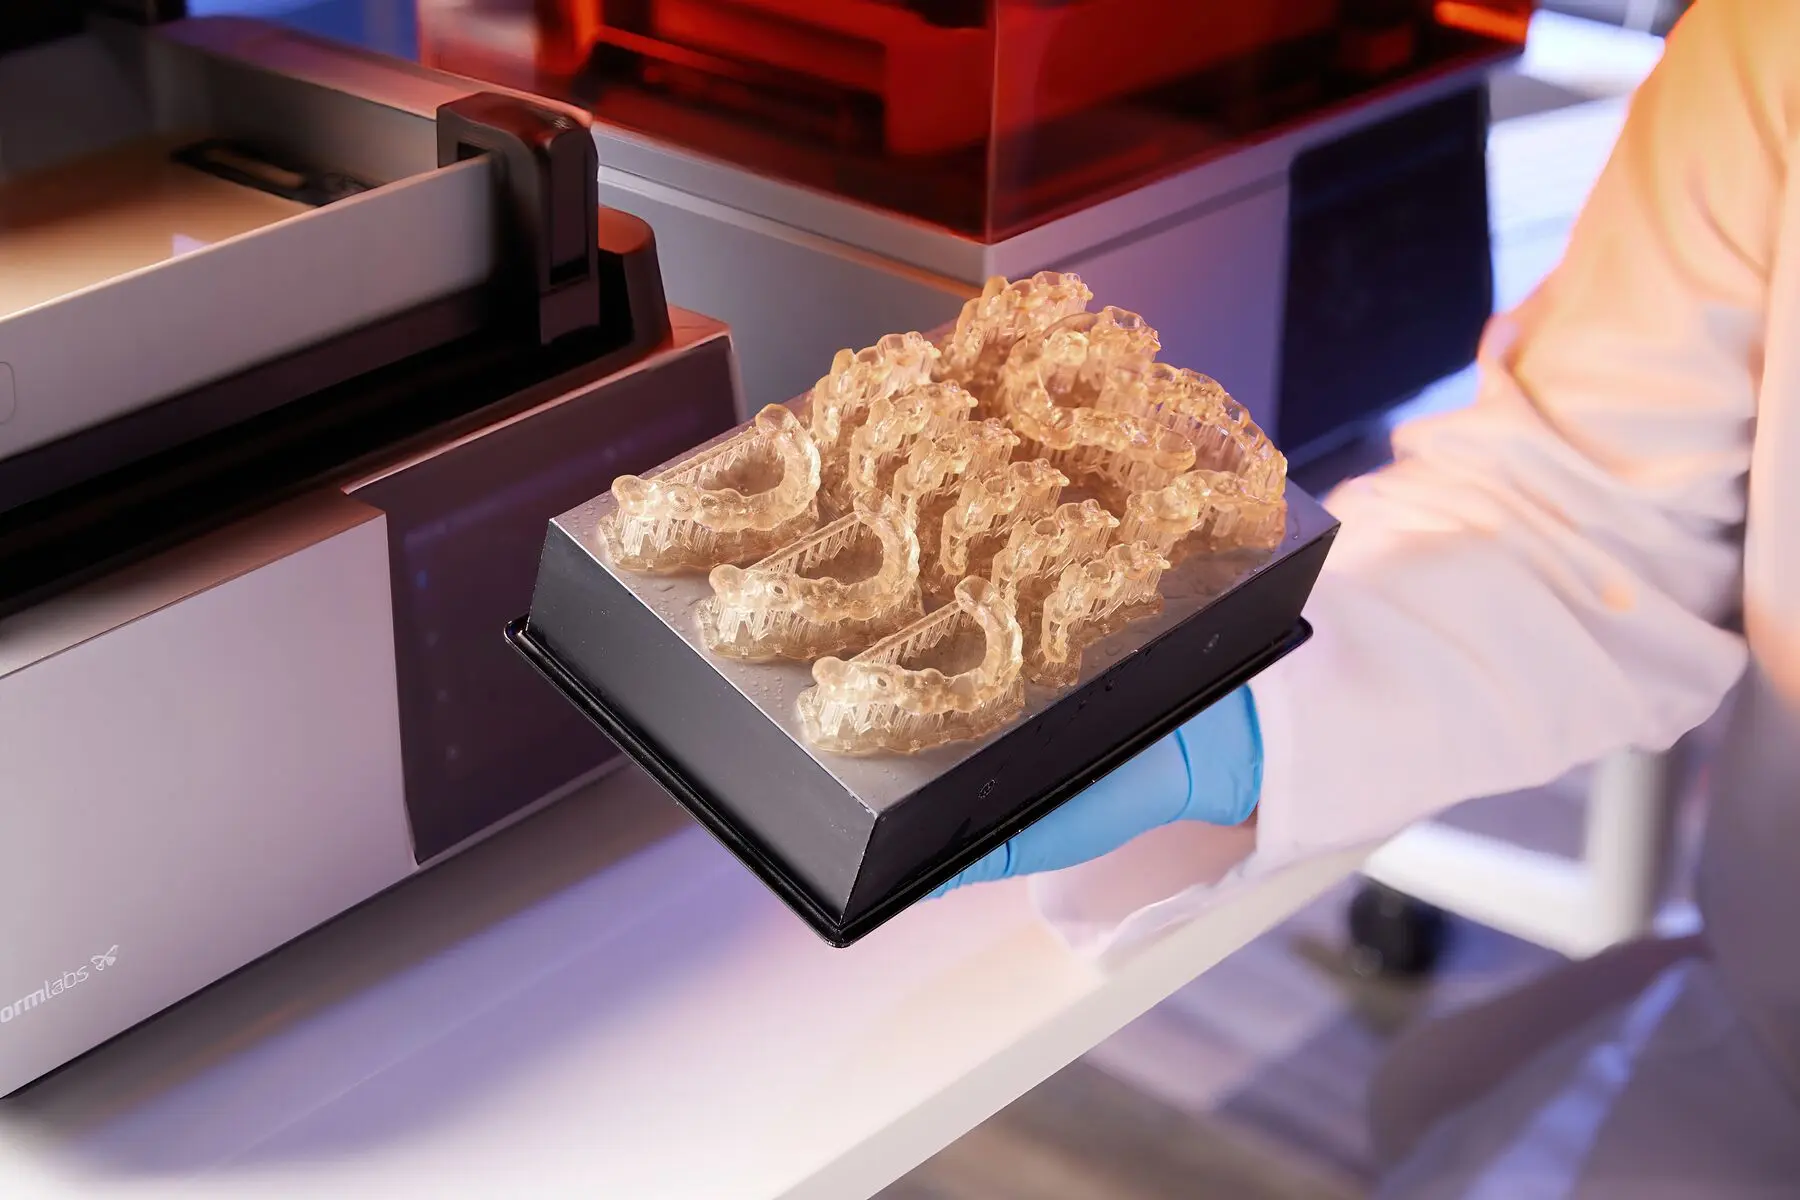
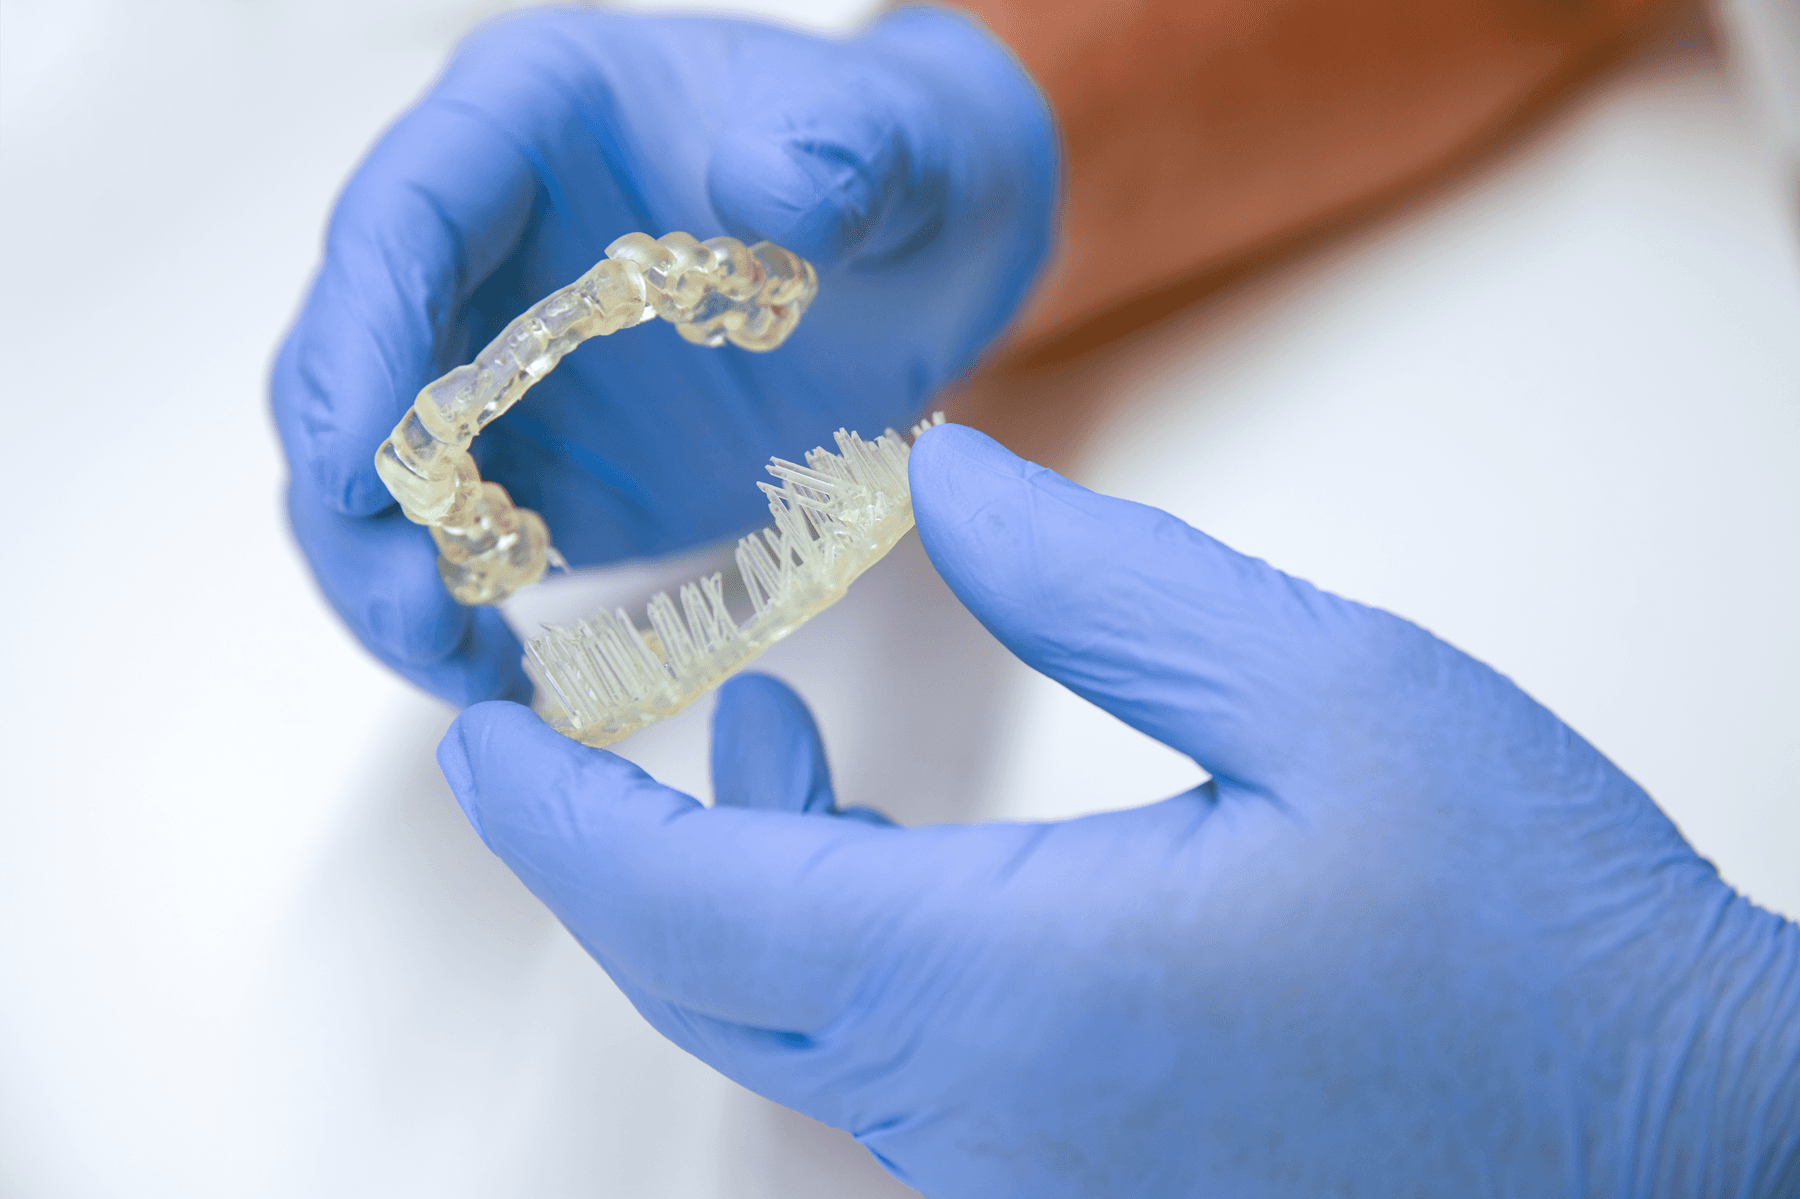
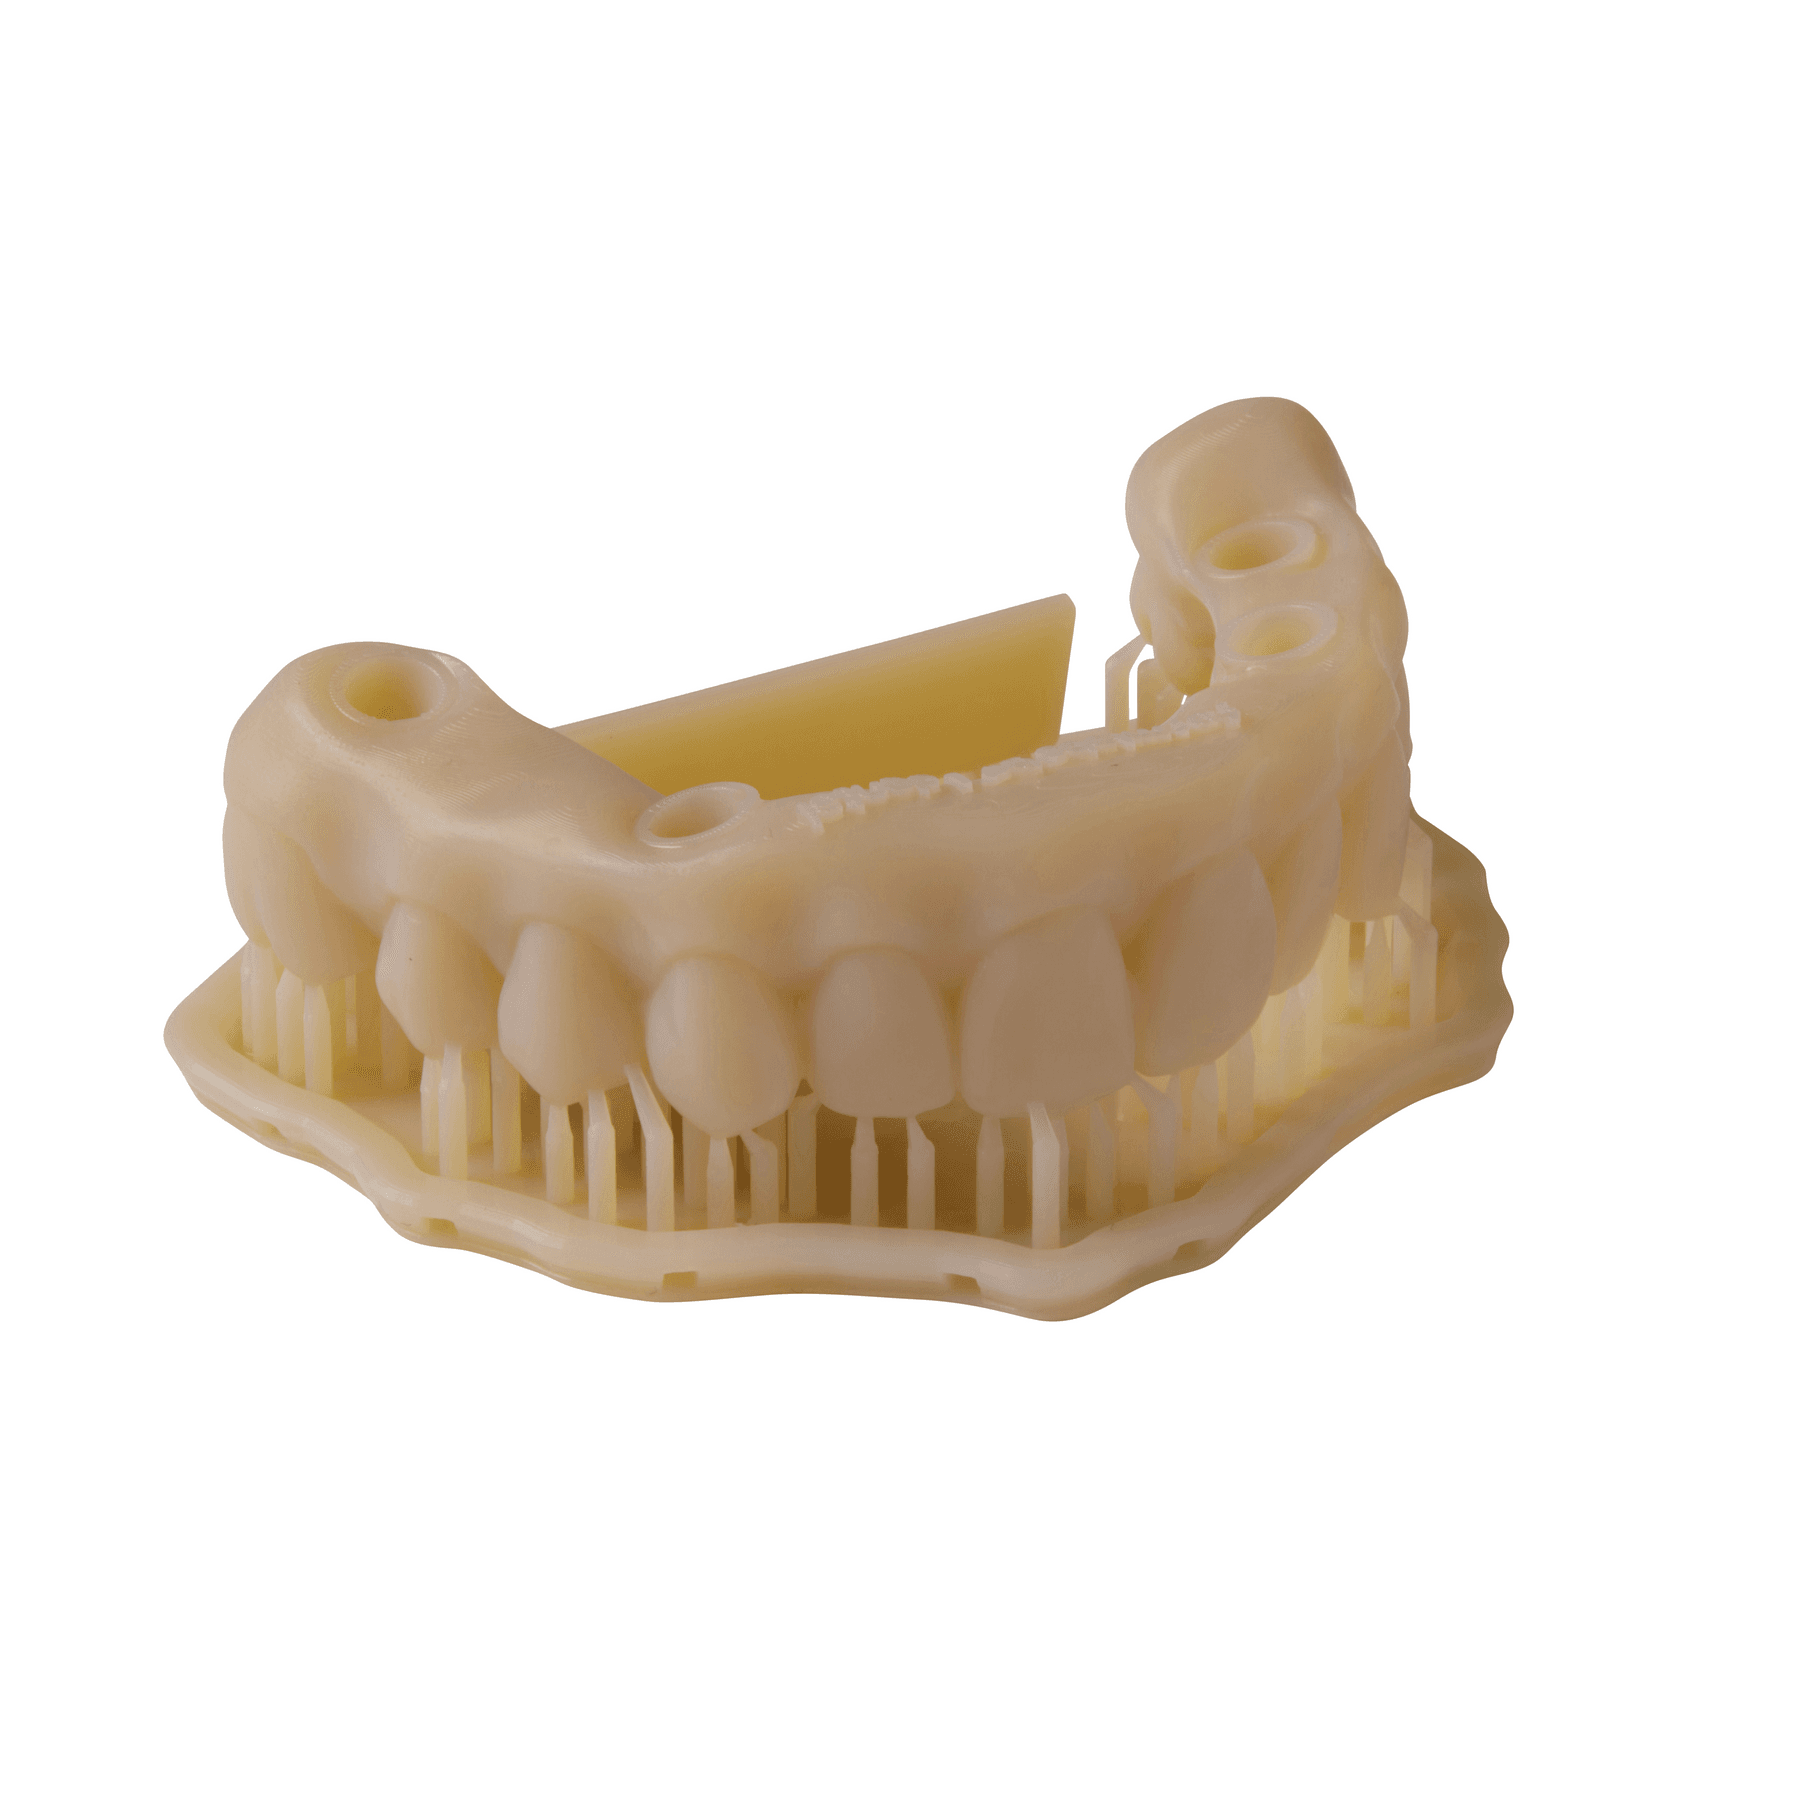
Temporary full-arch implant-supported appliances printed with Premium Teeth Resin (upper and lower arch).
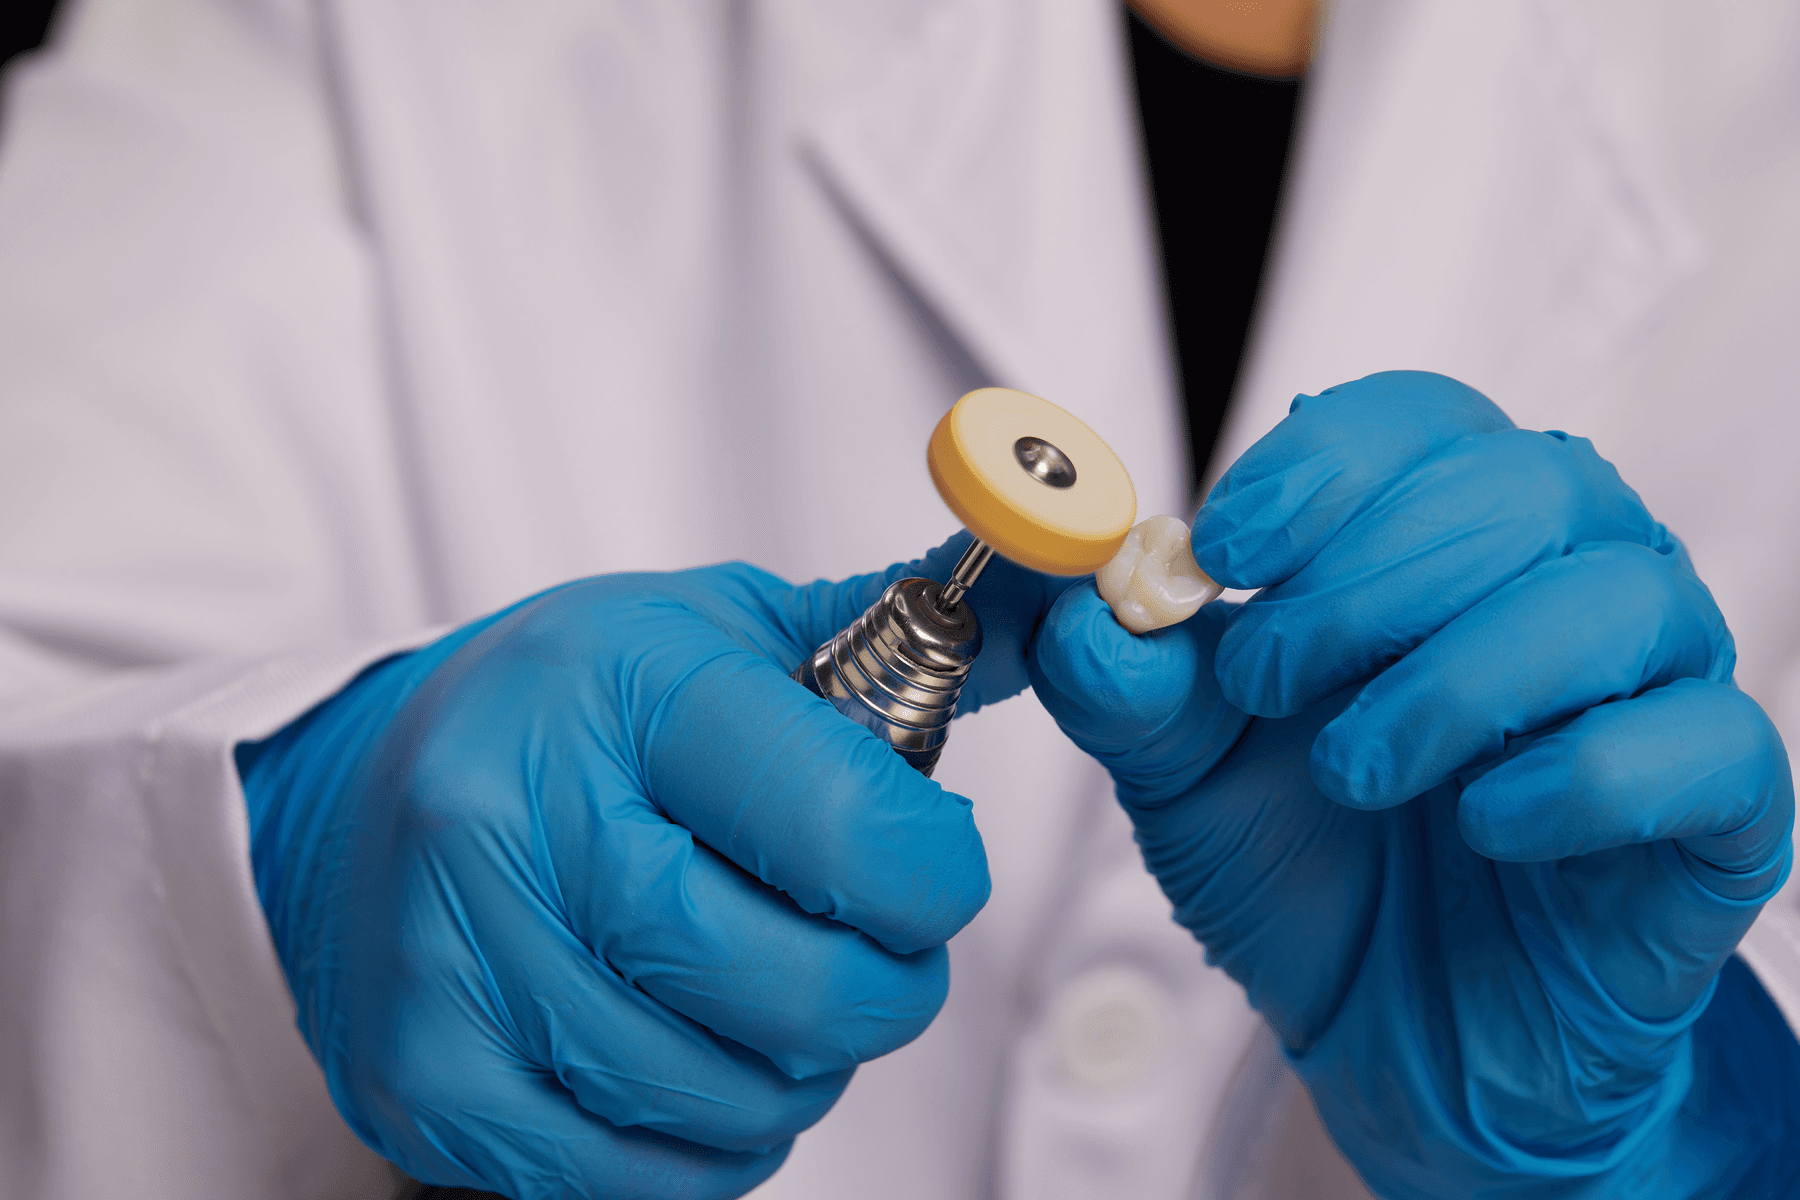
Post-processing and finishing of the parts for clinical use: After the print process is completed, the parts need to be post-processed so they acquire their final mechanical properties and biocompatibility. First, the parts need to be removed from the Flex Build Platform and washed in the Form Wash as established in the Manufacturing Guide for Premium Teeth Resin (HT B1). After washing, parts should dry for at least 30 minutes before curing. Once the parts are dry, they need to be cured in the Form Cure as established in the Manufacturing Guide. Users can also select the preset on the Form Cure for Premium Teeth Resin, which will set the cure time and temperature automatically. Once the curing is completed, supports are removed with a cutting disk and the support tips and surfaces are polished.


Print temporary full-arch implant-supported appliances in Premium Teeth Resin.
Wash parts in Form Wash.
Allow parts to dry for at least 30 mins.
Cure parts in Form Cure.


Remove support structures.
Polish and remove indentations.
Optional: characterize or apply pink composite to customize your prosthesis.
Final temporary prosthesis ready for delivery.
Request a Free Sample Part
See and feel Formlabs quality firsthand. We’ll ship a free 3D printed sample part printed on the Form 4B to your office.
3.6 Clinical Delivery of the Temporary Full-Arch Implant-Supported Appliances
The temporary MUA screw-retained prosthesis were installed in the patient's mouth and occlusion was checked. From the clinical perspective, occlusal contacts required minimal correction as the occlusion was already accurately planned in the CAD software. The patient expressed comfort and reported to be satisfied with the esthetic outcome.
A carefully controlled occlusal scheme with reduced posterior contacts was adopted to minimize overload during osseointegration. The patient was instructed to follow a soft diet during the initial healing phase.
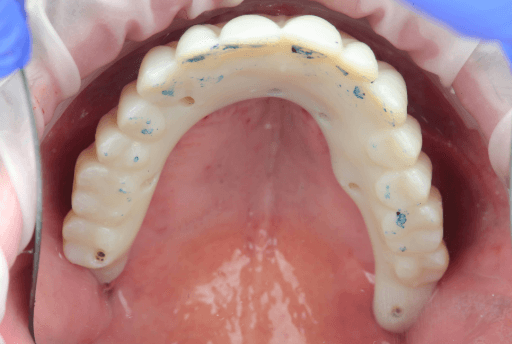

Upper, lower, and occlusion check of the temporary full-arch implant-supported appliances.


Immediate clinical outcome
4. Follow-up and Transitioning To Permanent Prosthesis
The patient reported to be satisfied with the clinical outcomes of the procedure and no issues were reported. The patient will continue to use the temporary appliance for at least three months before transitioning to a final, milled solution.
At the seven-day and 30-day follow-up visits, soft tissues appeared healthy, and no prosthetic or biological complications were observed.
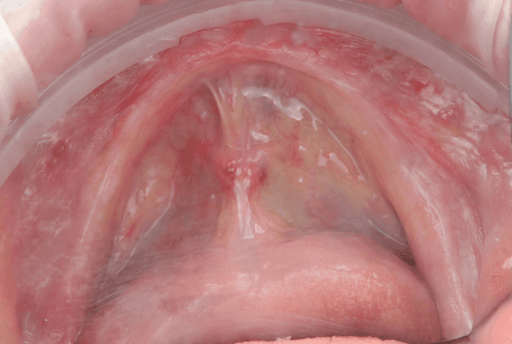
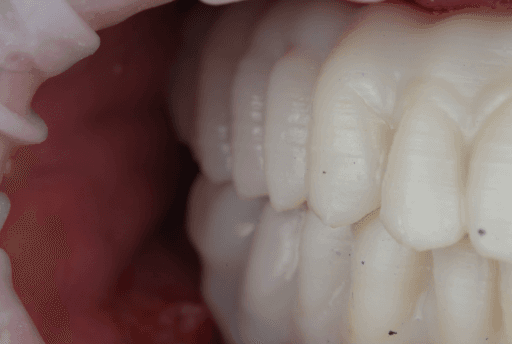
At the five-month follow-up appointment, clinical evaluation revealed healthy and stable peri-implant soft tissues in both arches. The mucosa showed good adaptation around the provisional prostheses, with no signs of inflammation, suppuration, or peri-implant pathology.
The provisional restorations maintained adequate function and esthetics throughout the healing phase, confirming the reliability of the guided implant placement and immediate loading protocol.


Five-month follow-up (extraoral view)

Five-month follow-up (intraoral view)
Conclusions
3D printing empowers clinicians to offer high-quality solutions in shorter treatment times compared to traditional workflows. When combining and effectively integrating all of the digital tools, there is increased predictability of the clinical outcomes. The integration of 3D printing in clinical dentistry marks a significant shift towards high-quality, efficient restorative and corrective solutions. This digital approach drastically reduces treatment times by eliminating traditional, time-consuming manual steps.
The full benefits — including increased predictability, accuracy, and reliability — are achieved through the seamless, synergistic integration of all digital components: intraoral scanners, CAD software, 3D printers, and high-performance resins. This holistic workflow allows for meticulous planning and visualization, minimizing human error and variability for more patient-specific results.
This case demonstrates how a fully integrated Digital Patient workflow allows clinicians to manage complex rehabilitations with confidence, efficiency, and predictability, transforming same-day dentistry into a reproducible reality.
Get in Touch
Whether you need to produce occlusal splints in-house, or are looking for high-throughput production of dental models, we're here to help. Get in touch with a dental expert to find the right solution for your business.
Product Demo: Form 4B
Blazing speed meets unmatched accuracy in the next generation of dental 3D printing. Explore the latest innovations in our on-demand webinar.
Request a Free Sample Part
See and feel Formlabs quality firsthand. We’ll ship a free 3D printed sample part printed on the Form 4B to your office.