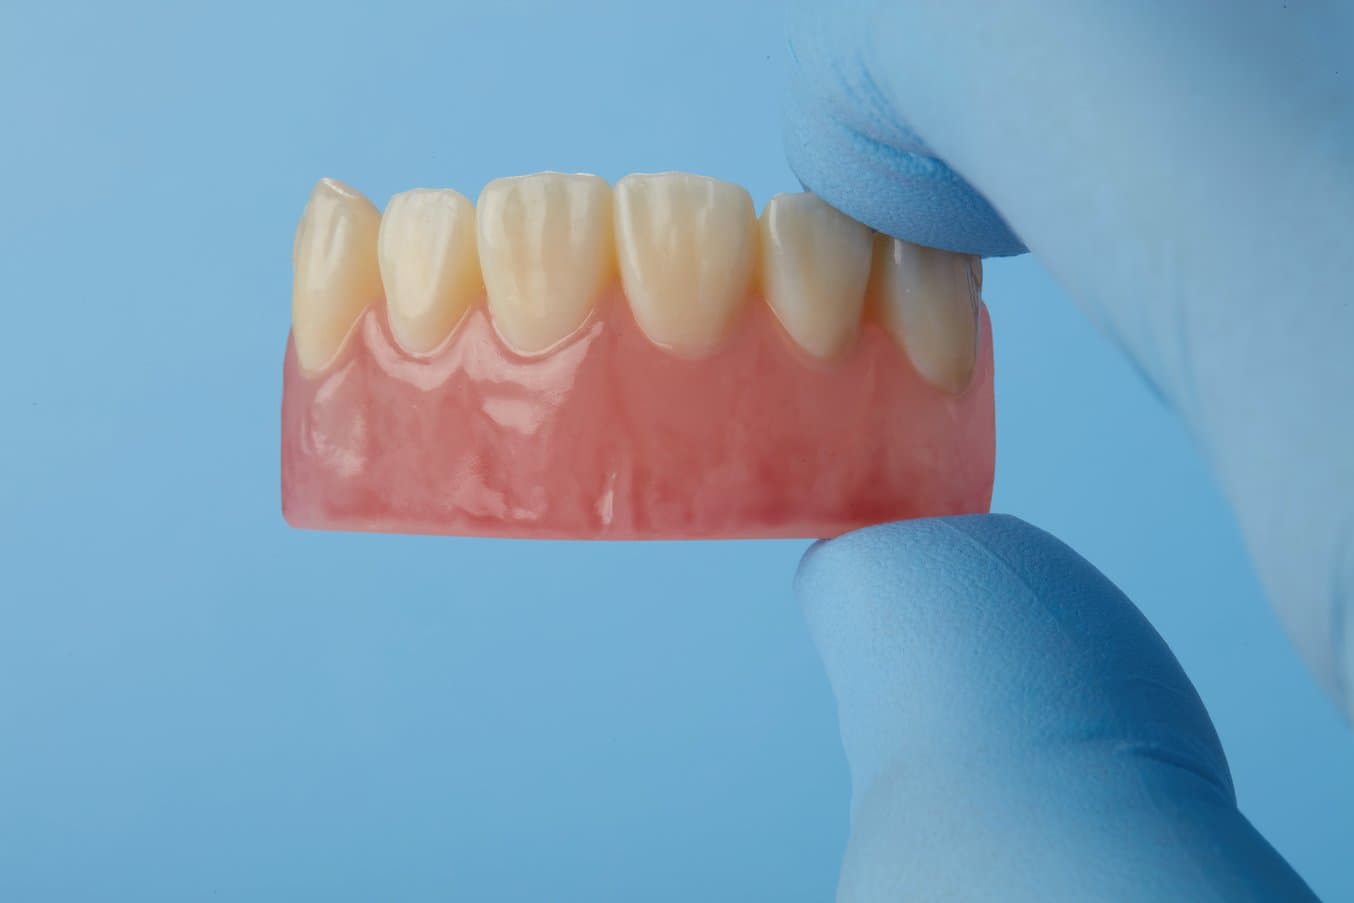
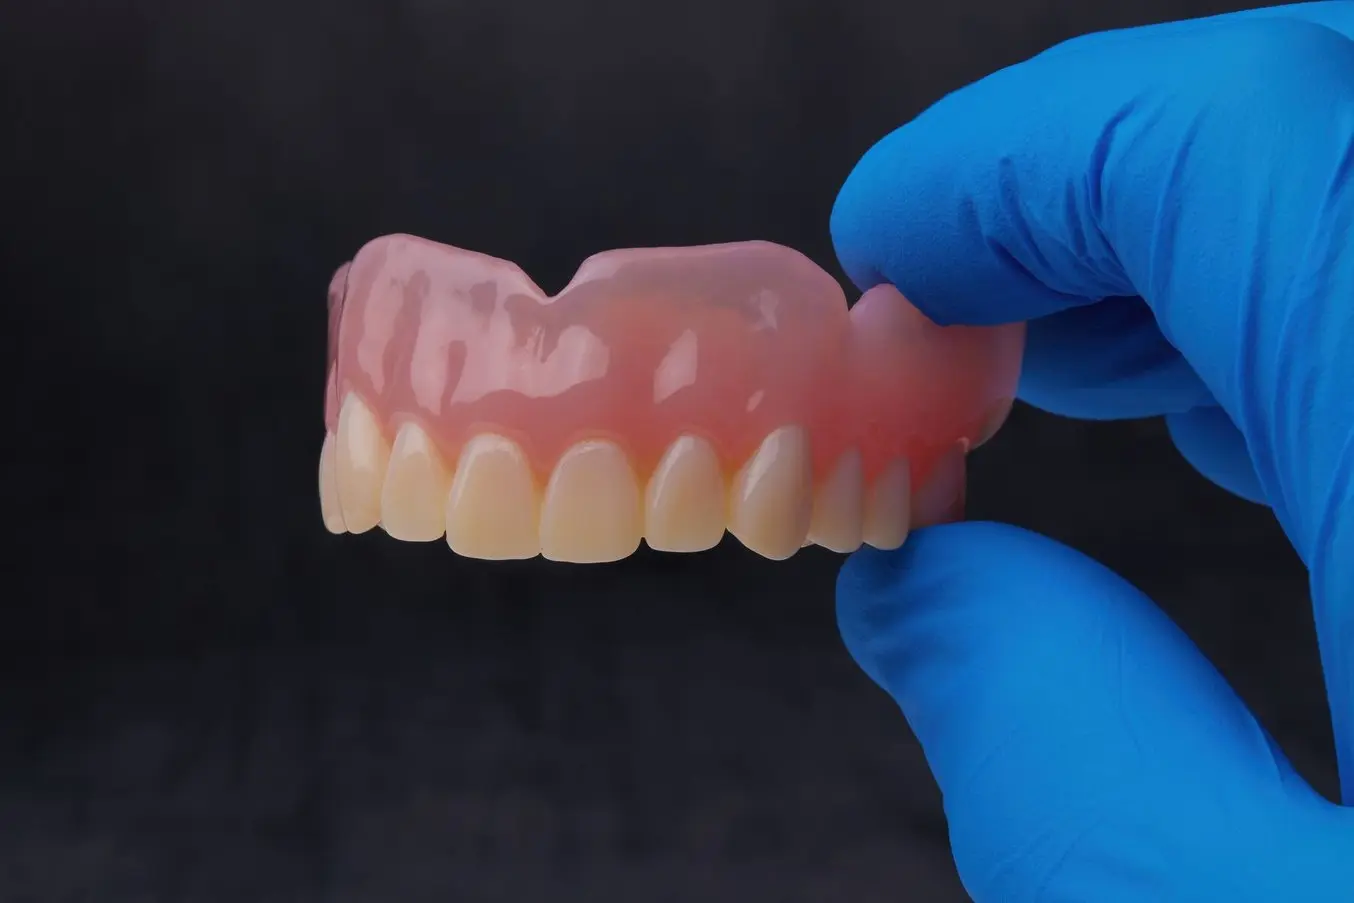
A characterized 3D printed denture.
At Formlabs Dental, we get lots of questions about the adoption of digital workflows for both dental labs and practitioners. One of the most common questions we receive is around the characterization of printed indications, specifically dentures.
In this context, characterization means the modification of the form and color of both the denture base and the teeth to produce a more lifelike appearance. In simple words, it means giving individuality to each and every 3D printed denture.
Longevity of Appliances Made With Premium Teeth Resin: In-Vitro Evaluation
Longevity is a critical factor in selecting a material for producing teeth for patients. In this paper, we present findings from a series of in-vitro studies conducted on Premium Teeth Resin to demonstrate the longevity and predict its clinical performance.
Benefits of Digital Dentures
- Low-cost production: Affordable hardware and material costs around 80% lower for a complete denture compared to traditional denture cards and acrylic.
- Accurate, consistent, high-quality results: Fewer steps and less variability — a more consistent workflow for a quality end product every time.
- Truly custom teeth: Digital dentures are completely patient-specific.
- Simplified, fast remakes: Digital denture designs are reusable, shareable, modifiable, and easy to reproduce with 3D printing.
3D printed dentures are class II (US) and class lla (EU) medical devices, and thus have the potential replacement for traditional manufacturing dentures. Made of two different materials, one for the base and one for the teeth, 3D printed dentures come with four base shades and six tooth colors.
As seen above, there are a multitude of benefits to 3D printing dentures. But when speaking to patients, 3D printed dentures aren’t viewed as a permanent high-quality solution. Traditionally, the colors and look of the 3D printed denture don’t always exactly match what the patients are expecting, so the devices can be seen as lower-quality alternatives. Natural teeth have different visible areas of translucency and other optical properties that typical 3D printed dentures do not.
The solution to this problem is to create a patient-specific denture via characterizing and individualizing the 3D printed parts. By using dental-grade light curing colors, doctors can quickly and affordably create a denture the patient will love to wear. One should note that when adding layers of additional color, a lighter base shade should be applied first. For example, shade A2 will look like shade A3 after characterization.
Let’s briefly run through the basic workflow and what you need to know in order to bring characterization to your digital dentures workflow. In this post, we tested two popular characterization color kits and reported the results below.
Characterization With Two Different Color Kits
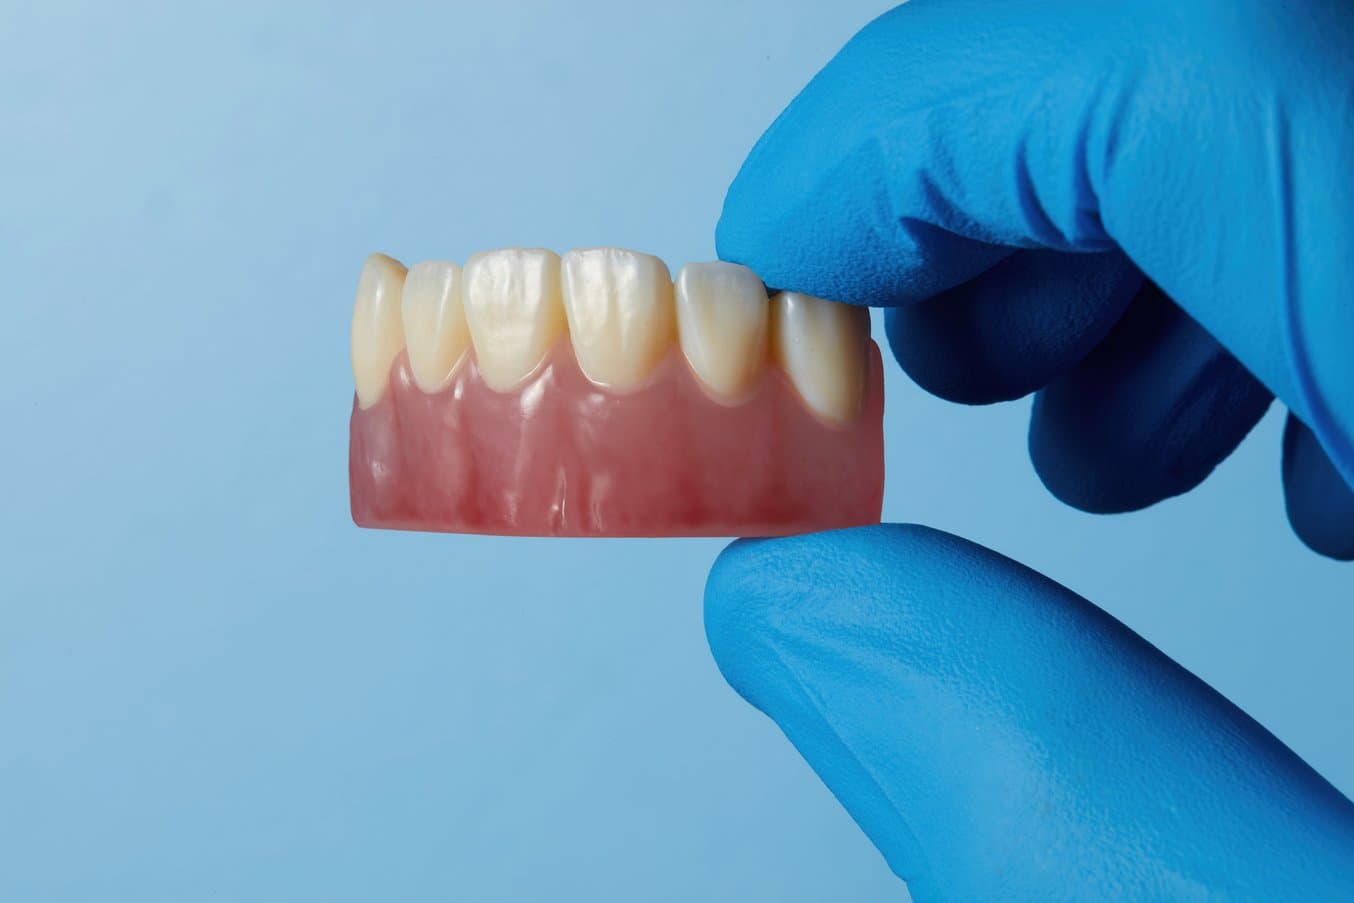
Formlabs Dental tested two different kits: GC Optiglaze Color and Vita AKZENT LC.
We tested two kits: GC Optiglaze Color and Vita AKZENT LC. Any other dental grade light curing characterization material will work as well, but these are the two kits we decided to test.
The process can be completed in a simple, five step workflow such as:
- Clean and prepare the denture surface through sandblasting and degreasing.
- Apply additional bonder for non-PMMA based materials.
- Apply primary and final clear coat.
- Cure for five seconds with handheld curing device to prevent color mixing in subsequent steps.
- Cure final time in Form Cure, without heat, for 20 minutes.
Note: sandblasting before applying a clear coat will help with retention of the coloring material.
What makes a good dental coloring kit? You should look for a few attributes:
- Low viscosity, very thin layer coat thickness especially when applied on surface (as opposed to internal staining with manual layering) to preserve texture.
- The material should be easy to apply with some brushes. While many kits come with brushes, many professionals prefer using their own brushes.
- Compatibility with PMMA and composite (filled) base materials
- Material can be light cured (with a dental curing device or ideally with the Form Cure).
- Biocompatibility
- Plaque resistance
- Wear and abrasion resistance
- Color stability over time
- Polishability
- Smooth and dense coating
To see a Formlabs Dental expert explain these steps in further detail, watch our free on-demand webinar video on this topic.
Results and Next Steps For Producing Digital Dentures
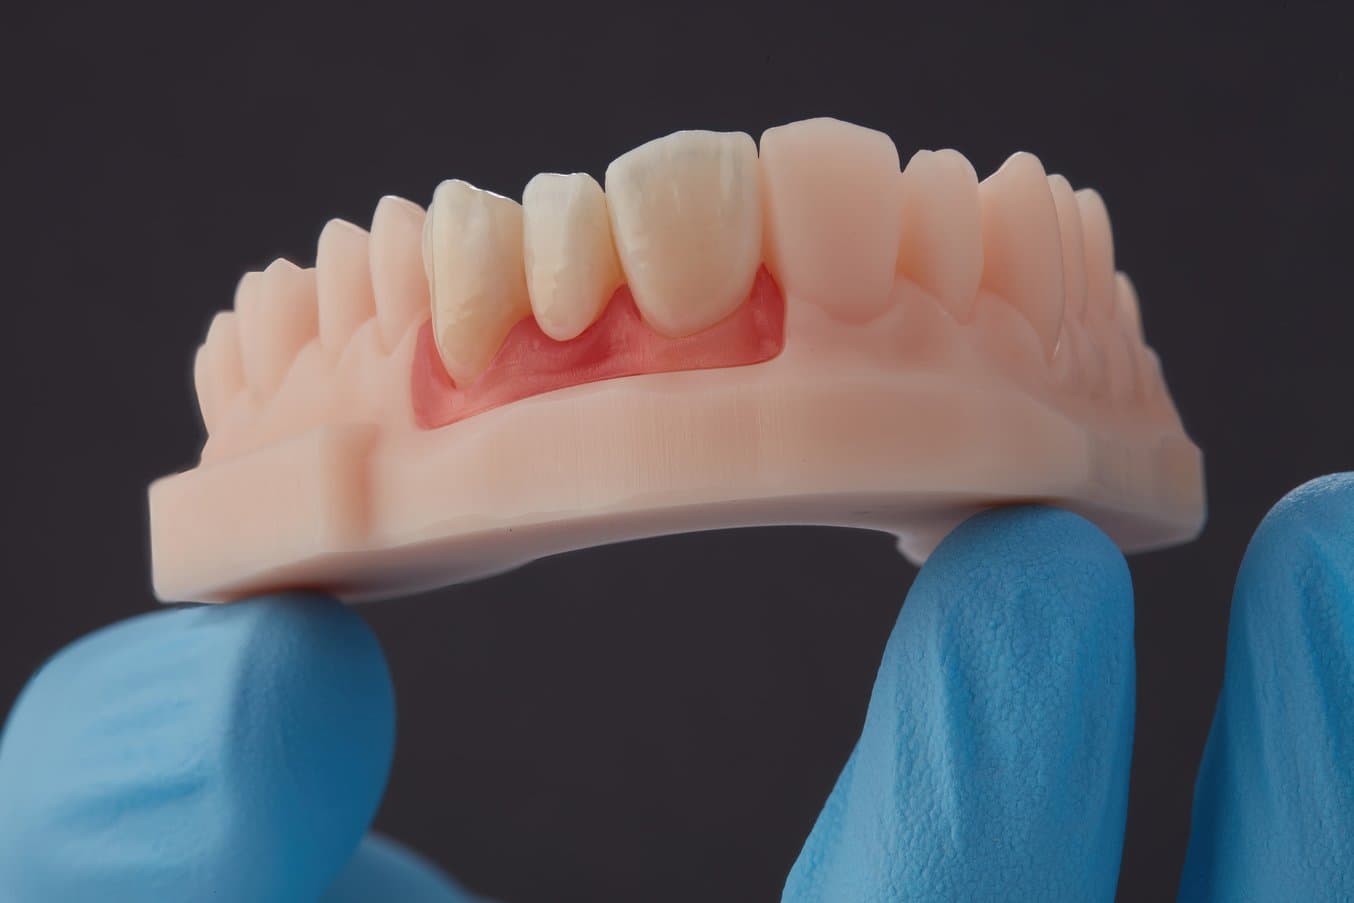
The coloring method for Gingiva masks (left) is the same as characterize dentures (right).
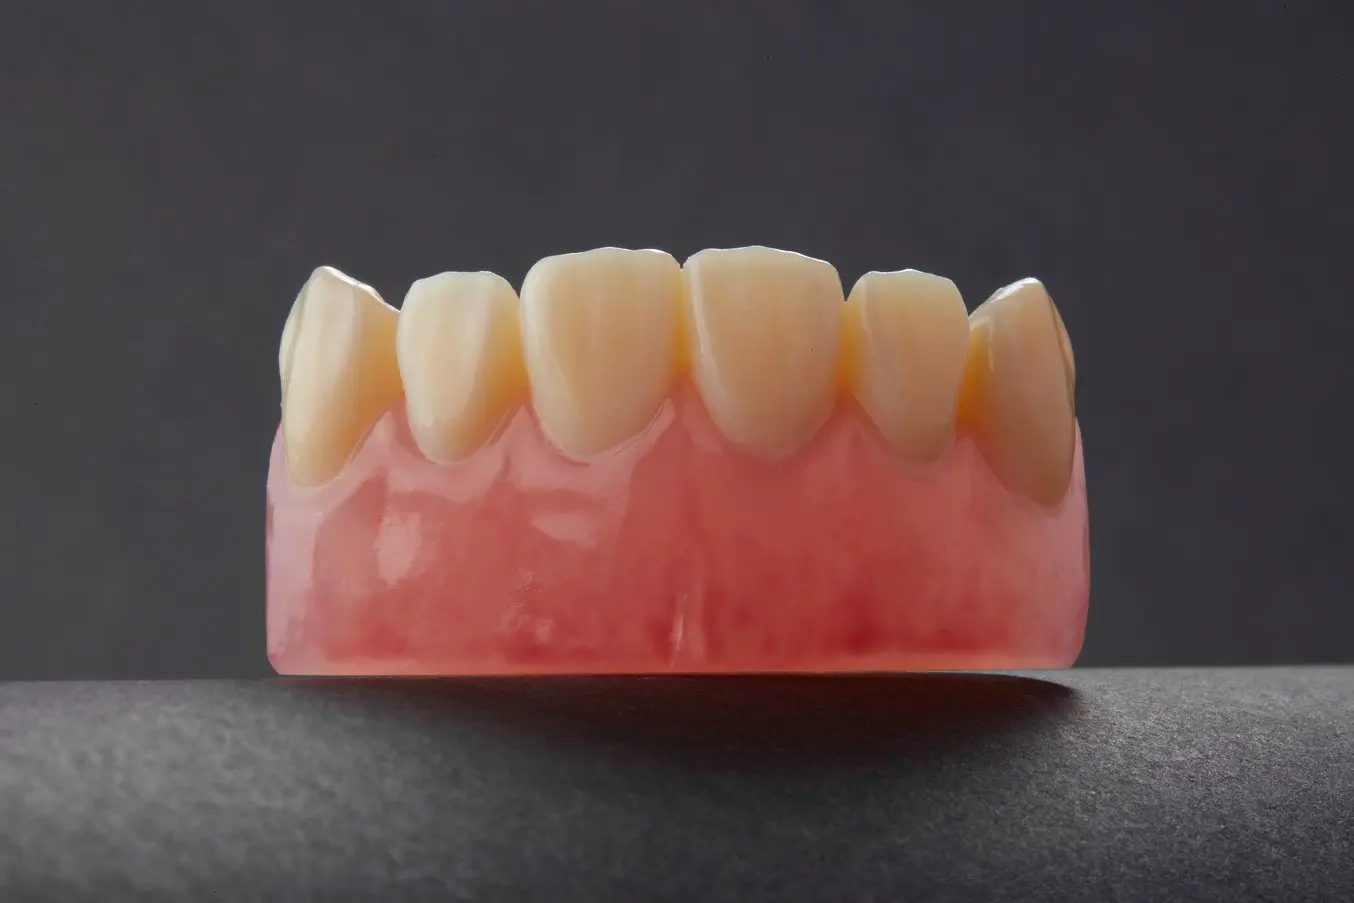
After running through the characterization procedure on multiple samples with the two different kits, all samples looked excellent after they were finished. We were unable to differentiate between the two samples, and were happy with the new coloring.
Across all expected characteristics (viscosity, bond, application), the characterized dentures exceed our expectations. The entire process takes 30 minutes, 10 minutes for the application and 20 minutes for the cure time. This process enables practices to leverage inexpensive and fast 3D printing workflows while still providing beautiful, high-quality dentures.
“Digital printing is revolutionizing the dental prosthesis. This time saved will allow dental technicians to awaken their artistic and creative sense for the benefit of the patient, the ultimate goal being to obtain a perfectly adapted and durable personalized prosthesis. Economically, it is obvious that printing stands out in comparison to machining... It is therefore likely that the process of conventional manufacturing lives these last hours to the benefit of new additive technologies.” - Samuel Morice, Dental Technician Argoat Prothèses Dentaires, France
Looking to learn more about this topic? View our free, on-demand webinar with a dental specialist or contact our sales team to discuss the right solution for your digital dentures workflow. Or, view our step-by-step downloadable guide to all things digital dentures.
