Written by Dr. Lisa Alvetro, Orthodontist, and Patricia Mitchell, Clinical Coordinator, of Alvetro Orthodontics (Sidney, Ohio).
There is no doubt that going digital in your practice is a fascinating experience, but it can also become a challenge. When thinking about adopting the digital workflow, clinic owners need to evaluate several aspects such as ease of use, materials for their applications, delivery times, and ROI, among others.
However, one of the most crucial aspects to consider, which is usually underrated, is that to be successful with the digital workflow using 3D printing you need to have your team's support. The success in the implementation of the workflow will depend on this. While clinicians are focused on seeing and treating patients, a lot of the back-end work which involves scanning, designing, print preparation, and post-processing will, most of the time, be managed by the dental staff in the clinic. Having your teams’ support will help create more efficient and cleaner workflows and guarantee the success with your patients.
The next question that arises is: how to get your team on board? How to empower them and get them excited to change? What aspects should be considered? We listed five key elements based on our experience to get your team motivated and on board with this workflow that will help your practice thrive and stand out from the crowd.
Product Demo: Form 4B Dental 3D Printer
Blazing speed meets unmatched accuracy in the next generation of dental 3D printing. Explore the latest innovations in our webinar.
#1: Identify Key Players for Your Digital Team
A clinician needs to understand and learn about the different steps involved in the digital workflow in order to delegate these to the right team members, pass the knowledge on, and establish an effective synchronization. This way the doctor can understand the level of complexity of certain workflows, how much time certain steps require, and help train the team. Based on this knowledge, the next step is to look at your existing team and identify a candidate for the digital specialist in your organization, who is organized, detail-oriented, and open-minded.
When manufacturing in-house, you will start producing several appliances simultaneously for multiple cases, transforming your practice into a small dental lab. Therefore, organization becomes crucial and you need to have a system in place that allows you to effectively track all your processes. Moreover, in-house production with 3D printing means that we will have to follow specific instructions and 3D printing protocols. A detail-oriented team member needs to be on top of the different steps, for example, learn how to orient parts to print in the 3D printing space, and follow the post-processing instructions thoroughly. Attention to details and being organized are the key skills for this role — and as long as the systems are easy to use, this can be done by anybody, who does not even have to be a clinical person.
At Alvetro Orthodontics, Patricia started as a Clinical Assistant, but immediately transitioned into becoming the Digital Specialist at the clinic. Similarly, you may find that your administrative staff has some downtime and they can help out and learn the nesting software and printer manipulation. Once you evaluate your existing team, you can then consider who (and what skills) to bring on your team at a later stage.
#2: Convince Your Team About the Advantages of the Digital Workflow
To get your team motivated you need to show them the advantages: how this is going to work and how it is going to have a positive impact on their everyday work. The most evident advantage is that digital workflows are very patient-friendly.
For example, we all know that it can be a hard experience for some patients to get a traditional alginate impression. On the other hand, taking a digital intraoral scan can almost be considered “fun,” as they get to see how the scan is actually being done, which creates that "wow, that's really cool" factor from the patients and, consequently, motivates them. In addition, whenever you have a 3D printed model to show your patient and they go, "Wow, where'd you get this?" you can answer “We did this, we did this in our own 3D printing lab” and this creates an added value to the patient experience.
“3D printing in-house has exponentially helped our team. We're no longer having to take those sticky alginate impressions. We're able to just get a scan of the patient and then get that model prepared and ready for 3D printing, and then give them their retainer or appliance that they're going to be using.”
Patricia Mitchell, Clinical Coordinator, Alvetro Orthodontics
We feel like a lot of people are really excited just looking at our 3D printing lab or at Formlabs’ PreForm software because a lot of them get that wow factor. They didn't realize that this was an option in the dental world or even just in general for people who don't have dental experience.
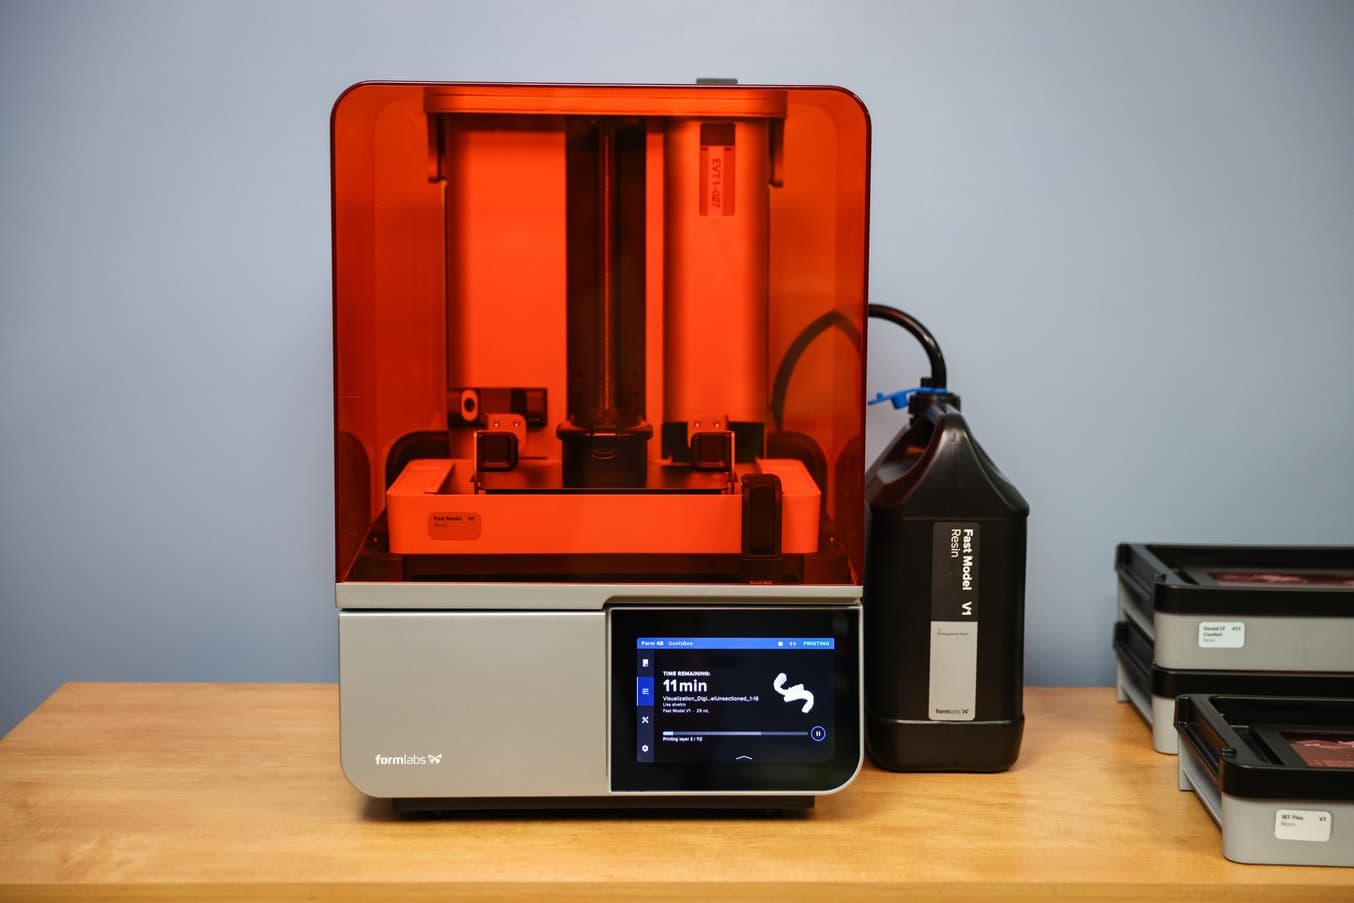
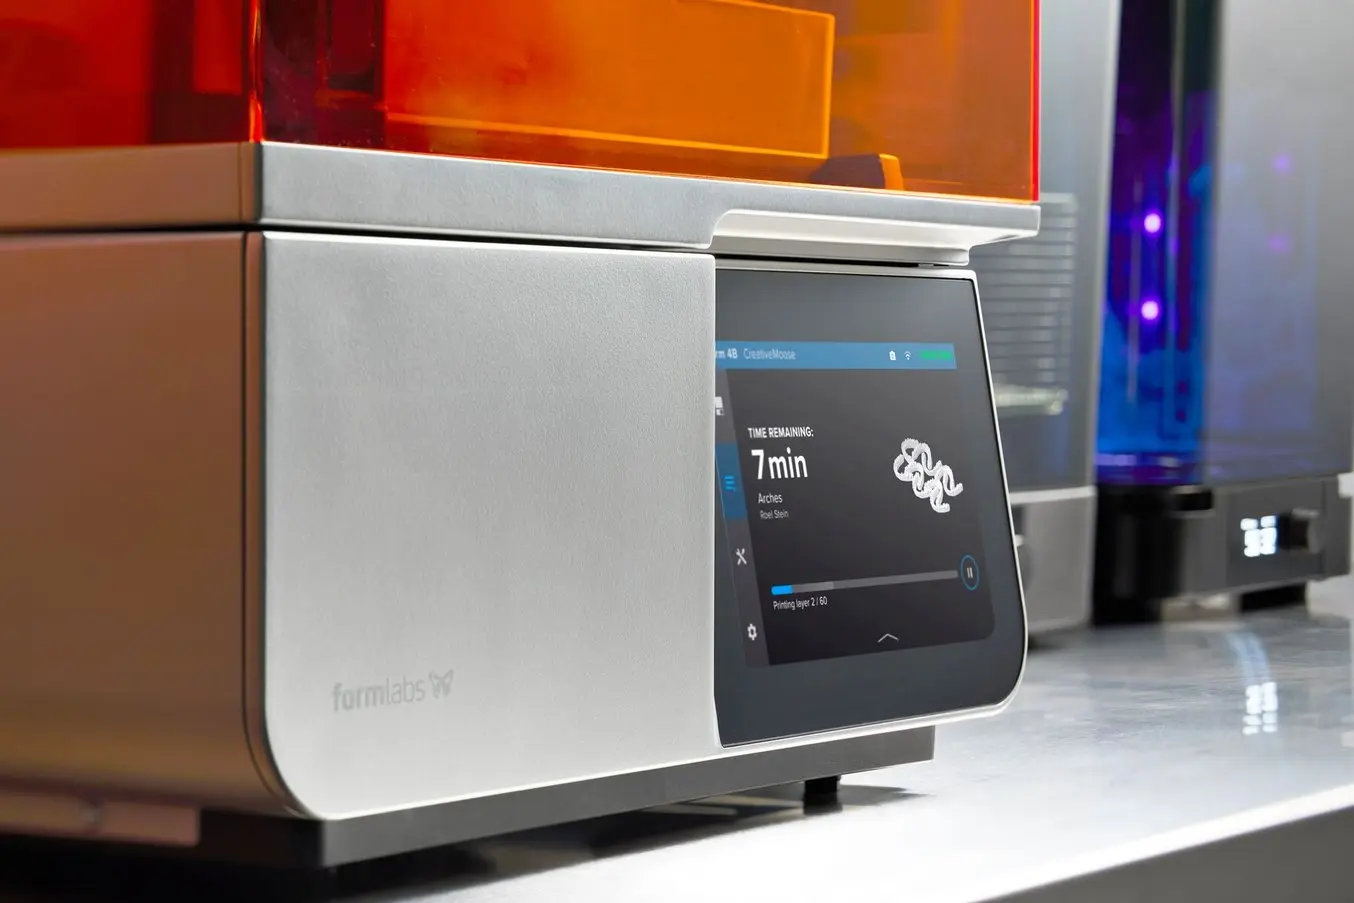
Form 4B with Resin Pumping System is one of the many printers in the Alvetro Orthodontics print lab. The speed of Form 4B enables the printing of models for thermoforming retainers for same-appointment delivery.
The second advantage is that 3D printing in-house opens the door to new treatment possibilities that were not feasible via the traditional workflow. In our practice, we use Formlabs’ Form 4B 3D printer for same-visit debonding cases, which eliminates an entire appointment.
First, we remove the braces. We're able to get a scan from a patient and then immediately turn that over and print models on Form 4B, post-process, and then get a new retainer delivered to the patient within 30 minutes or less. While the retainer is being made, we take care of the patient’s final records and do all of the paperwork. The patient walks out with a retainer that we know is going to fit because the braces were removed 30 minutes ago. Learn more about the ultimate debond here.
A third clear advantage is how much more efficient and cleaner the workflow is compared to the traditional workflow. Alginate impressions have a specific working time and producing plaster models can be a messy process. With intraoral scans, the case is registered permanently and printing becomes a much cleaner and hands-off process. If you decide to do the CAD design stage in-house as well, then the practice becomes the full owner of the process, managing timings and outcomes, and reducing costs.
Talk to Our Dental Experts
Whether you need to produce occlusal splints in-house, or are looking for high-throughput production of dental models, we're here to help. The Formlabs Dental Team are dedicated specialists who know exactly how to support you and your company's needs.
#3: ‘Easy-To-Use’ Is Critical
“Prior to coming to Alvetro Orthodontics, I had no experience in digital dentistry or 3D printing. Being in an office where the doctor had already implemented 3D printing was truly amazing. I learned printing with Formlabs, and I had my first successful print in under three minutes — Formlabs makes it that easy to print.”
Patricia Mitchell, Clinical Coordinator, Alvetro Orthodontics
One thing for certain is that you don’t want to scare your team with complex workflows and machinery. There is a common misconception that to be able to use a 3D printer, you need to have some technical or IT skills and that these can be hard to use. When selecting the right 3D printing ecosystem we need to look not only at factors like accuracy, speed, price, and reliability, but how easy it will be to use by everyone from the nesting software to printing and post-processing.
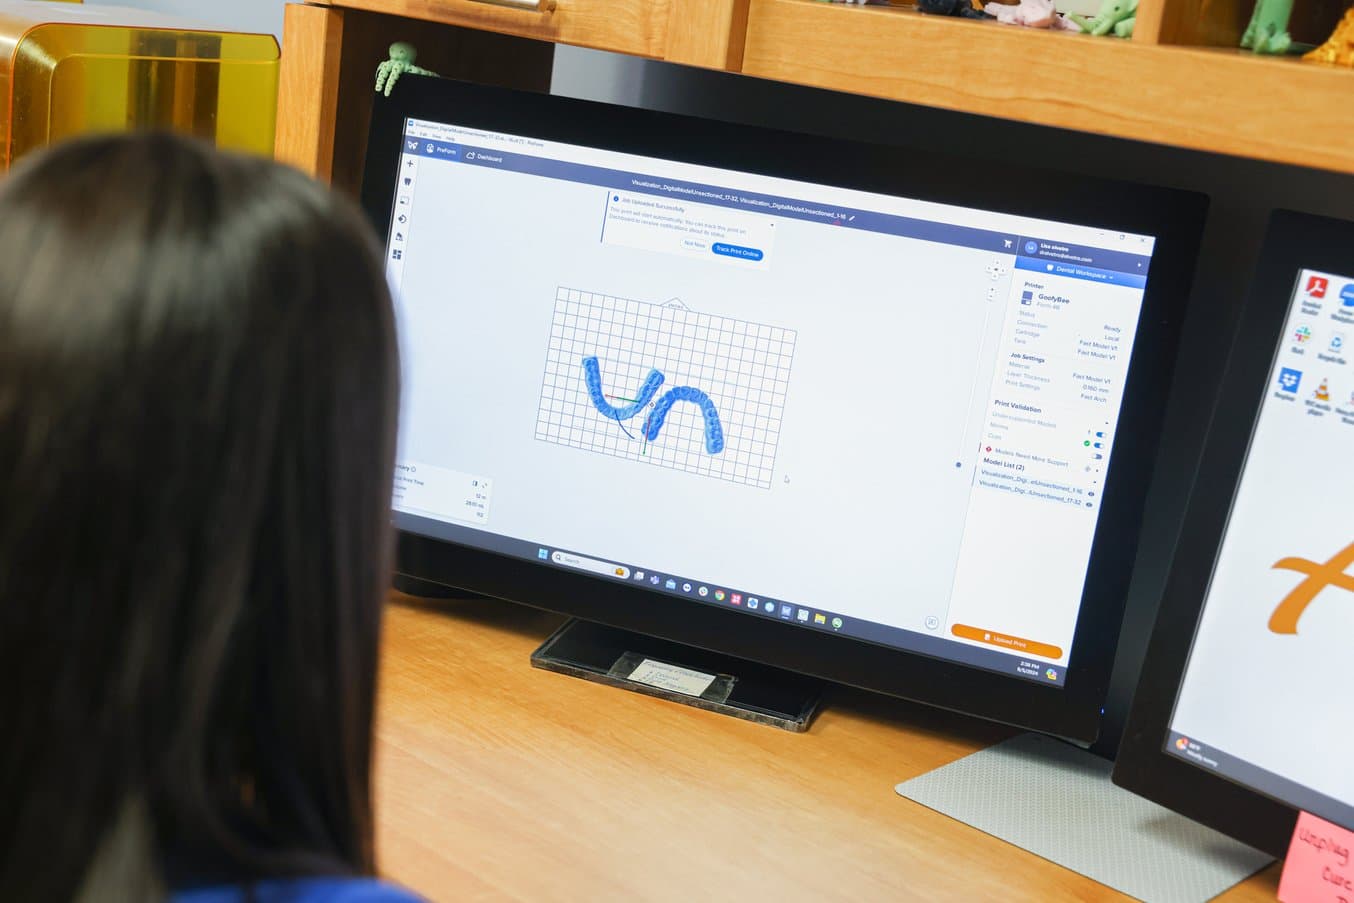
Mitchell sets up models for thermoforming retainers in PreForm, which takes no more than five minutes.
Formlabs’ software and printer meet those needs. When you access PreForm, which allows users to orient the parts to print, you have several aids that make this process very streamlined and reliable. The software guides the user step by step to orient the parts, shows warnings when something is wrong, helps you automatically generate support structures, and will stop you from making mistakes. For instance, if you prepared the part to print in one material but you have another one set up in your printer, the software will let you know and the print job won’t get started. This makes the transition very smooth, the learning curve very short, and it’s easy to train other team members.
As for Form 4B, everything is very automated. Compared to other 3D printers, the resin is automatically dispensed and mixed which takes the guesswork out of this step and avoids any potential accidents such as overflow of the resin in the tank. With this ecosystem, a team member can be trained in one hour and, after some more prints, they will master the workflow. Being involved in a digital team in the clinic creates a sense of pride and responsibility, and makes them feel very valued. You get to work with 3D printers and it ends up being a fun process.
#4: Educate on Materials and Applications
There's a large variety of materials available for different indications and this has really expanded services that we can offer to our patients. Materials that have different characteristics such as biocompatibility, precision and accuracy, durability, cost-effectiveness, are available so the team needs to understand these and their applications. Formlabs provides excellent user guides for each material with step-by-step guidance from print parameters, print orientation, and post-processing protocols to successfully manage each one of them.
Sometimes, particularly as orthodontists, we get focused on models but there are other things we can benefit from. Something we used to make years ago but was really messy were occlusal splints. It was time-intensive and complicated to do in-house via the traditional workflow. Today, with the digital workflow we scan, we can even outsource the design and then print the appliance in-house. It is a big service for our patients. It is much easier to produce, cost-effective and there are biocompatible materials developed for this specific intended purpose.
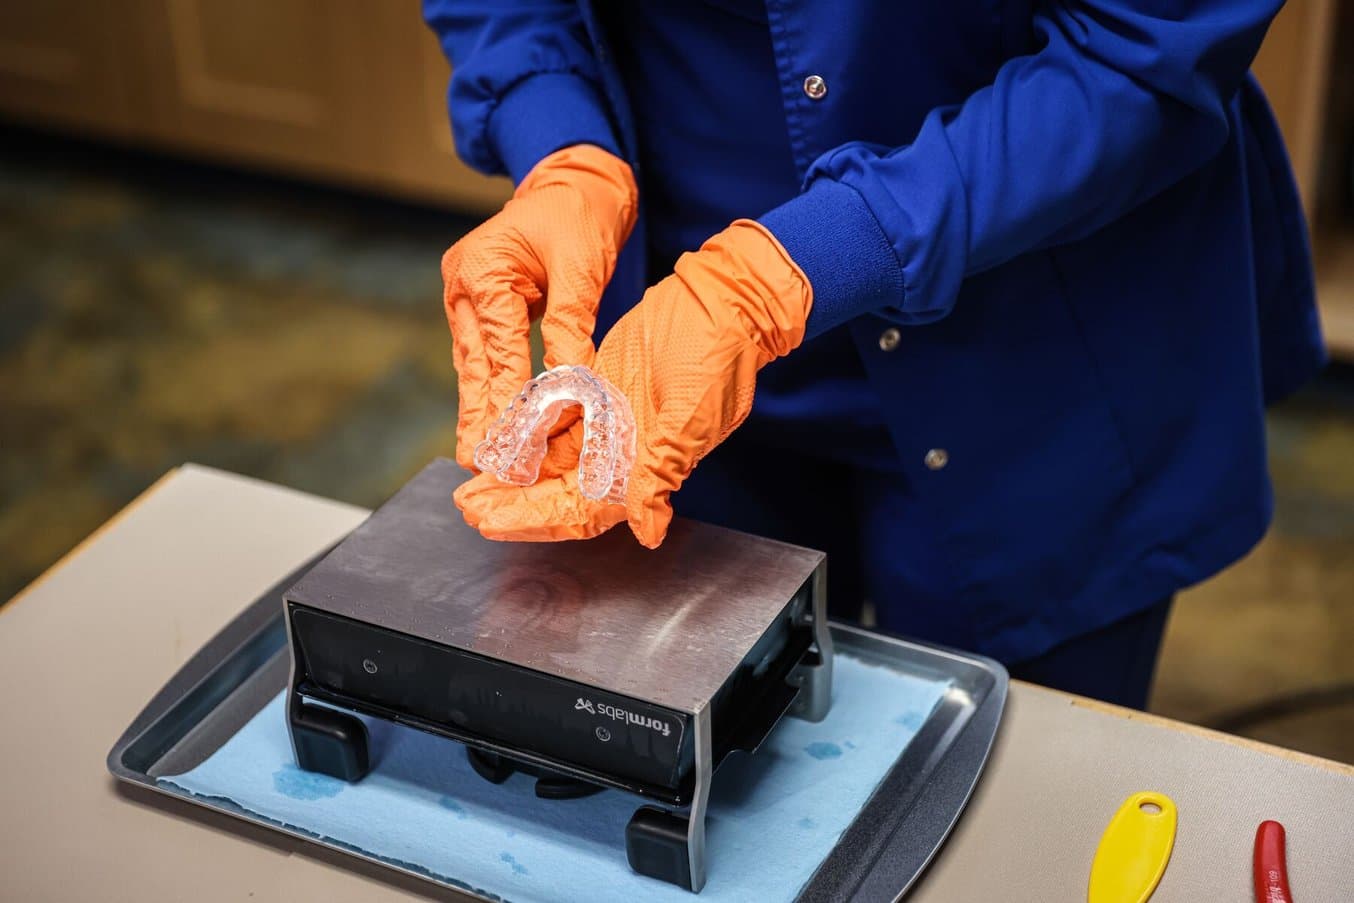
At Alvetro Orthodontics, Dental LT Comfort Resin is used for printing occlusal splints.
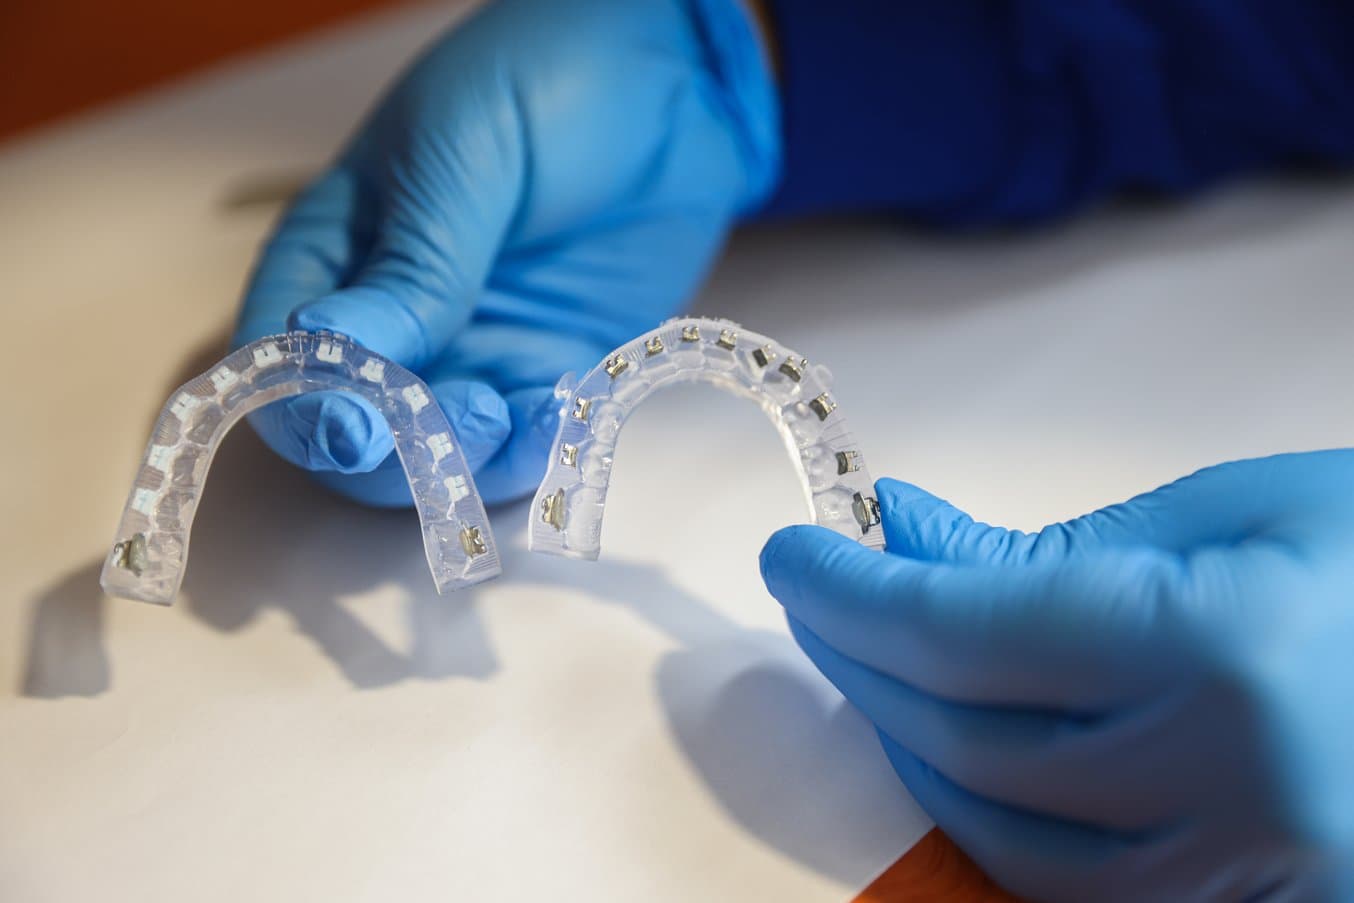
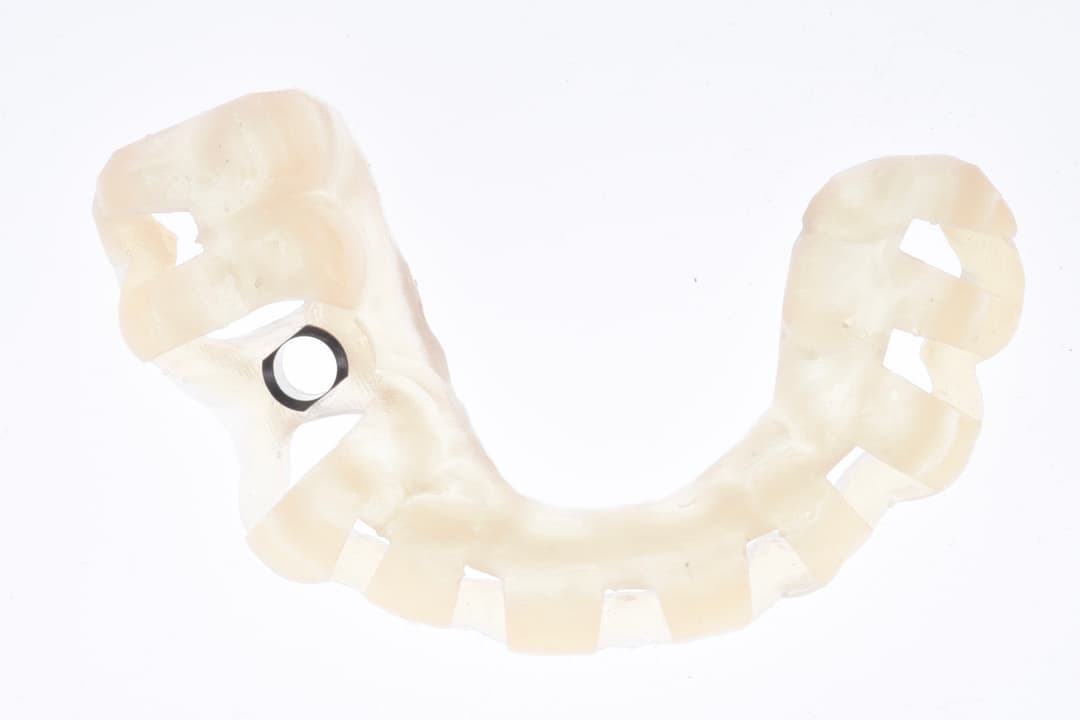
Indirect bonding trays printed in IBT Flex Resin have exceptional clarity.
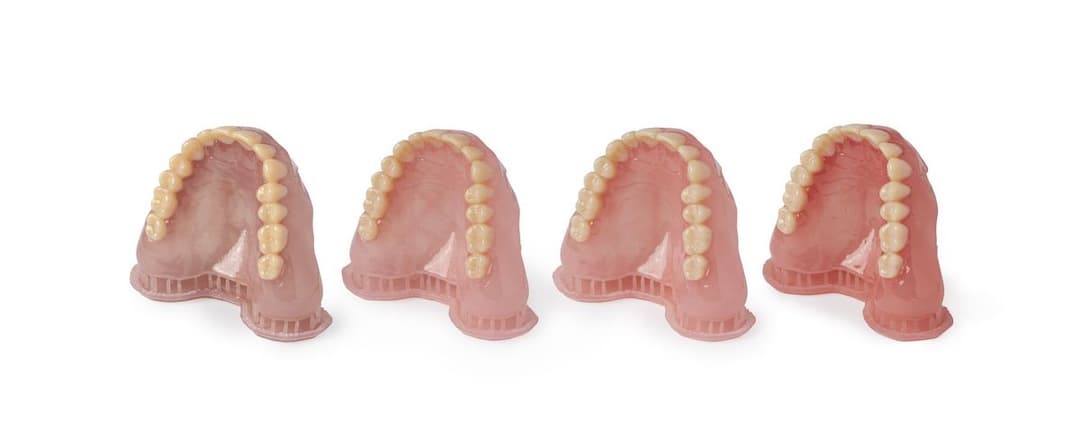
When you start to 3D print and you've got your Formlabs Form 4B printer, think, what else can I do? Yes, I can do models, I can do same-visit retainers, thermoformed aligners, indirect bonding trays, and occlusal splints. Then, if you're into more dental restorative procedures, you can print crowns and temporaries in different resins.
We believe that the great advantage is that you’ve got your materials for model production and biocompatible resins for end-use appliances that guarantee that the printed part can safely come in contact with a patient's tissues. If your team is trained, reads the manufacturer's guides, and follows the instructions, anybody should be able to manufacture these indications.
Another key aspect is that you need to keep track of the time and costs to produce each appliance. PreForm software also allows the team to track material consumption and evaluate your clinics’ ROI per application which becomes critical when deciding what procedures you want to adopt in-house or continue to outsource to an external lab or design service. An indirect bonding tray requires only seven to eight milliliters of resin and splints can be just a bit more. When you start breaking down that cost per part, you will notice it is really cost-effective.
#5: Importance of Having a Post-Processing Protocol
Once the part is printed it needs to be washed, dried, cured, and sometimes polished. These stages are very important to follow thoroughly as the mechanical properties and biocompatibility standards are achieved by following specific washing and curing times/temperatures. In order to avoid any mistakes, it is important to have defined steps and automated processes.
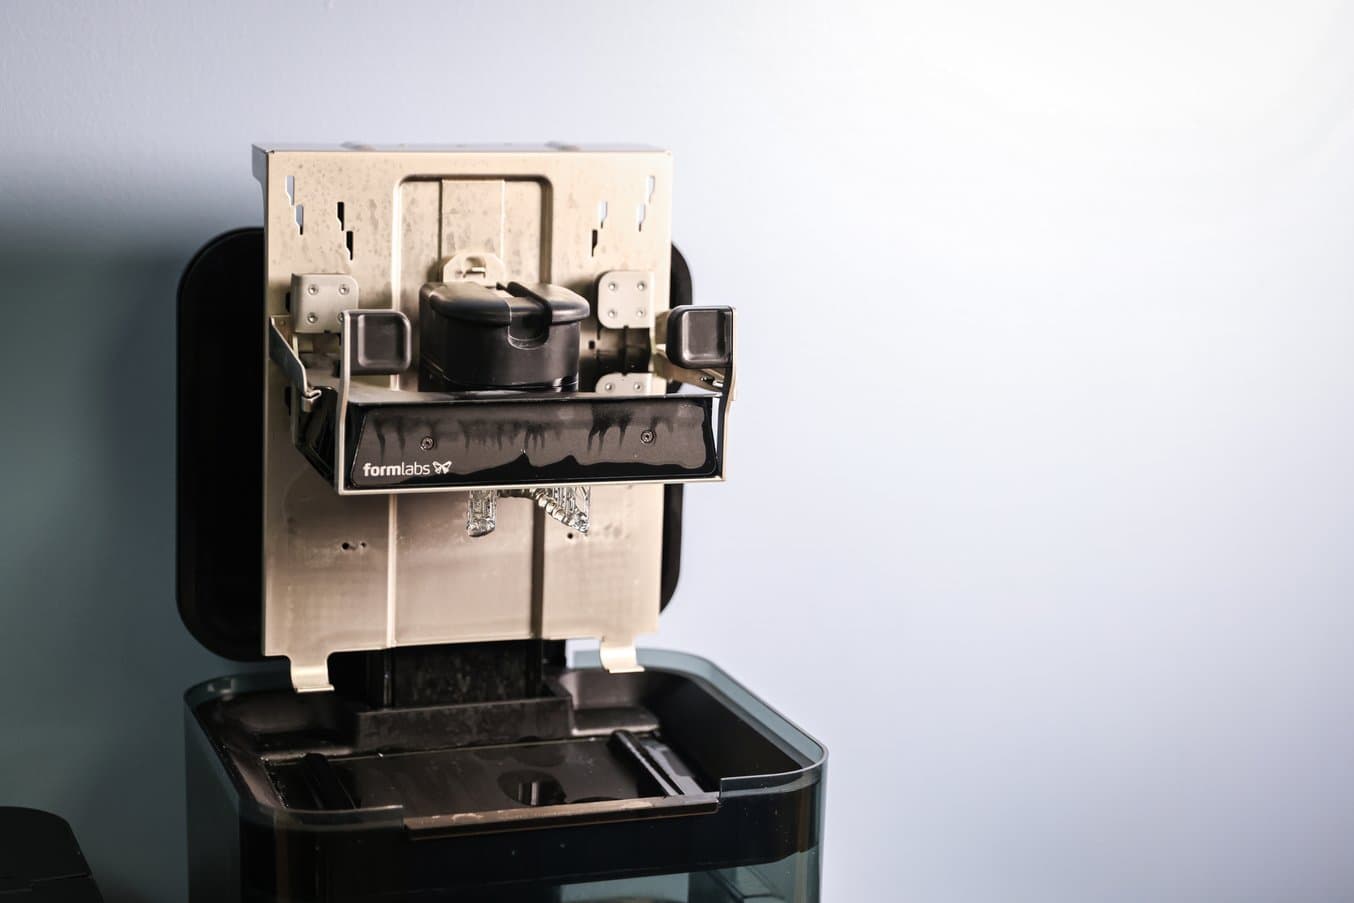
When the wash cycle is complete, the Form Wash automatically raises parts so they can air dry.
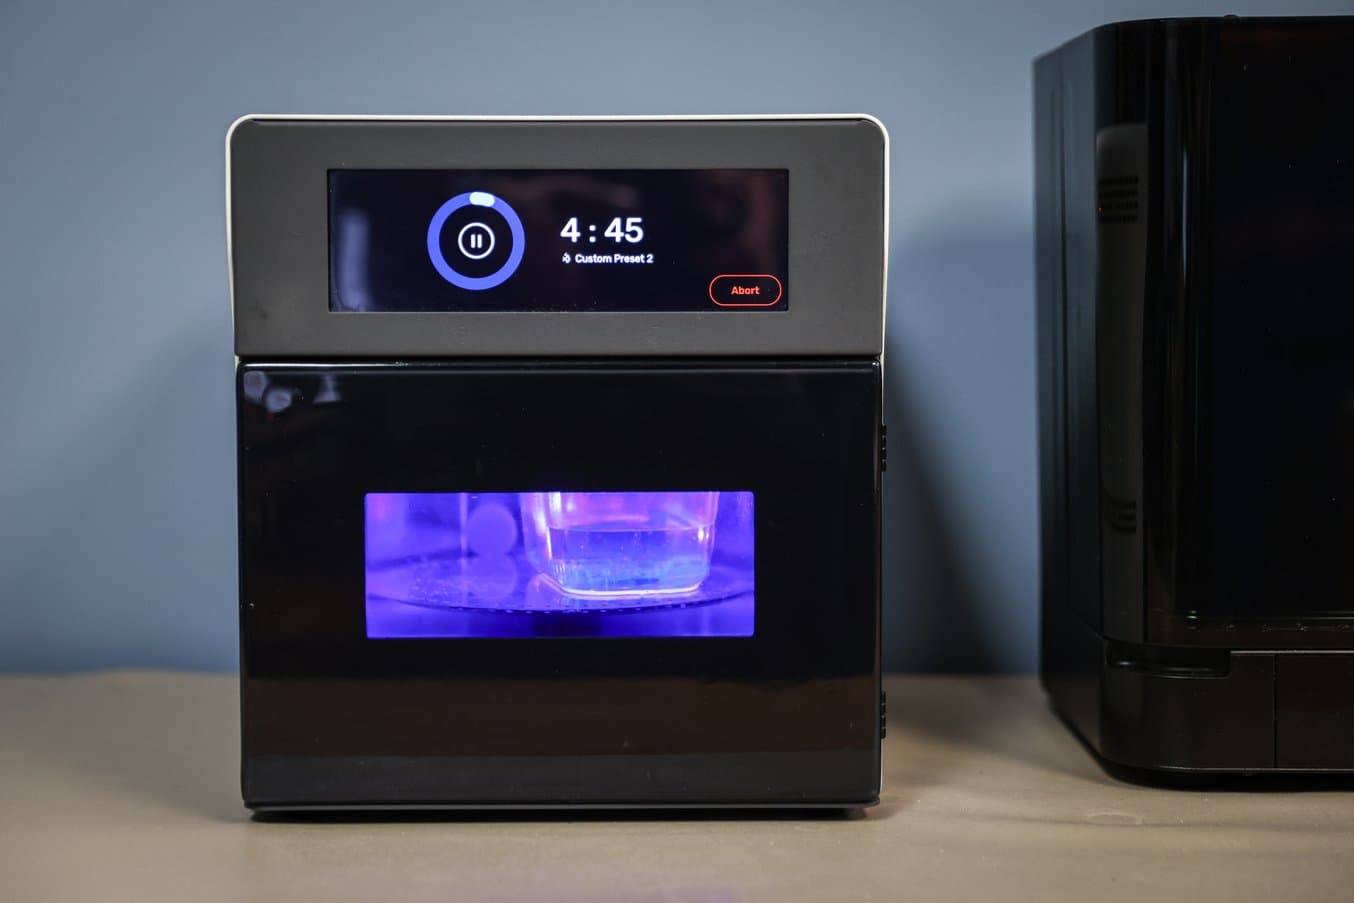
Fast Cure presets ensure parts are cured at the optimal temperature and time.
In the orthodontic practice, we use the Form Wash and Form Cure which are very effective and automated stations. We have done the washing process manually with other systems where we had to pour isopropyl alcohol (IPA) and then swish the models around, letting them sit in the IPA for a little. With the Form Wash and Form Cure, you get to set the time and temperature that you want your parts to be washed and cured at. The machines will stop at those pre-established times and avoid any risks of overwashing or overcuring which would deteriorate your parts. Automation combined with ease of use make 3D printing a hassle-free and fun process.
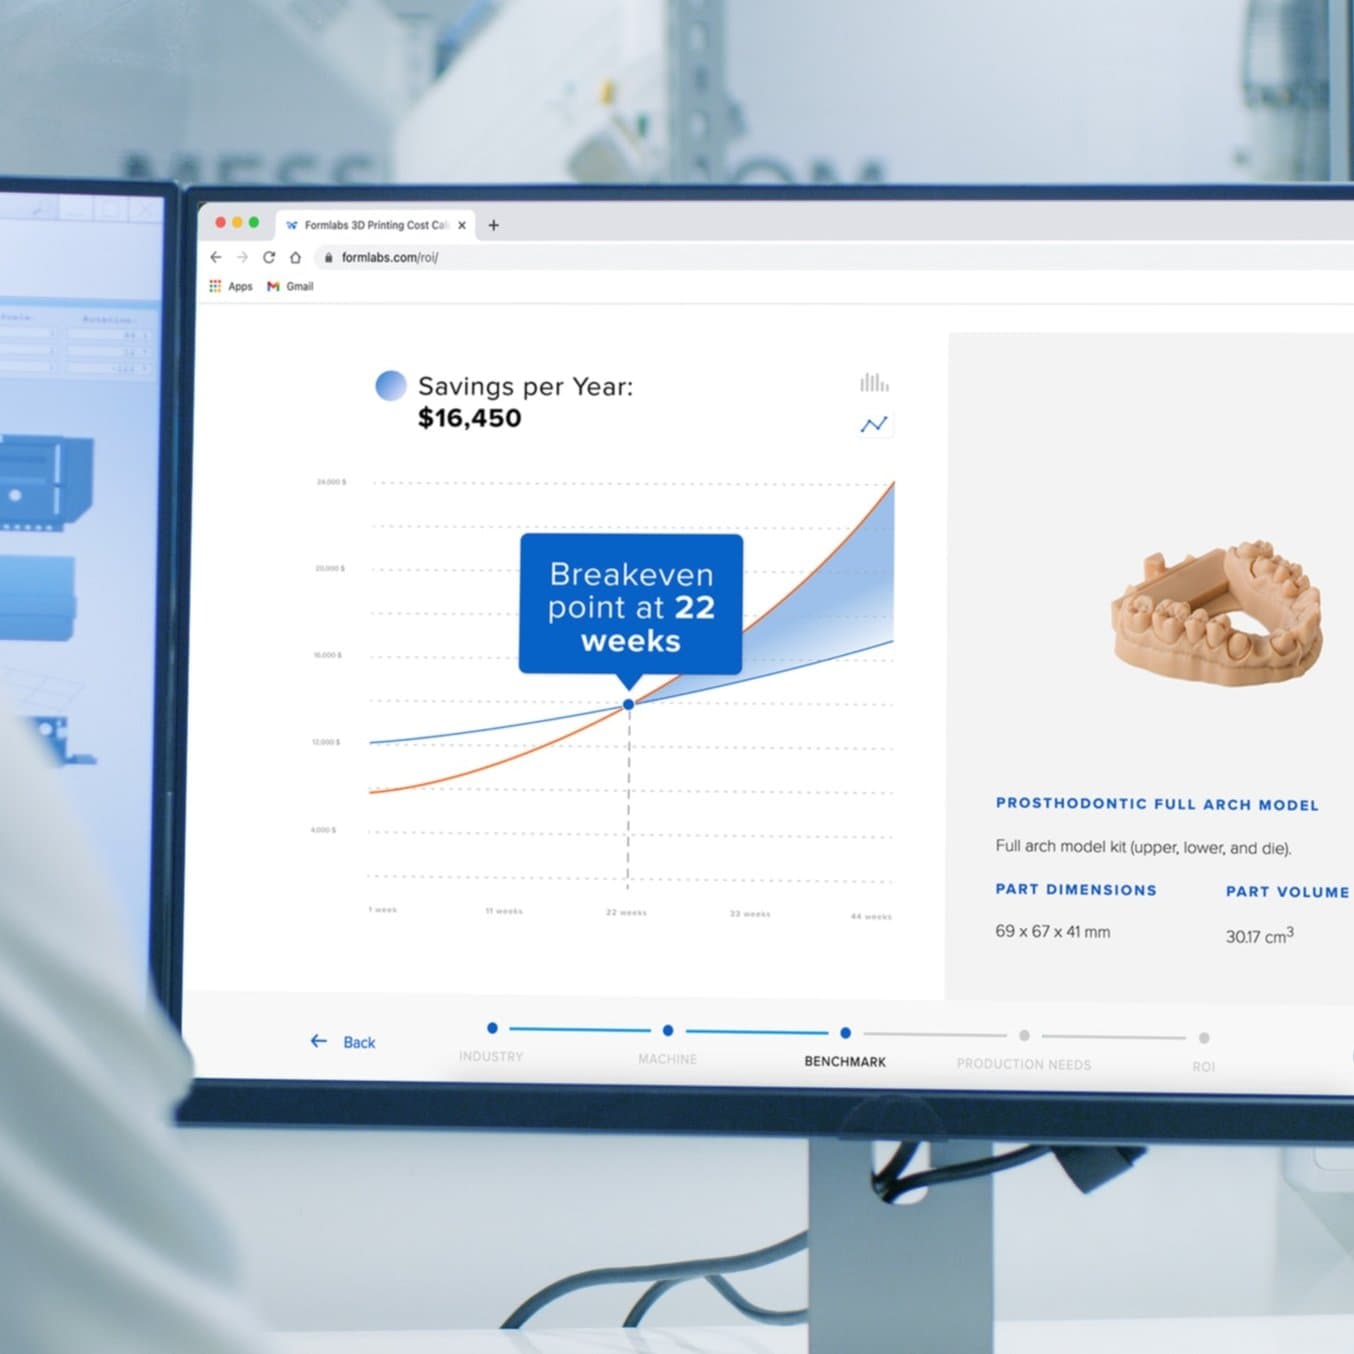
Calculate Your Time and Cost Savings
Try our interactive ROI tool to see how much time and cost you can save when 3D printing on Formlabs dental 3D printers.
Bonus: Your Team Will Become the Experts
Something doctors need to keep in mind is that they are going to learn these steps, but then they are going to delegate these to the team, who will then become the experts. The 3D printing process should be an advantage for clinicians but, more importantly, to the dental team and patients. It's going to be exciting for them.
In the beginning, maybe it takes more of the doctor’s time, but eventually, it will be the team that will come up with new things that they want to use the printers for. We now feel that at our practice, Patricia is very knowledgeable and able to train other team members on this. Doctors might spend a little bit of time in the beginning but once your team becomes experts, the clinician can be pretty much hands-free.
“3D technology and printing, really opened up the potential pool of people that we can employ, because there may be someone who really likes technology — they're perfect for your print lab. Look at 3D printing as not only expanding your practice, but being able to expand your workforce.”
Dr. Lisa Alvetro, DDS, Orthodontist at Alvetro Orthodontics
3D printing provides great advantages to clinical procedures and patients, and it also has a positive impact on the dental team. The learning process can be exciting for everyone involved when these five key elements are considered. We are sure that all of your team will jump on board and help your practice thrive.
Learn more about how Alvetro Orthodontics is saving time and costs with Formlabs Dental in our story, or contact a dental specialist to discuss your goals.
